A New Chapter: Saying Goodbye to High Sierra Visuals
Big changes are in the works.
For years, High Sierra Visuals has been a part of who I am—a reflection of my love for the landscapes, stories, and moments I’ve captured through my creative work. It’s a name that grew with me, rooted in the places and memories I hold dear. But as life takes an unexpected turn, I’ve realized it’s time to embrace change and step into something new.
After over a decade in graphic design and photography, being laid off from a long-term job has pushed me to reevaluate my path. Instead of seeing this as an end, I’ve chosen to view it as a beginning—a chance to reimagine not only my work but also myself. And so, I’m moving away from High Sierra Visuals and rebranding as The Uncharted Lens.
This rebrand is more than just a name change. It symbolizes a new chapter—one that reflects the uncharted territory I’m navigating both creatively and personally. It’s about embracing the unknown, telling stories of resilience and exploration, and capturing the beauty in life’s transitions. The Uncharted Lens represents my journey to rediscover what inspires me and to create something fresh, authentic, and bold.
While High Sierra Visuals will always hold a special place in my heart, I’m excited to see where this new path leads. With The Uncharted Lens, I’m focused on bringing my photography, videography, and design work together under one cohesive vision—one that celebrates creativity, adventure, and the courage to start over.
Thank you for being part of this journey with me. I can’t wait to share this next chapter with you and continue to create visuals that tell meaningful stories. Here’s to moving forward and embracing the uncharted.
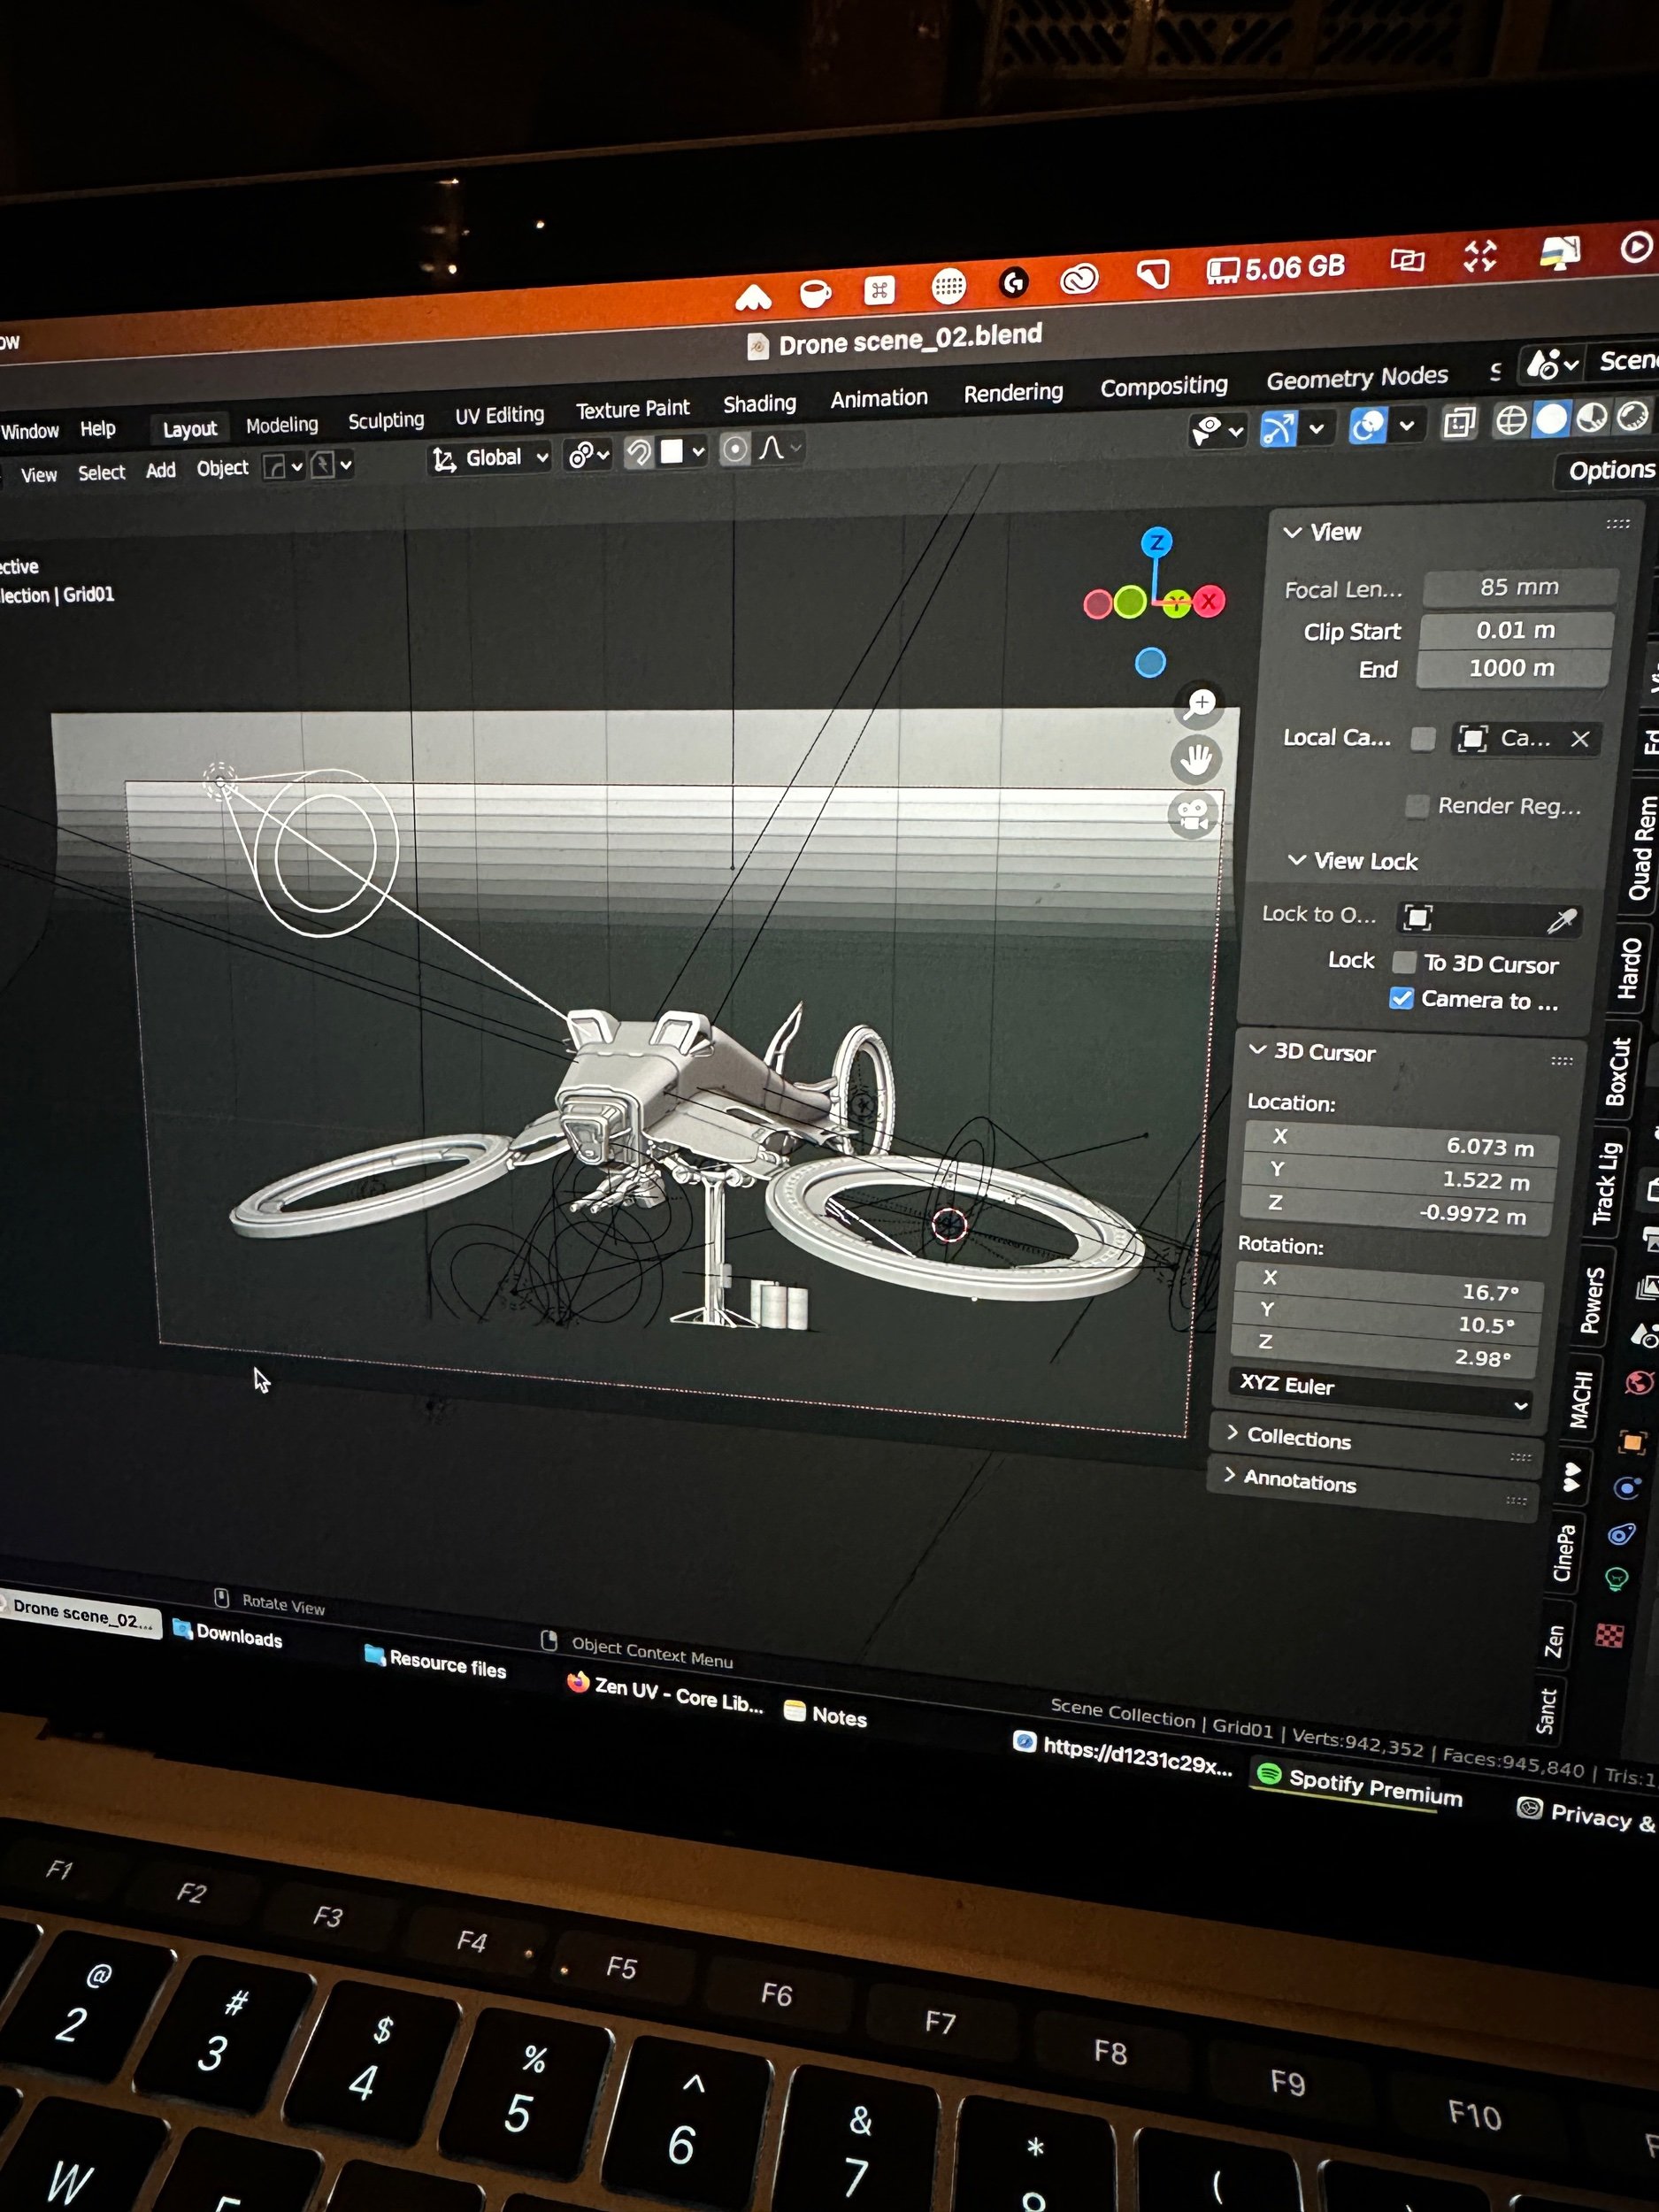
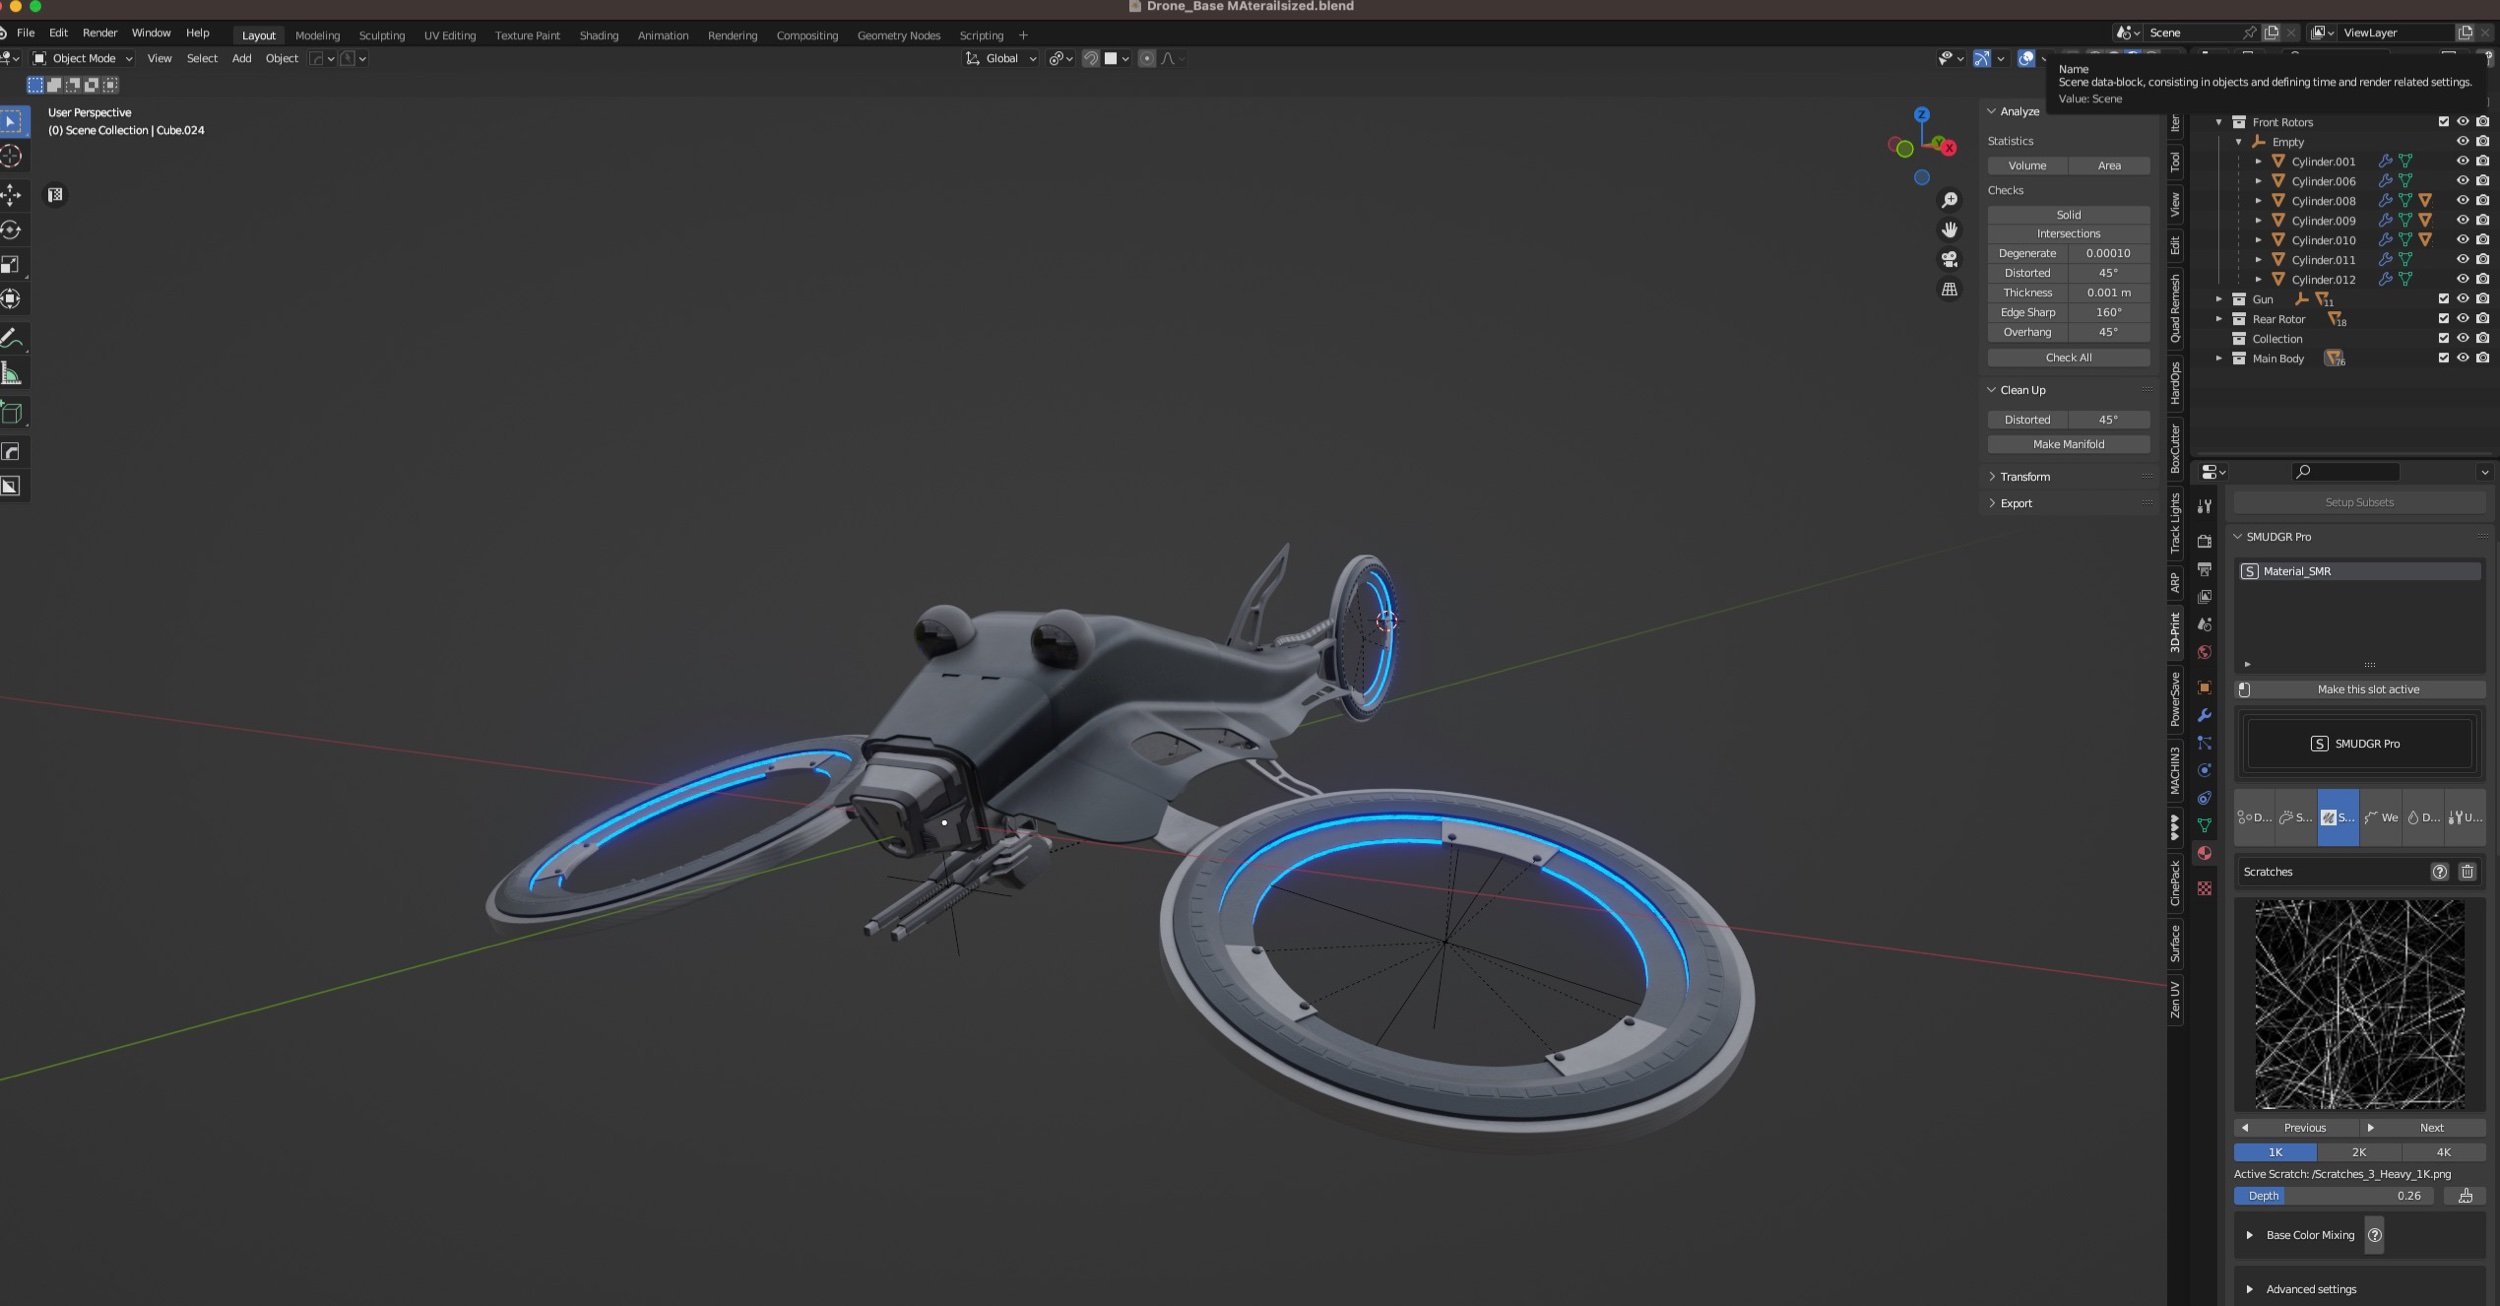
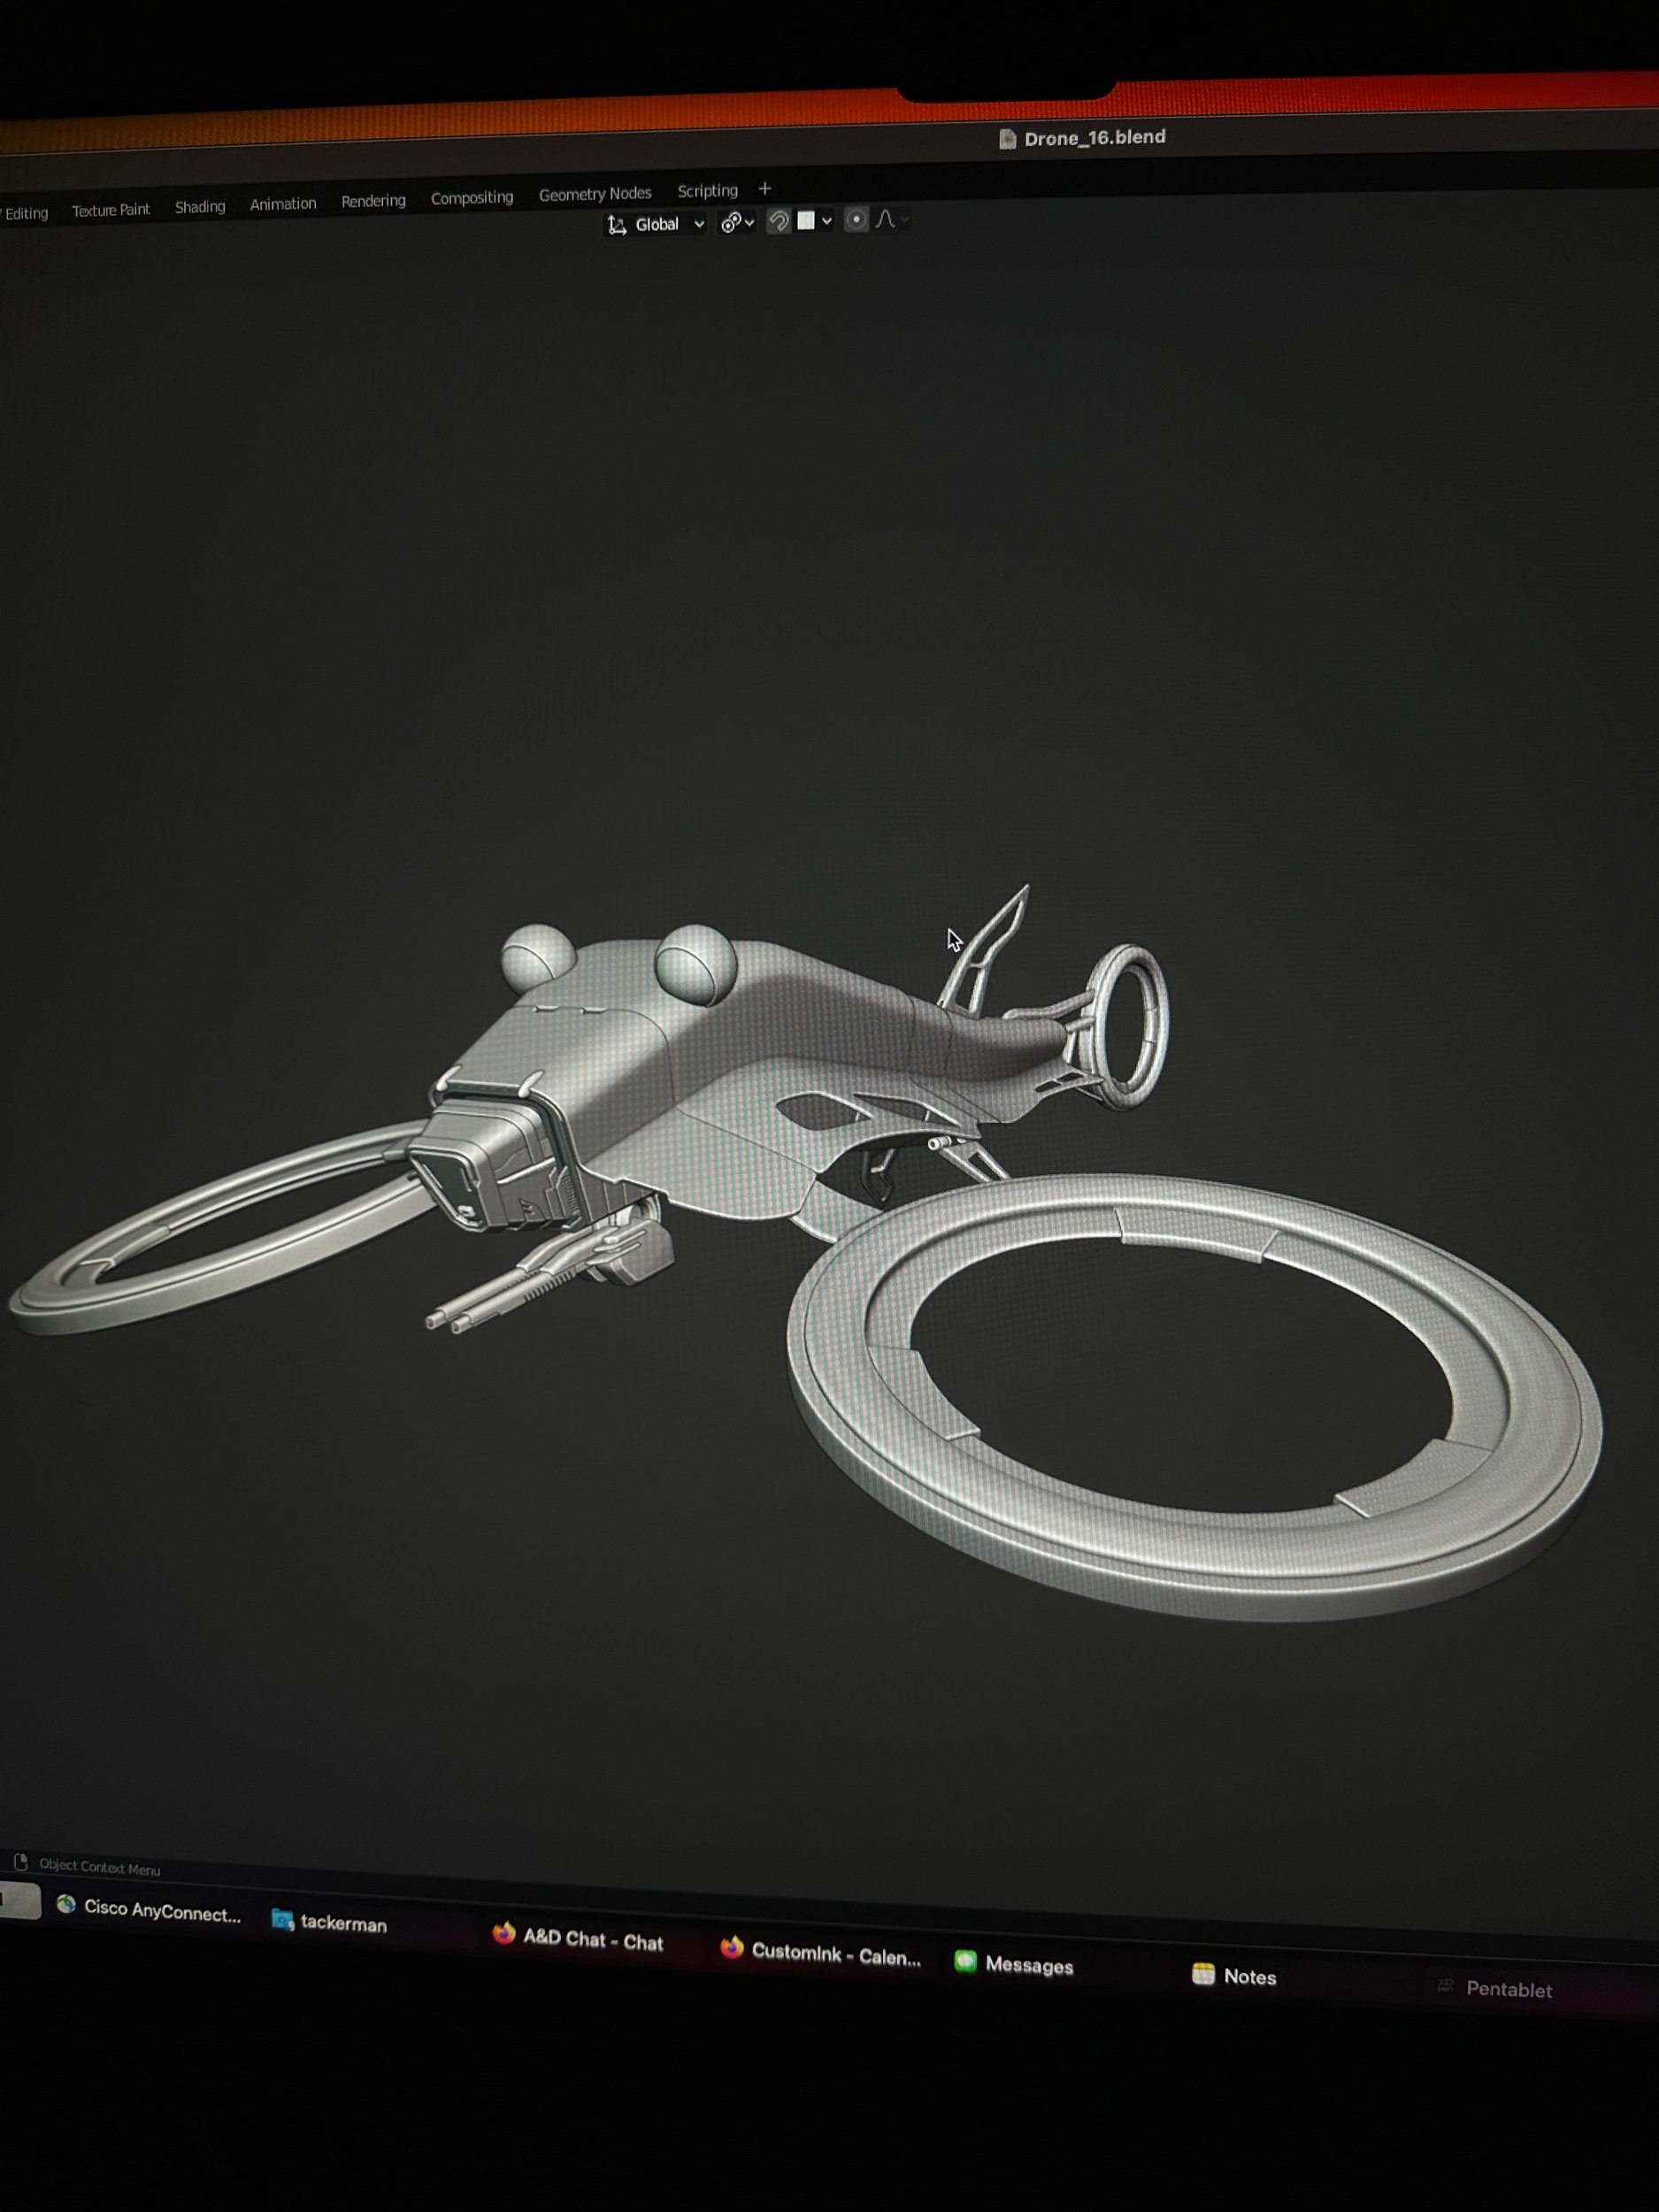
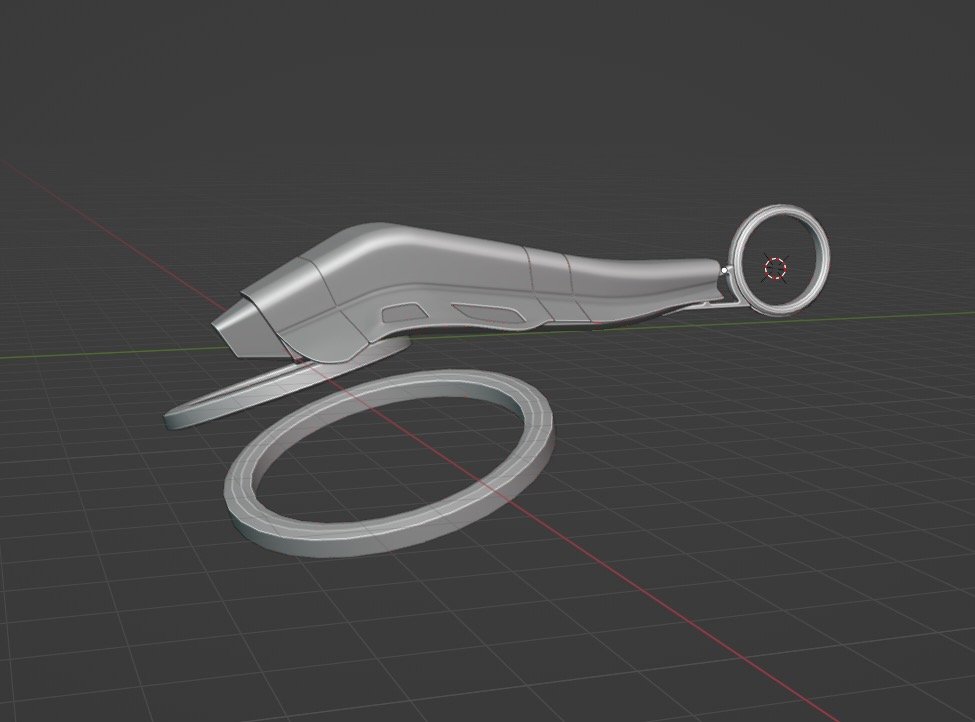
My journey so far learning 3d
Learning new skills can be a challenging but rewarding experience.
I've always wanted to learn 3D animation and modeling, so I made it my New Year's resolution to spend my free time learning all aspects of 3D, from modeling to animation. I firmly believe that you should never fear failing and that if you put in the time and effort, the results will pay off.
To start my journey, I researched online and found BlenderBros3D, an online platform that offers a range of courses on how to use Blender3D effectively. I was drawn to their courses as they catered to both beginners and advanced artists and covered a wide range of topics, from basic modeling skills to more advanced hard surface modeling techniques.
I began my learning journey with BlenderBros3D's courses, and I was not disappointed. The courses were well-structured and engaging, and the teaching style was informative and easy to follow. I started with the basics and gradually worked my way up to more advanced techniques, such as lighting and rendering.
I learned how to use HDRI to create basic lighting and how to use the Cycles engine to render my scenes effectively. These skills were crucial in bringing my models to life and creating visually stunning scenes.
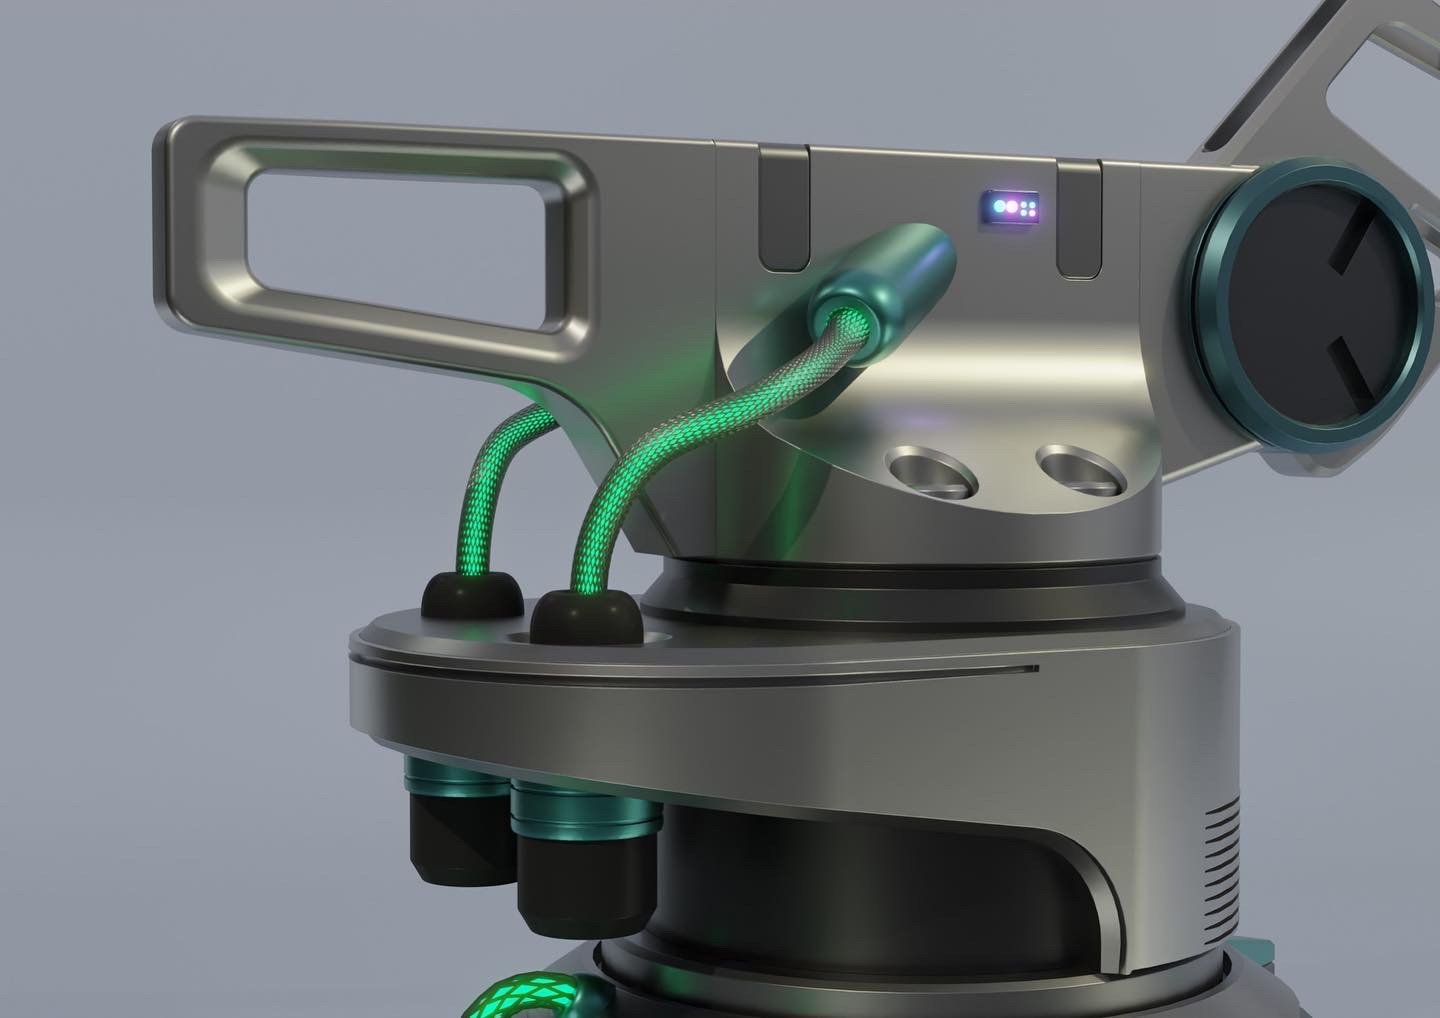
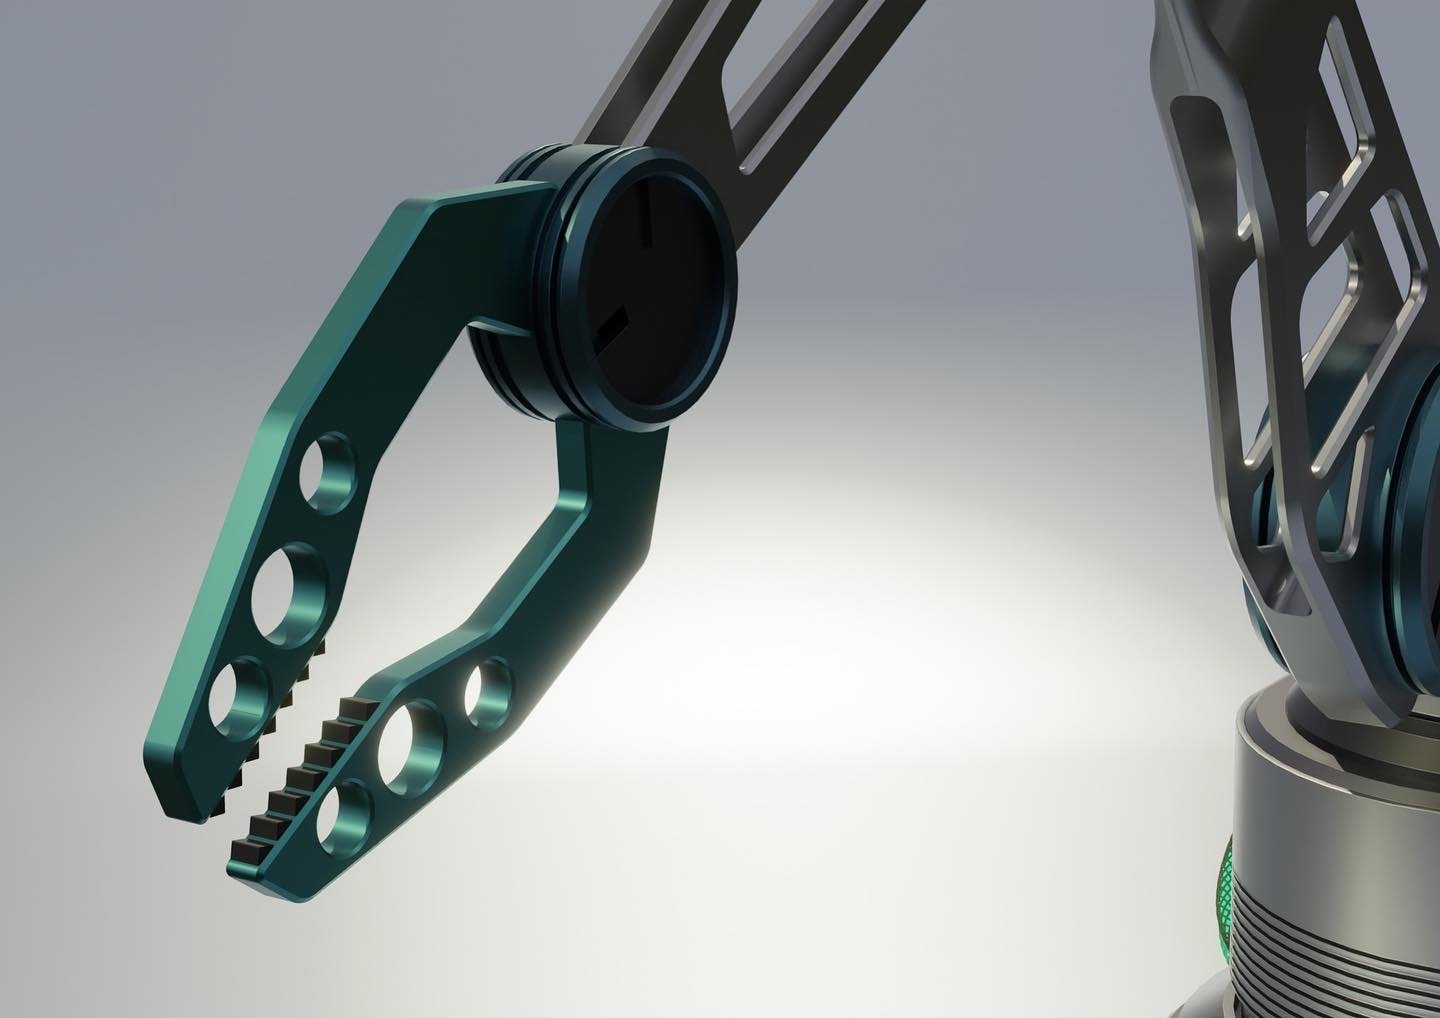
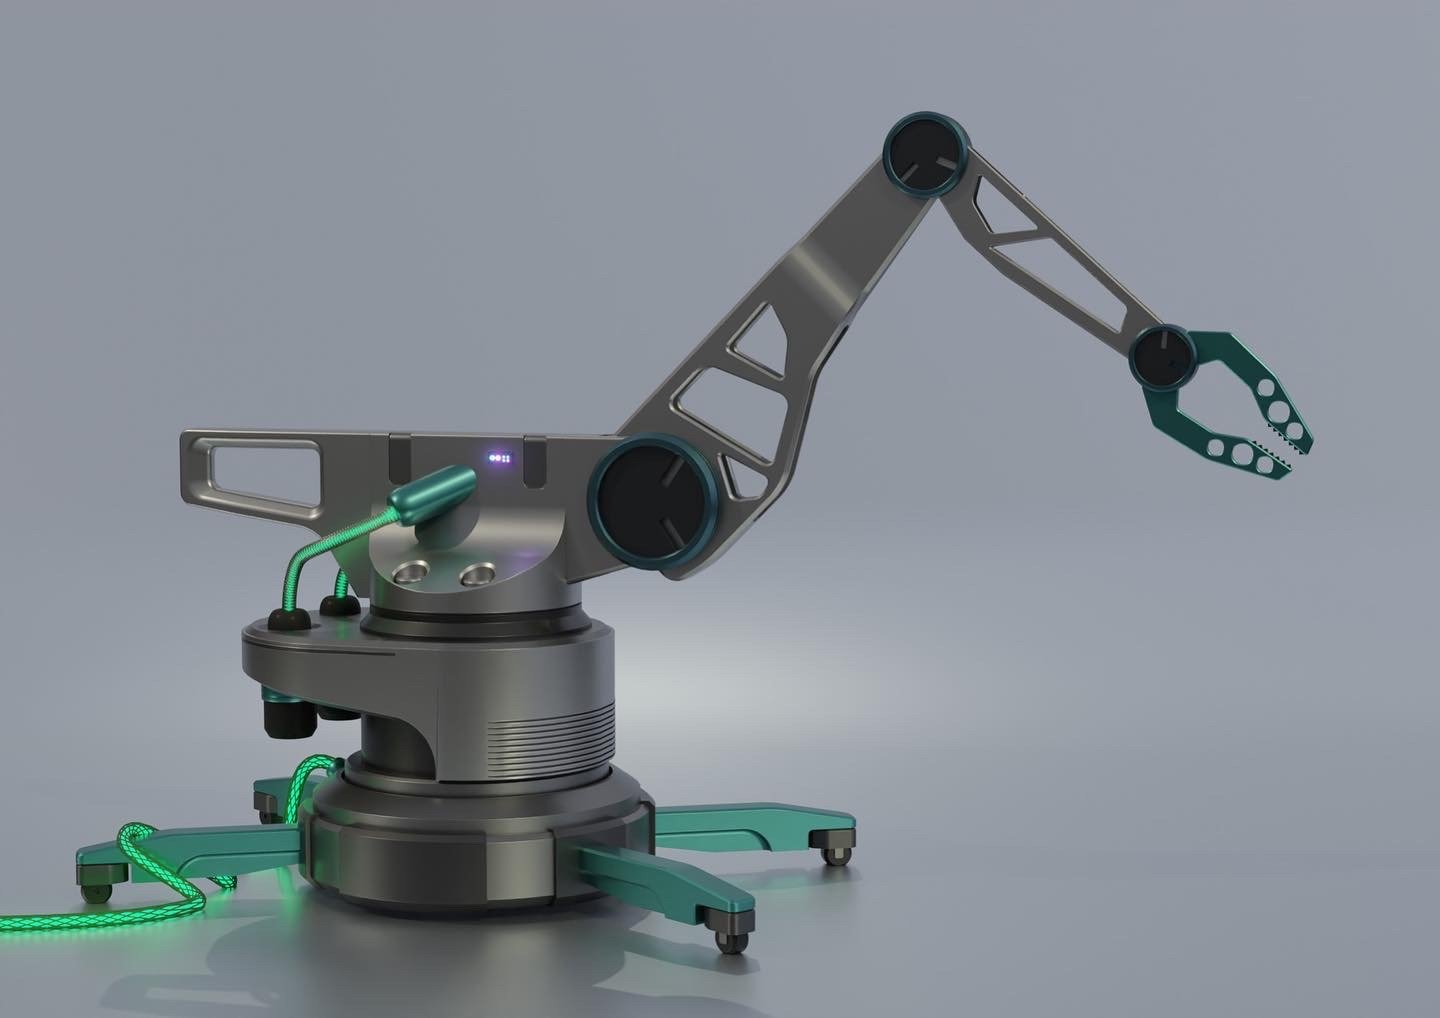
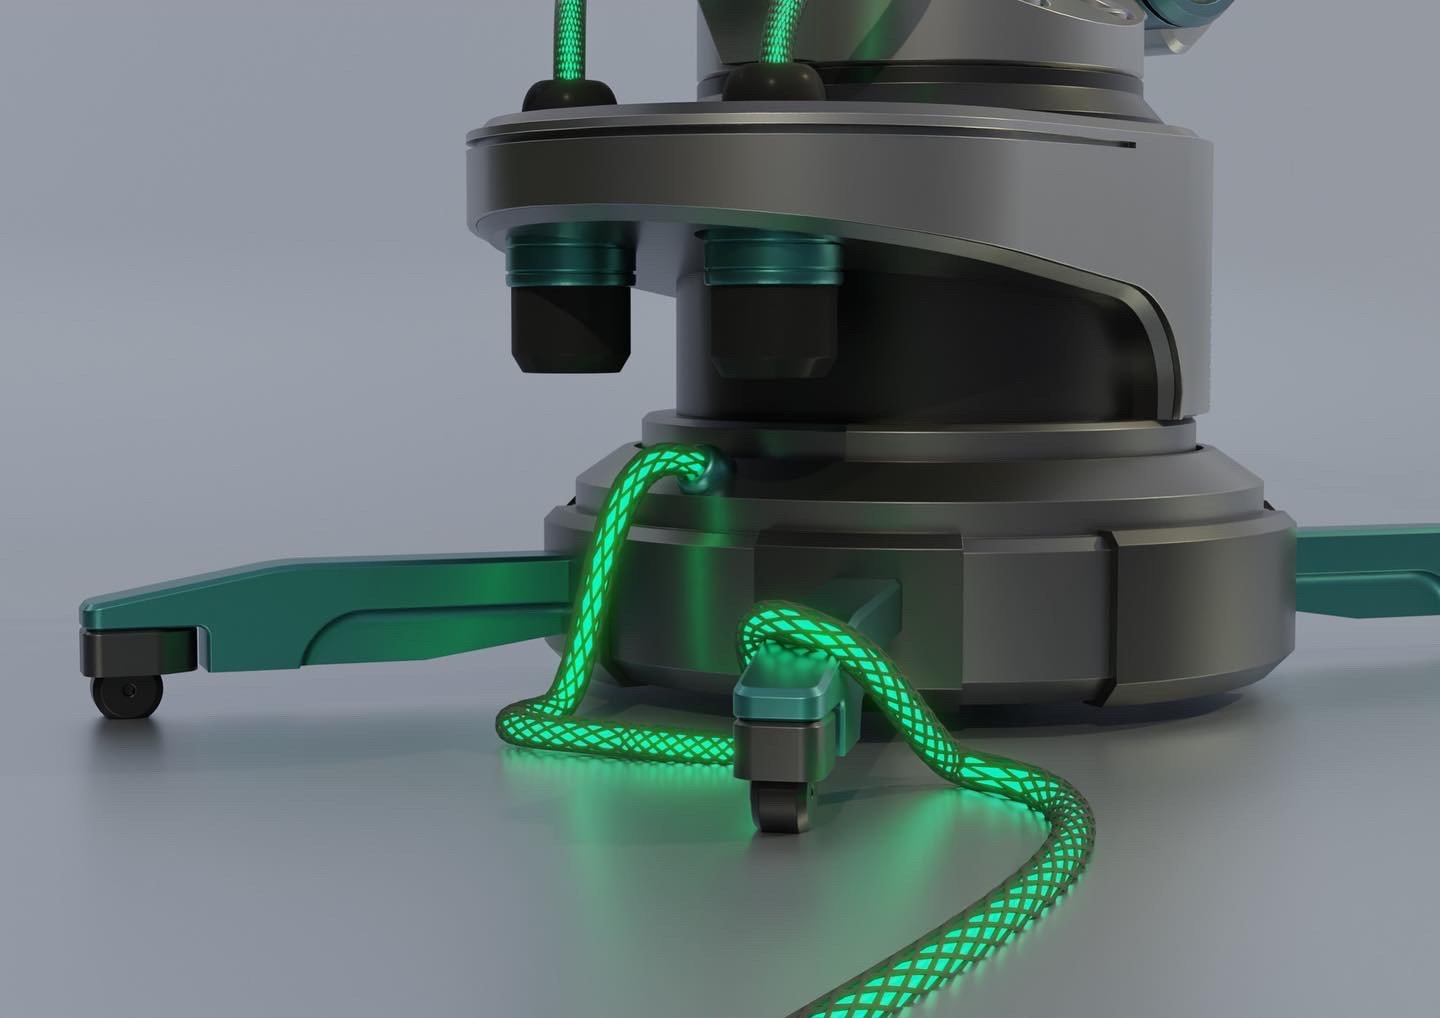
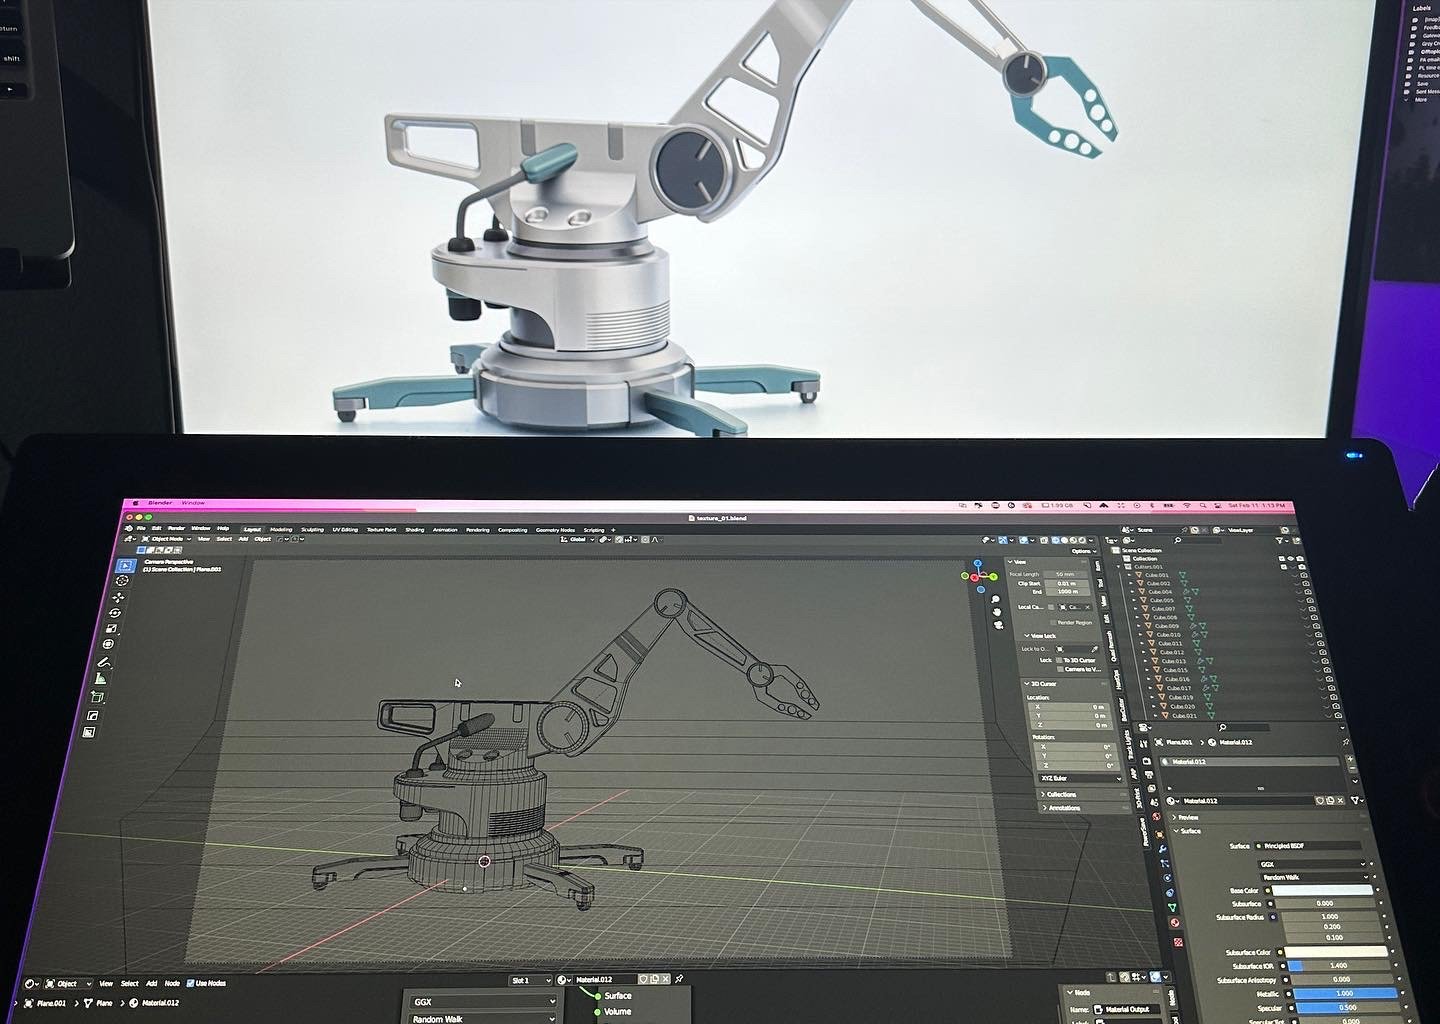
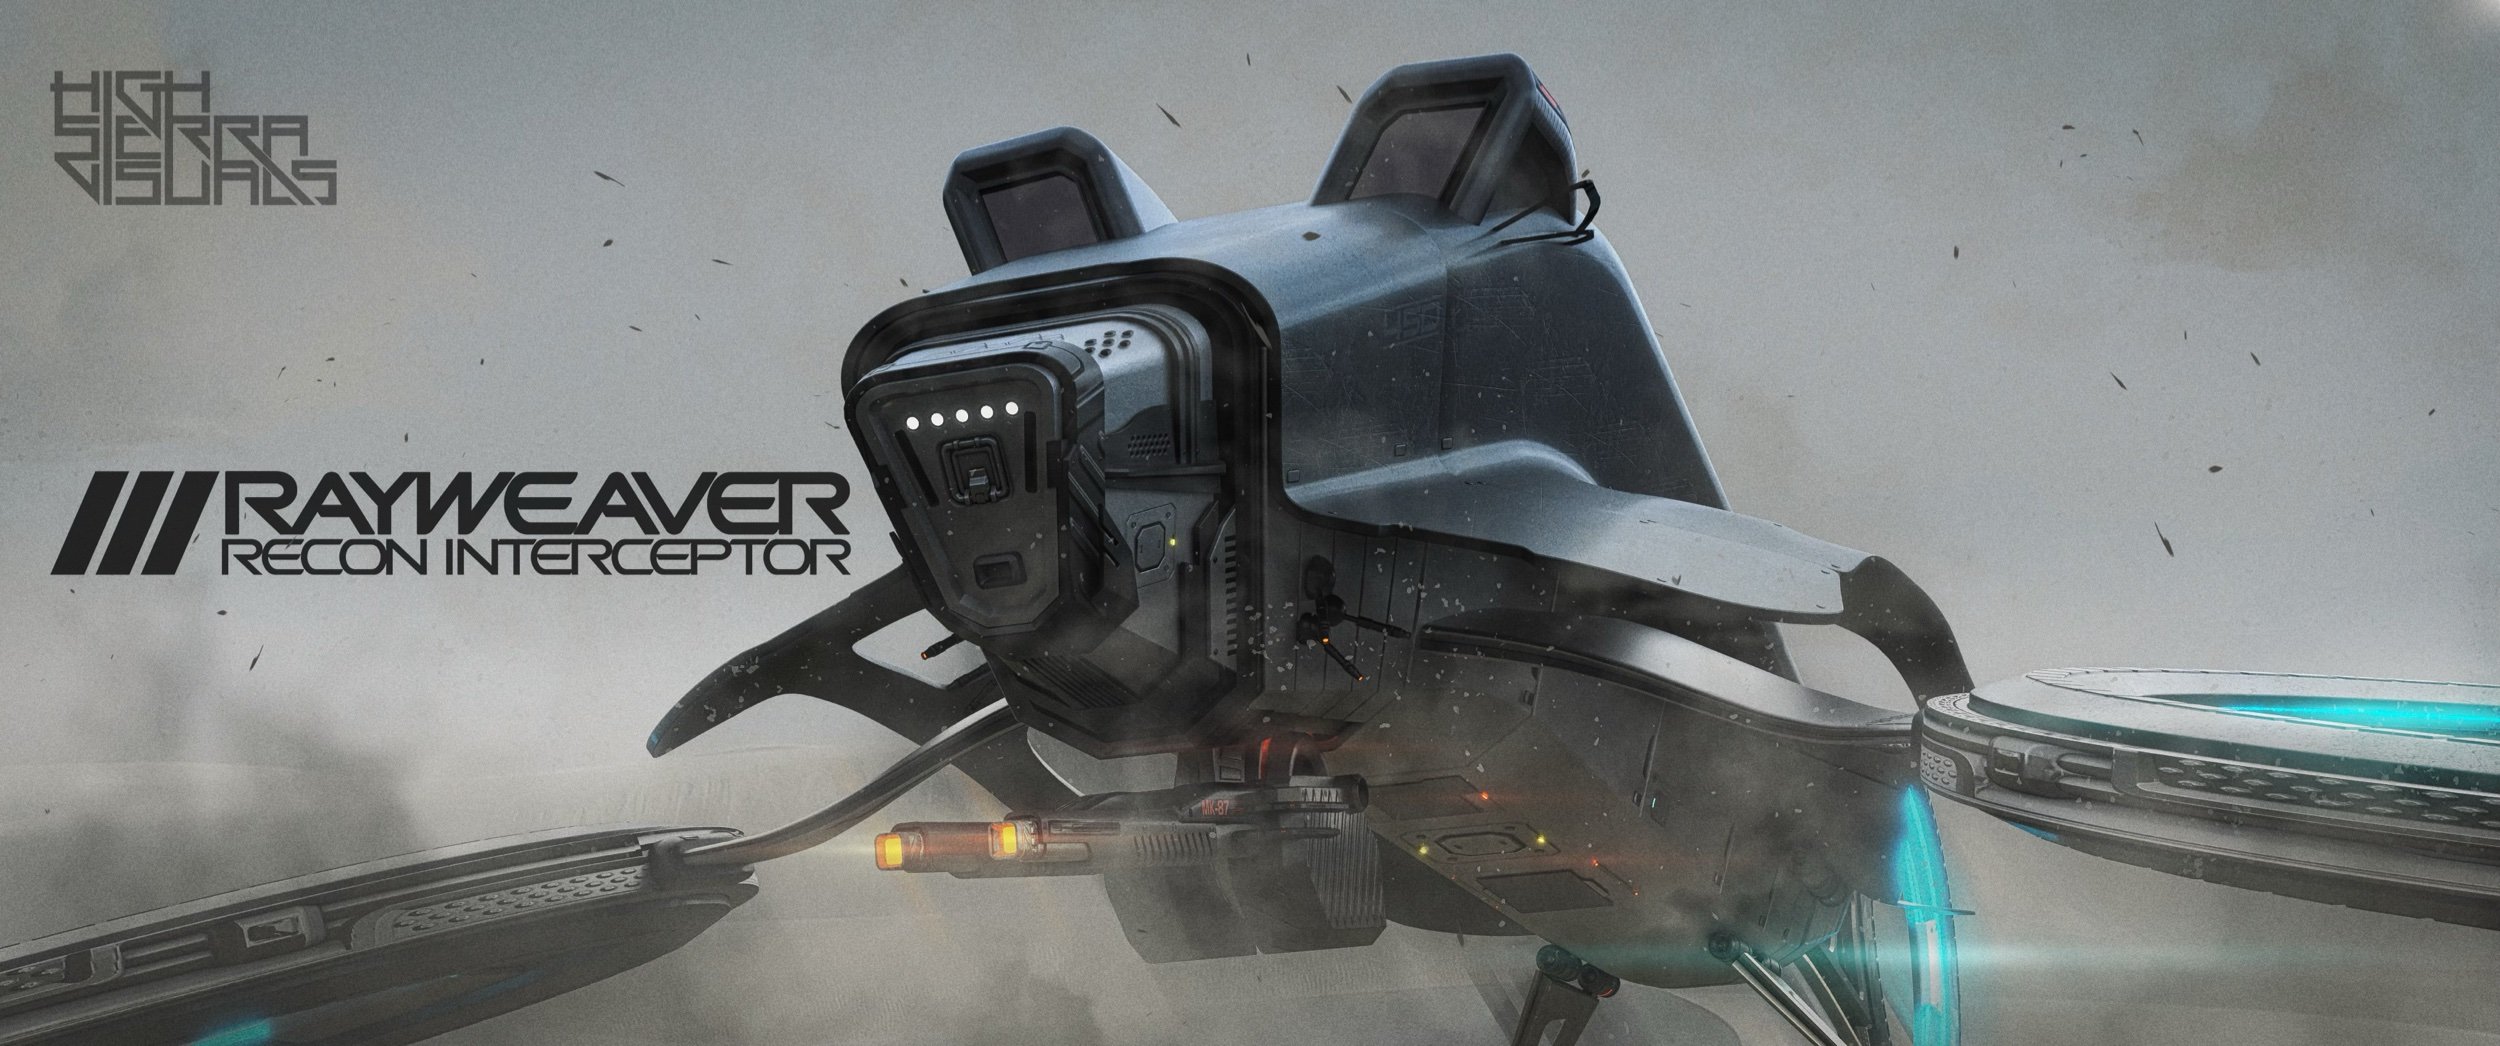
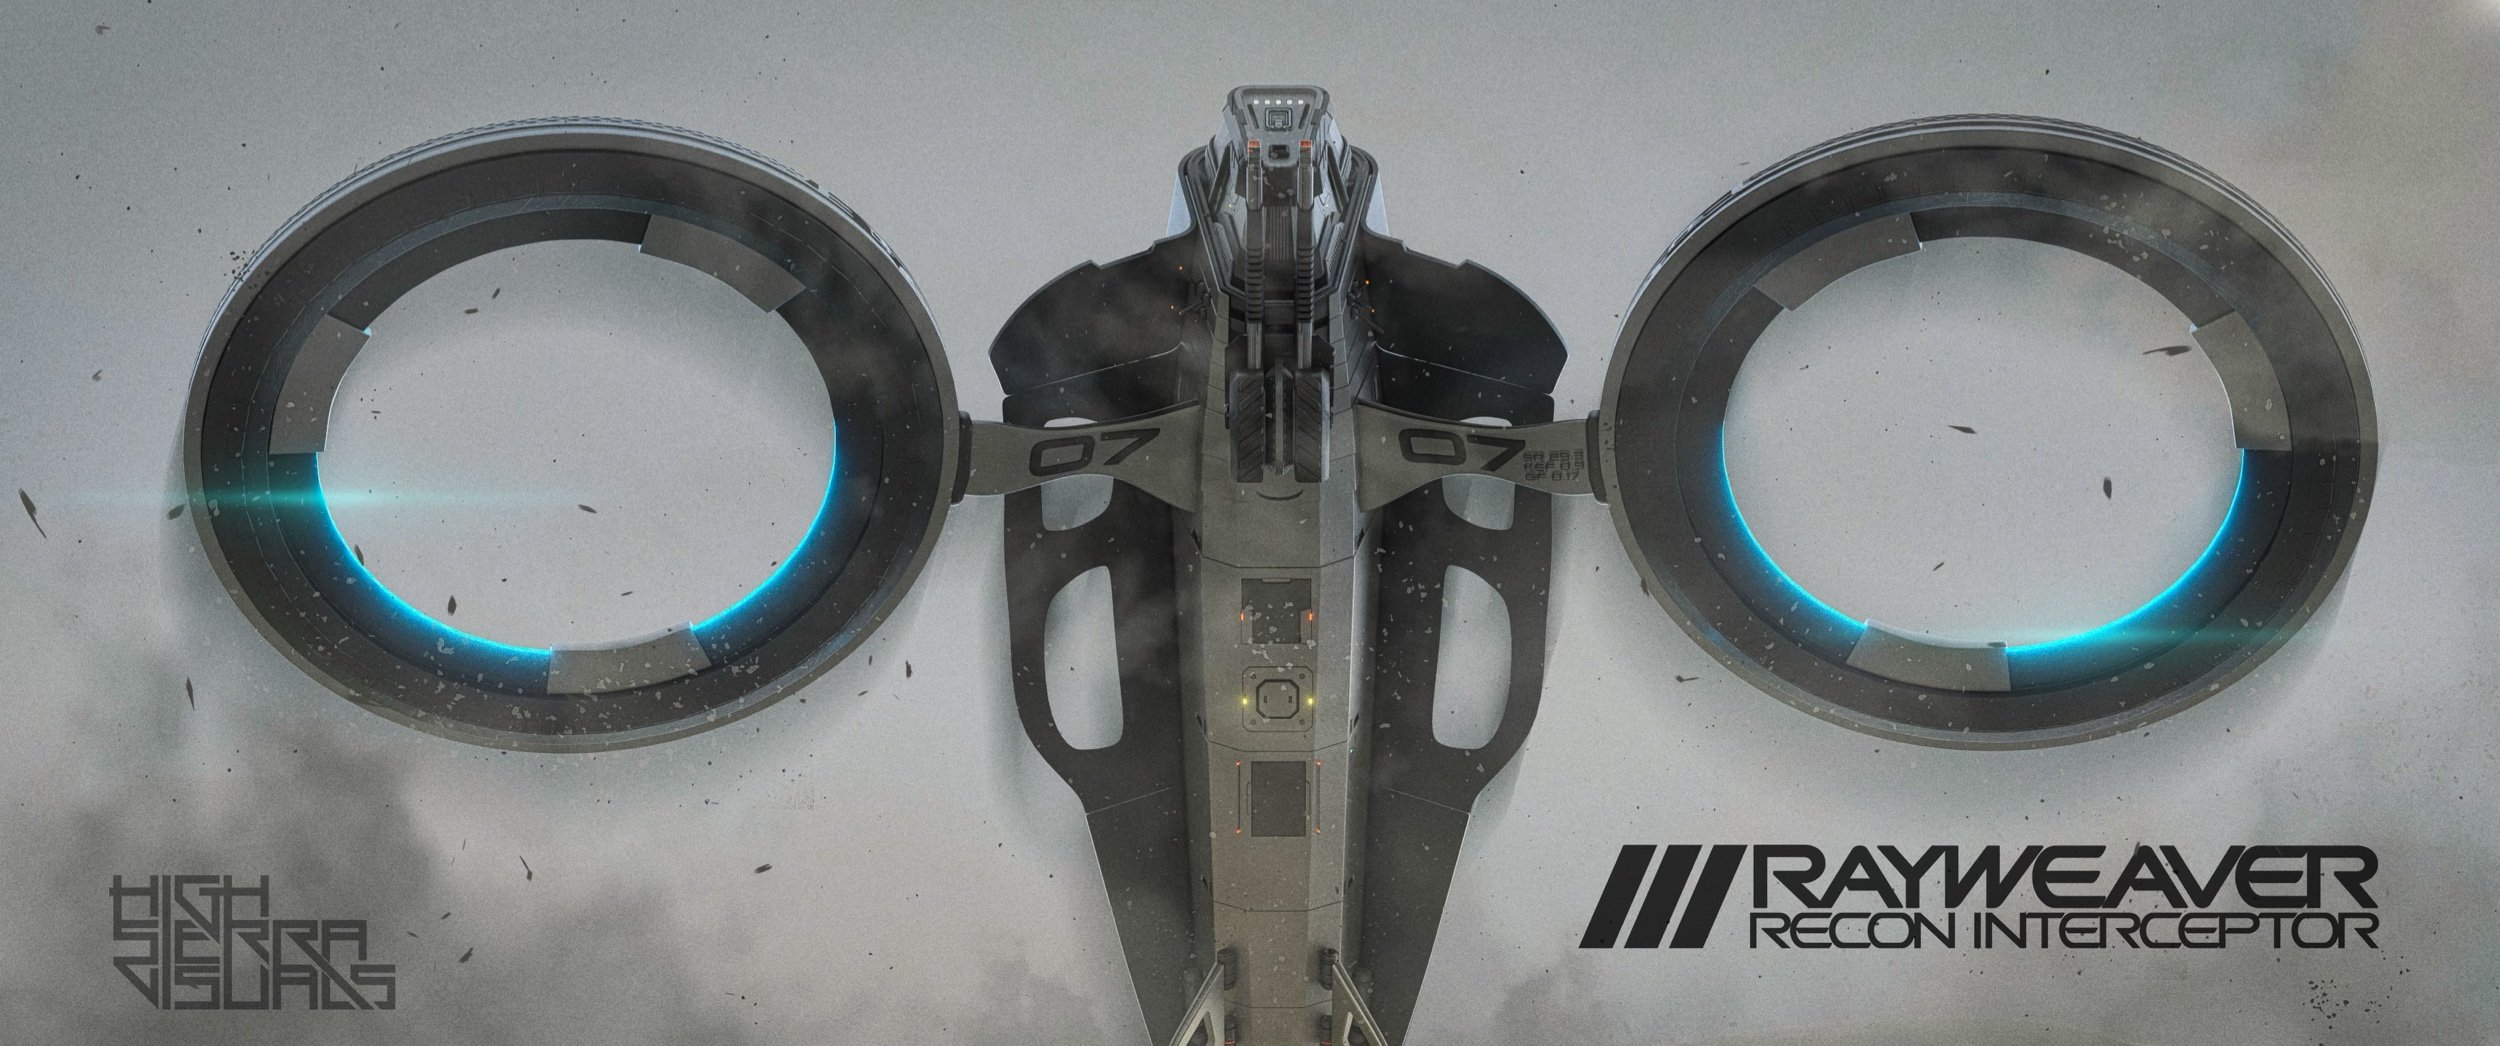
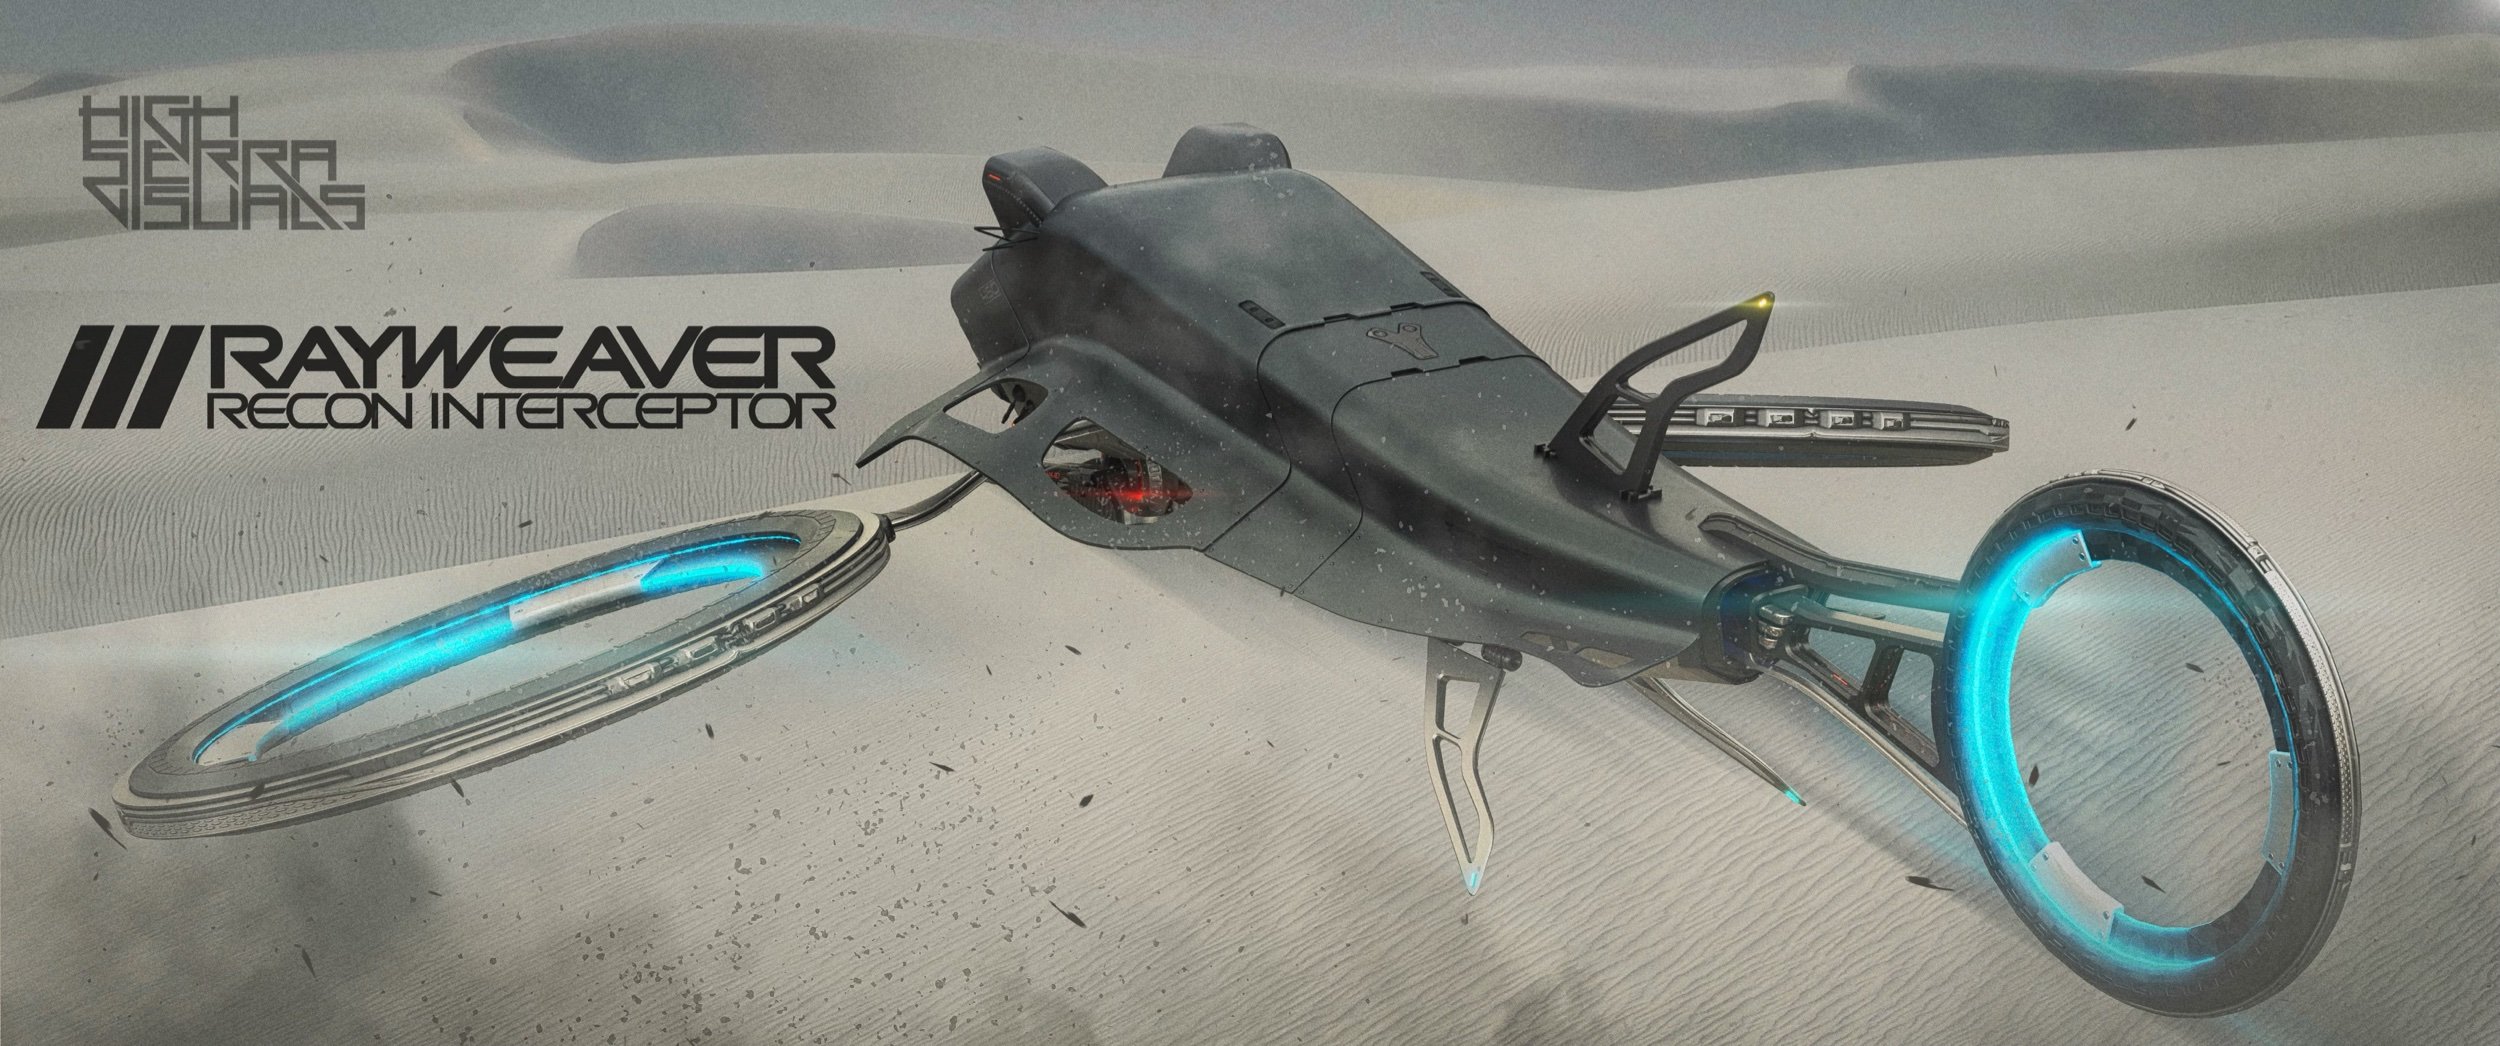
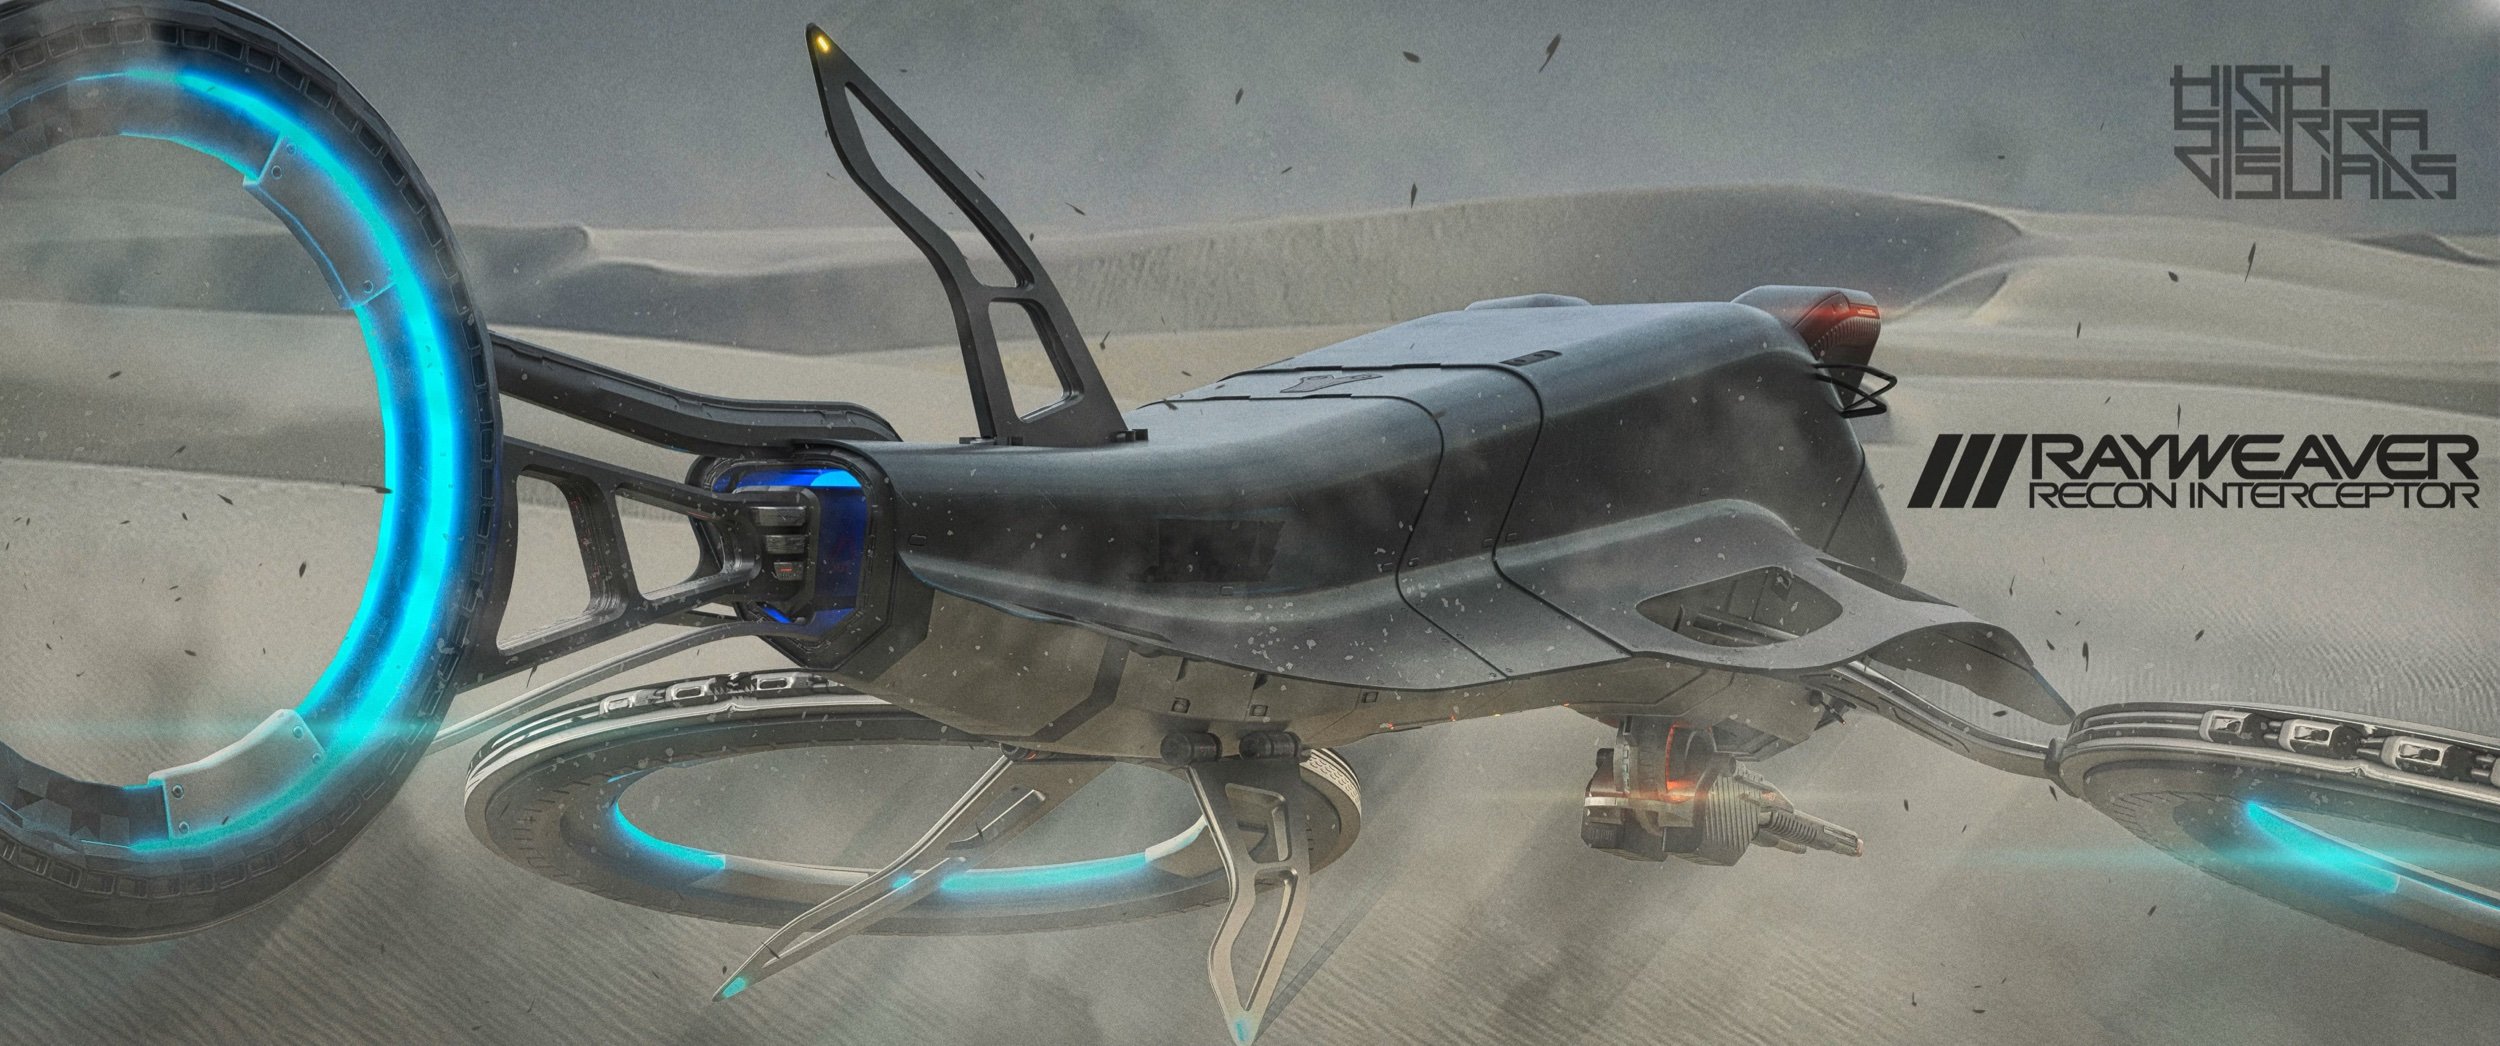
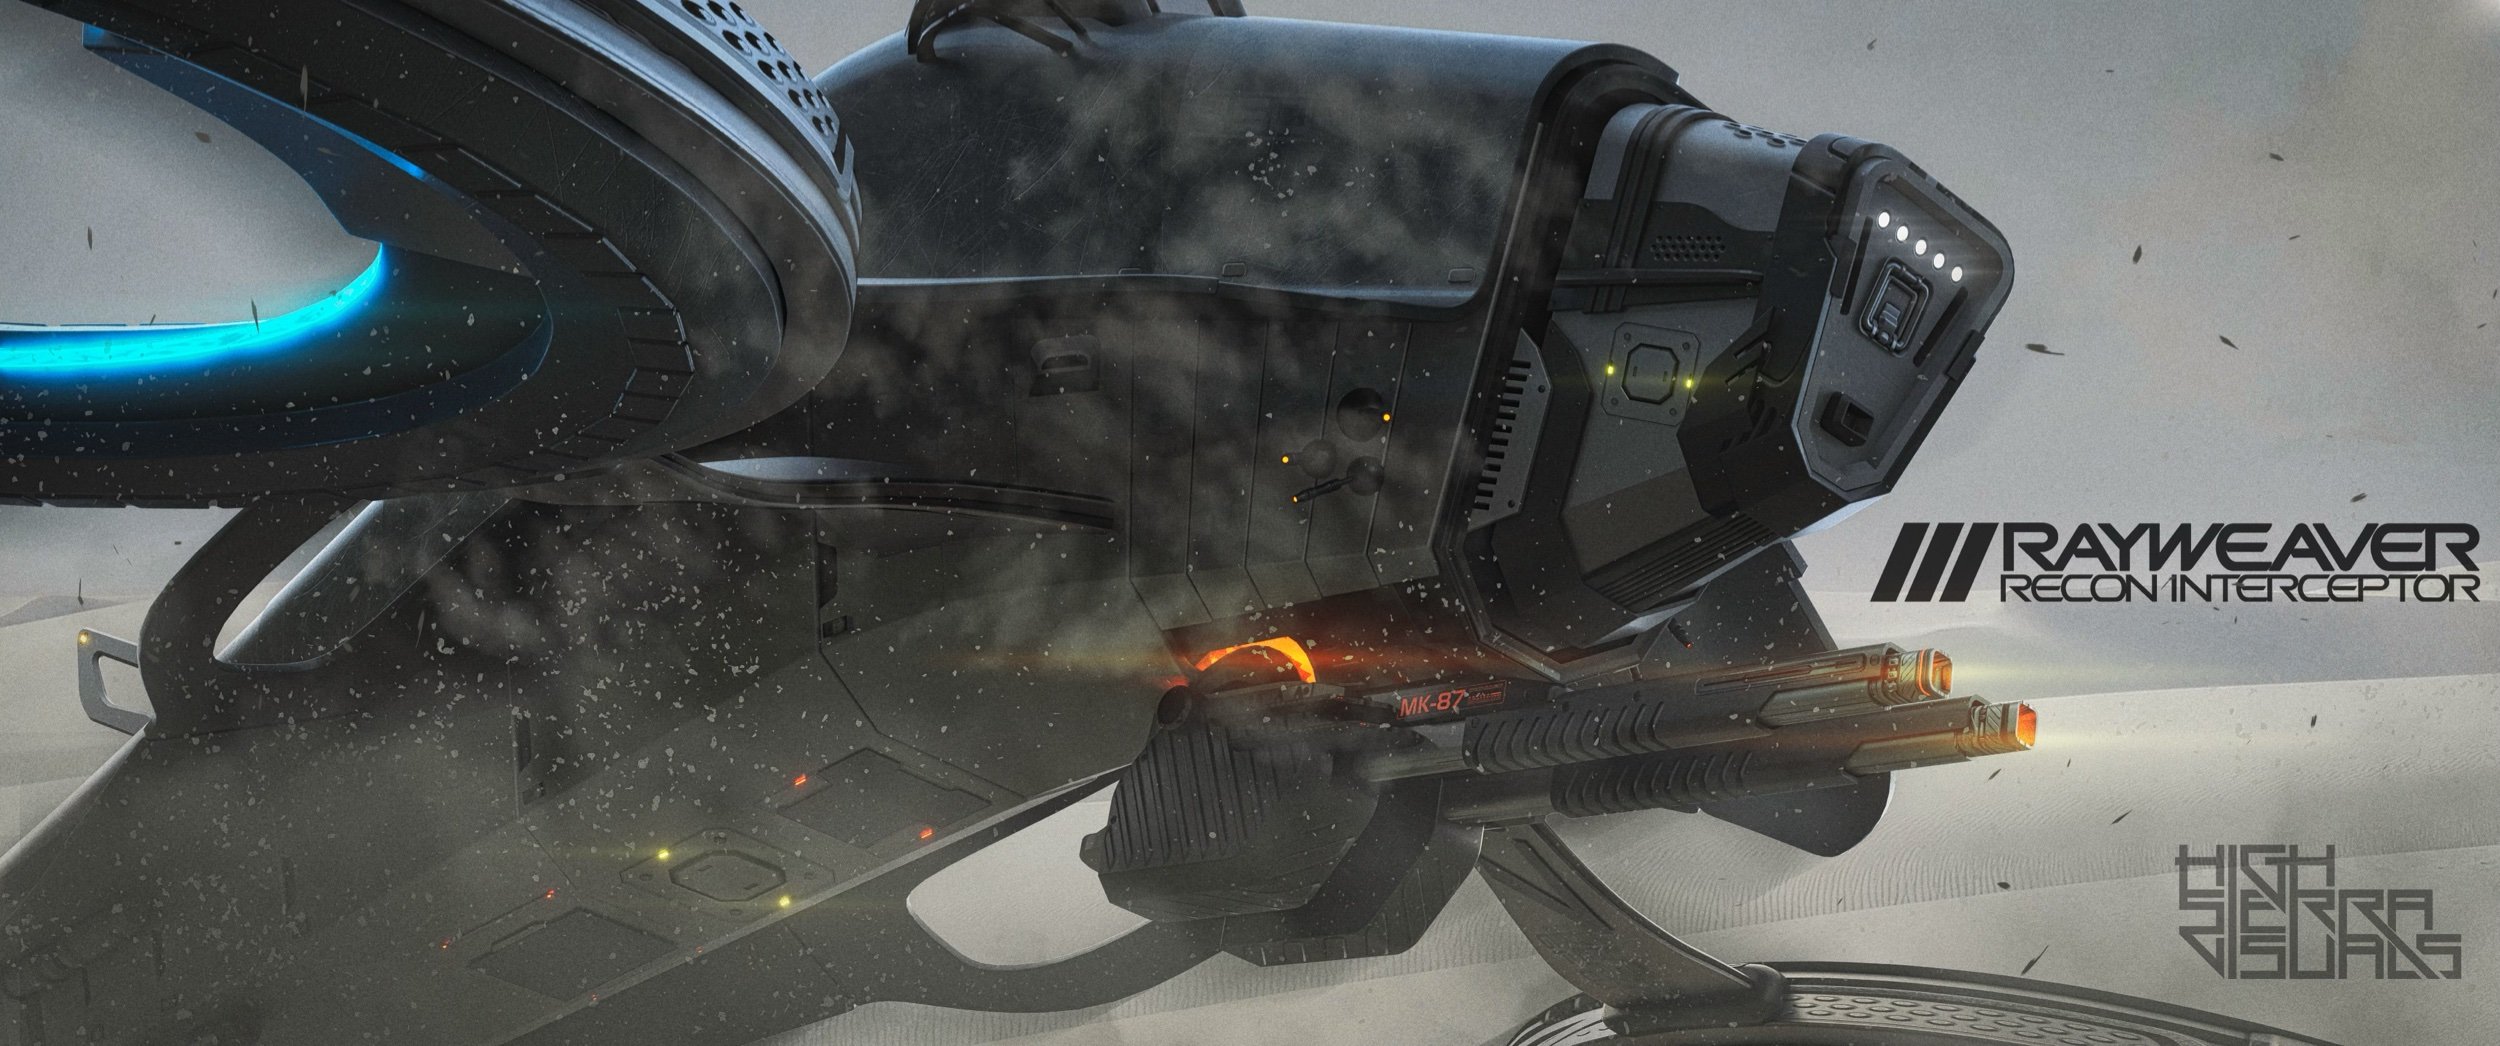
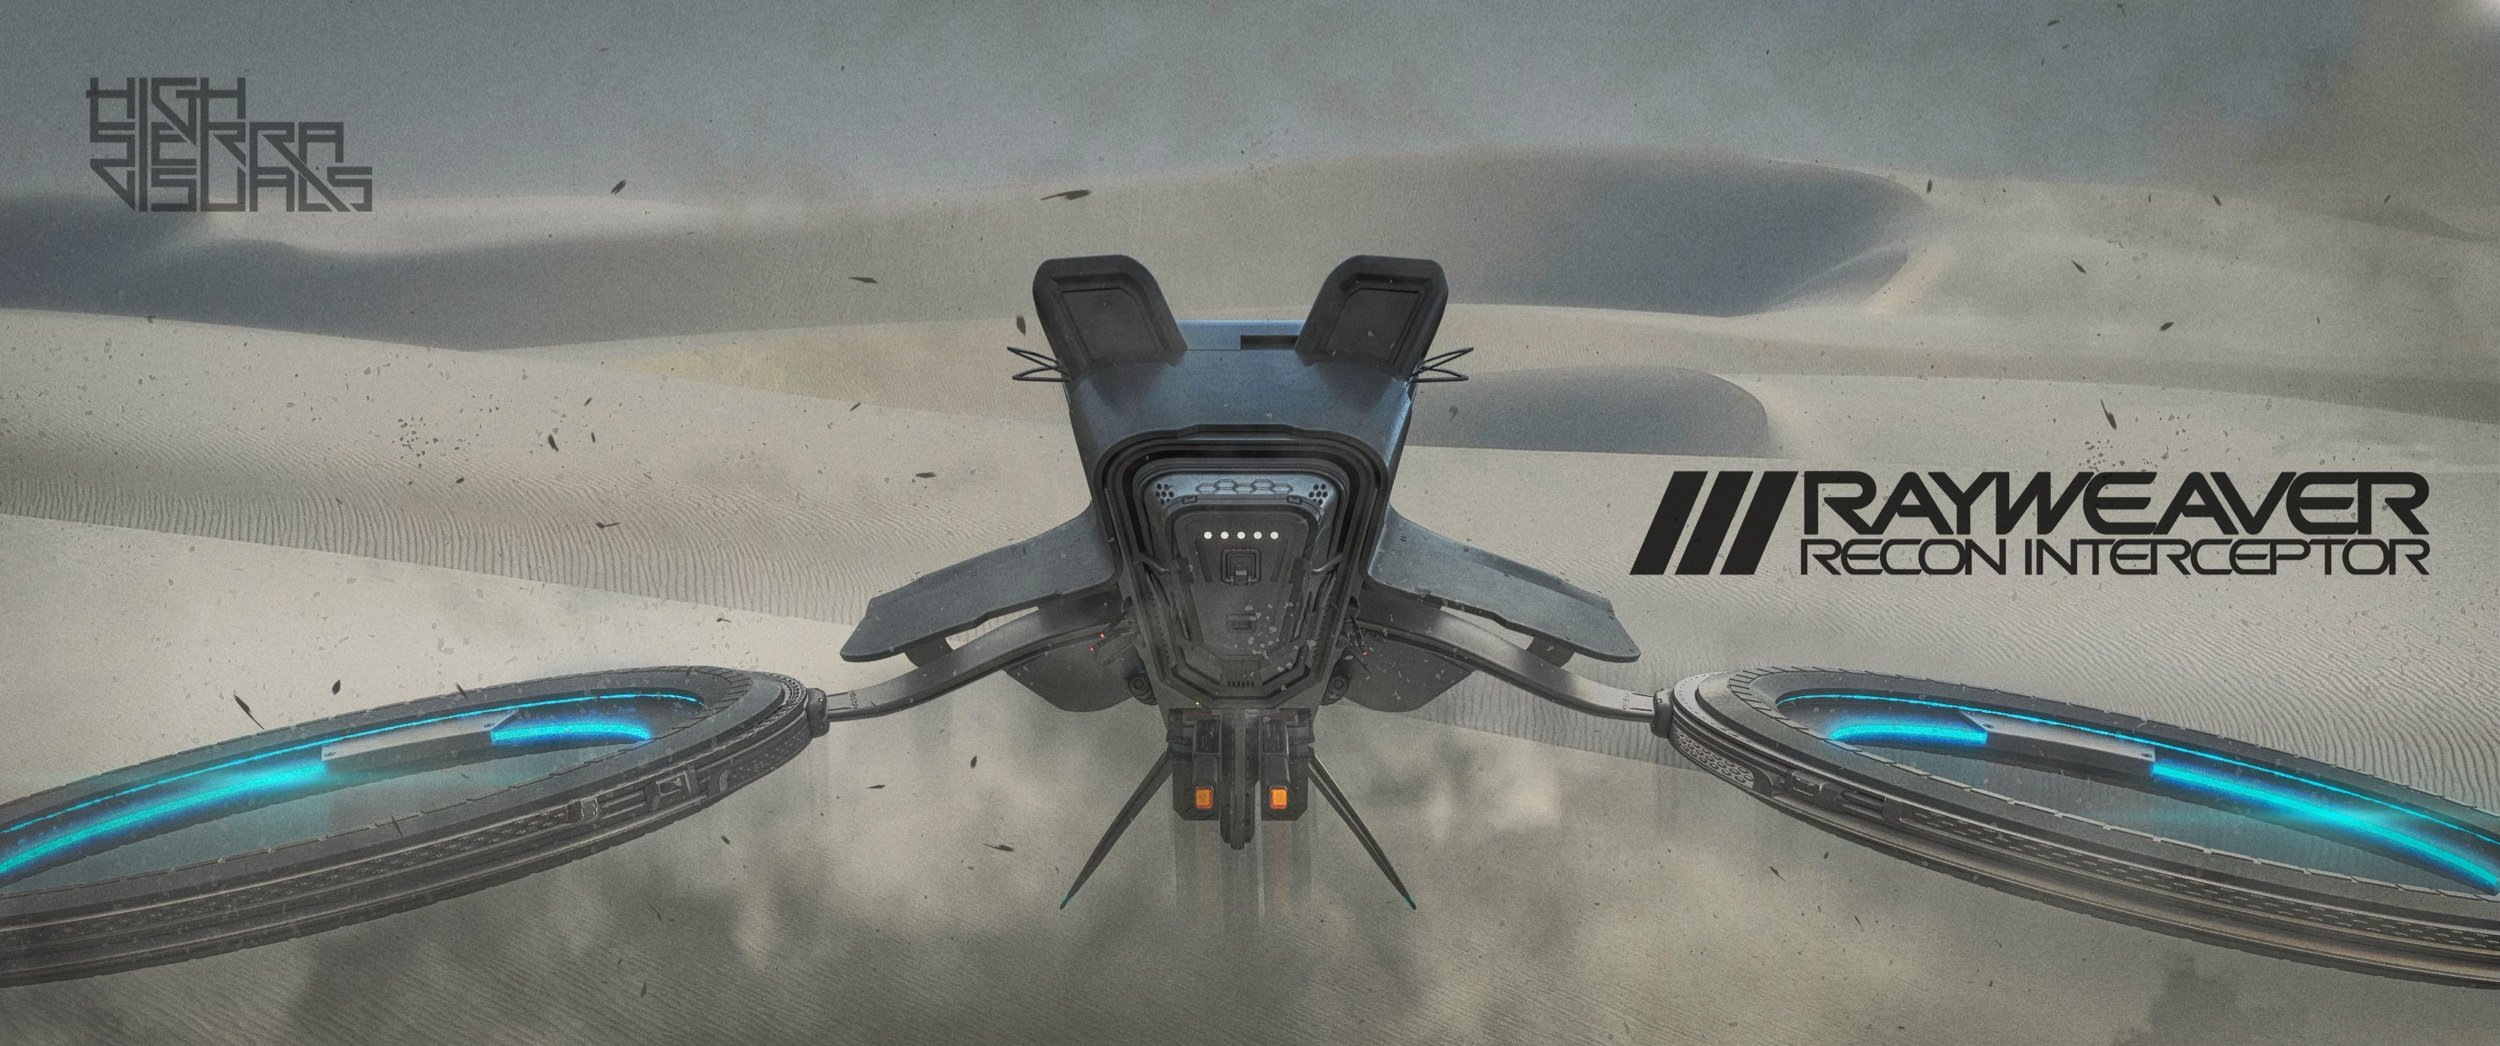
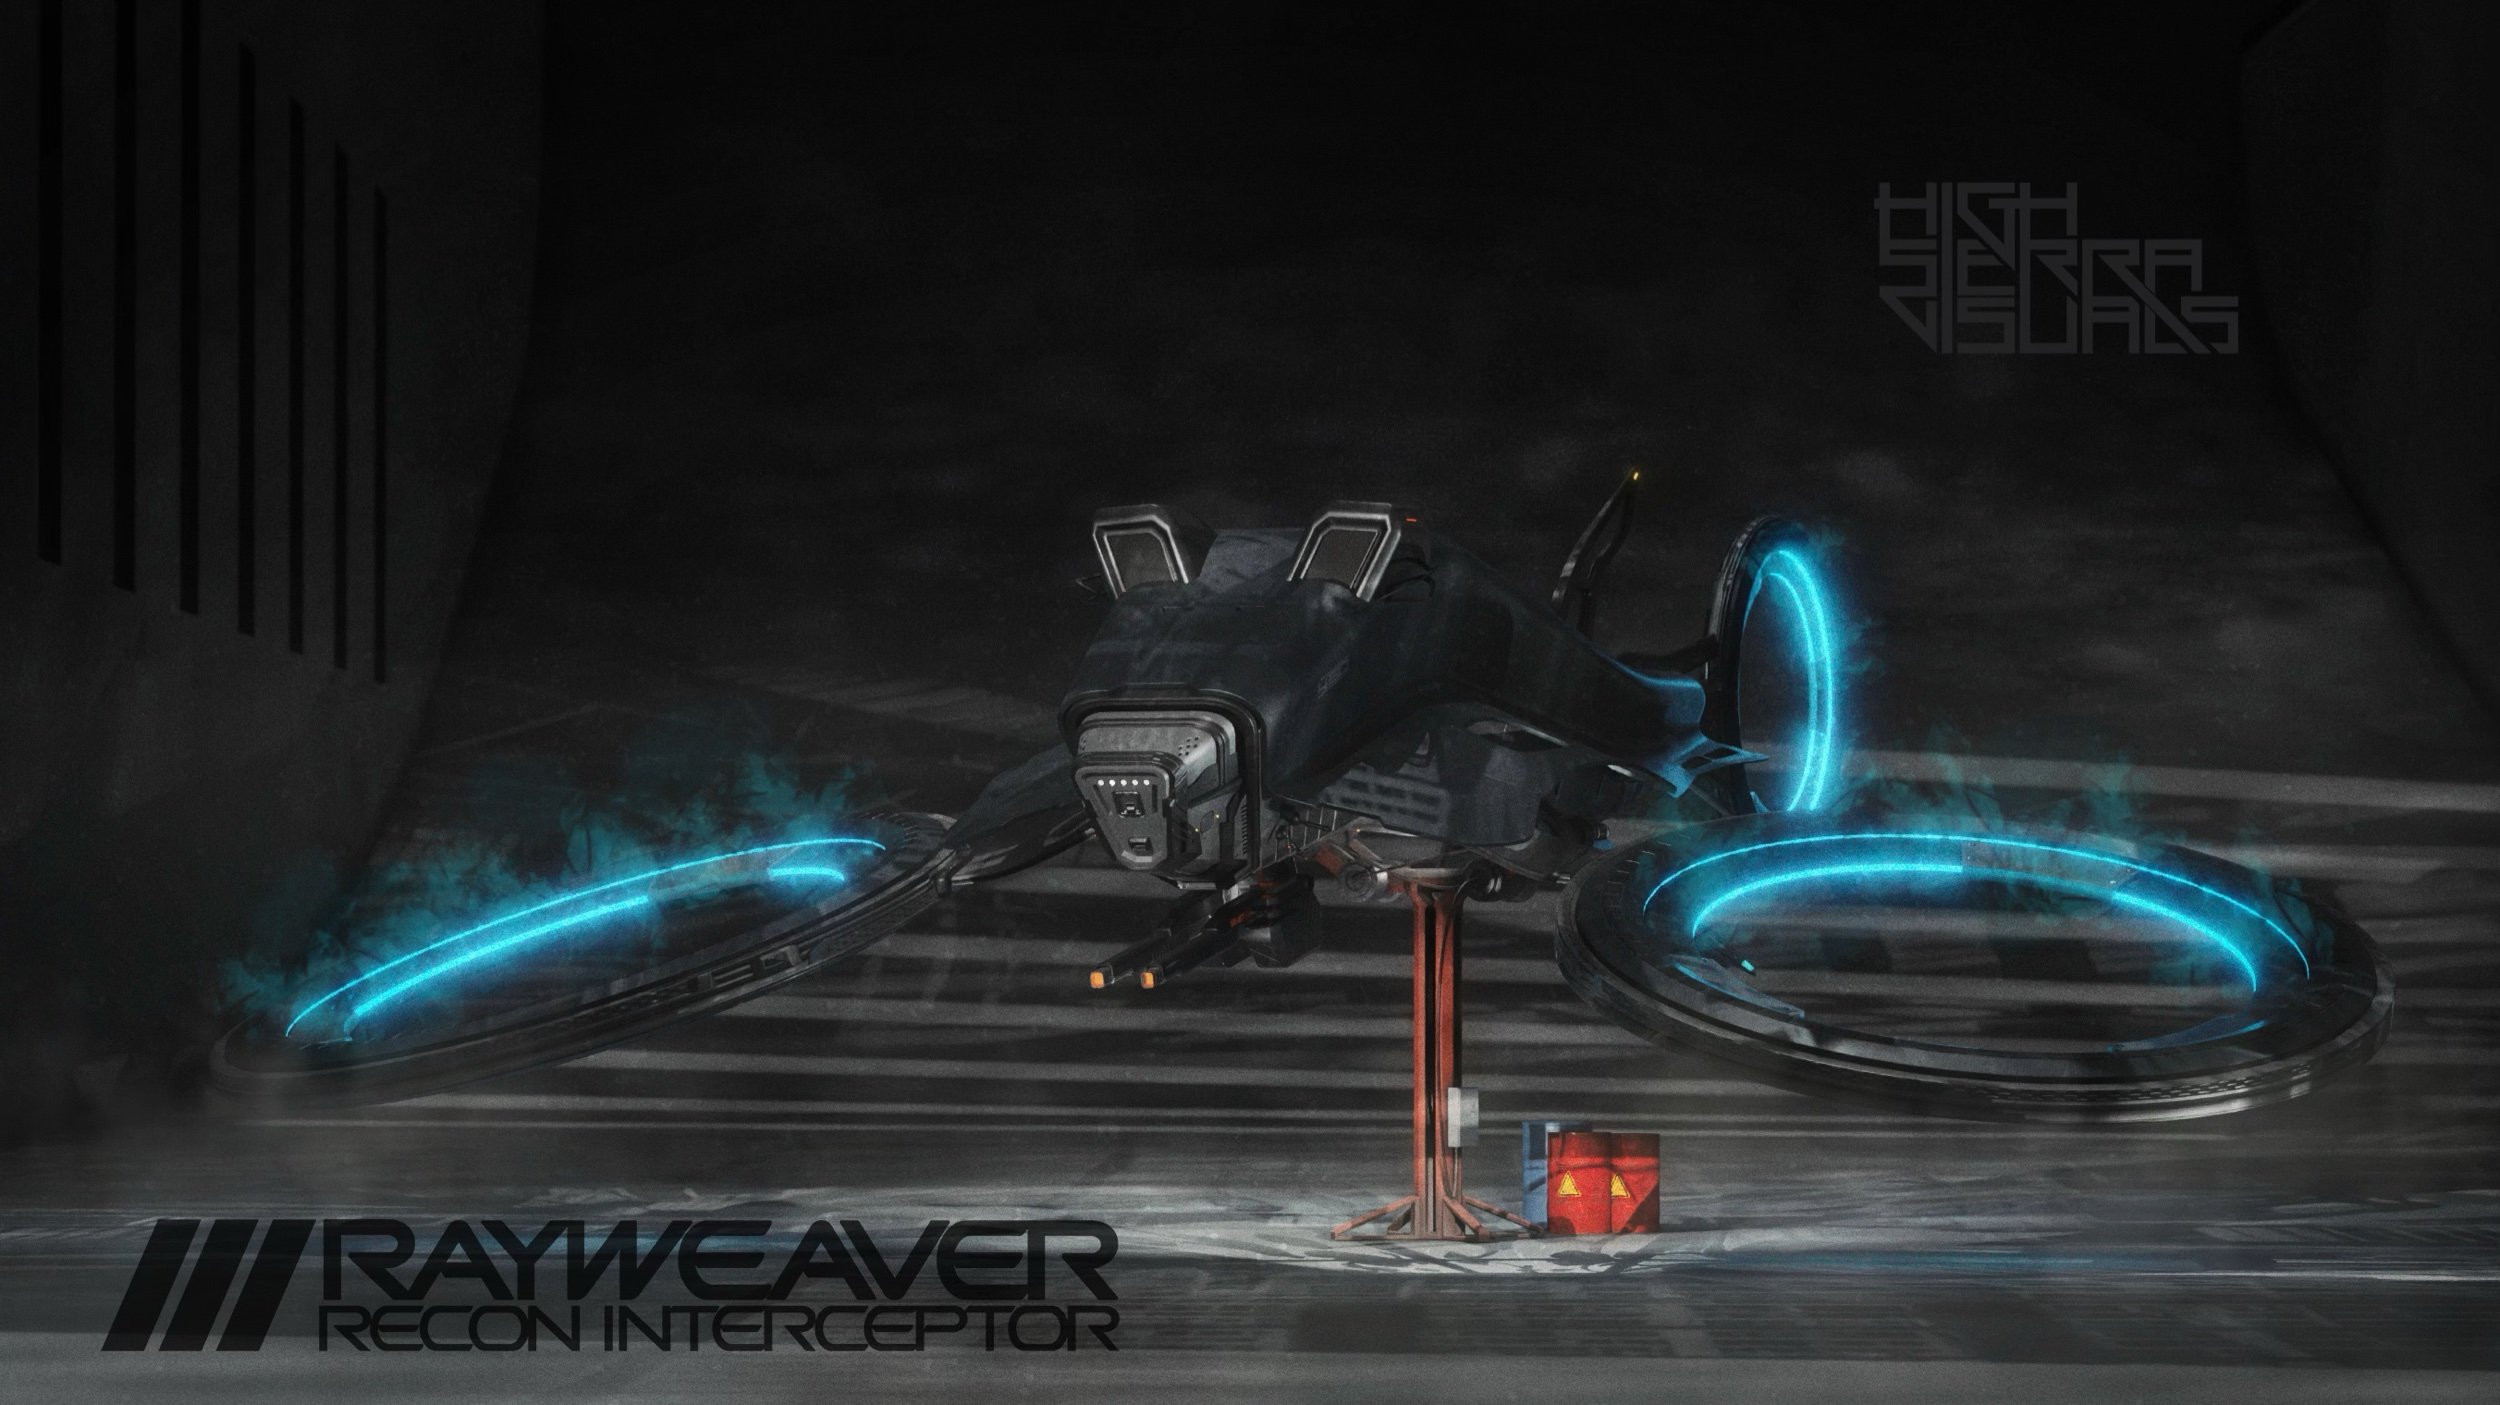
As I progressed through the courses, I gained confidence in my skills and was able to apply what I learned to create my own projects. I completed two projects, the robotic arm and the sci-fi space craft, which I am proud of. These projects allowed me to showcase my skills and put into practice what I learned from the courses.
I highly recommend BlenderBros3D's courses and materials to anyone interested in learning 3D animation and modeling using Blender3D. The courses are well-structured, informative, and engaging, and the teaching style caters to both beginners and advanced artists.
At the end of the day learning a new skill can be a challenging but rewarding experience. If you want to learn a new skill, such as 3D animation and modeling, put in the time and effort, and the results will pay off. BlenderBros3D is a great place to start your learning journey, and with their courses and materials, you'll be on your way to mastering 3D animation and modeling in no time.
Go check them out at https://www.blenderbros.com/
Josh and Ryuu are your guys when it comes to modeling.
Maximizing Productivity in Graphic Design: The Power of Time Blocking and Prioritizing Tasks
Designing with a purpose, managing time to achieve greatness #graphicdesign #timemanagement
As a graphic artist at CustomInk, it's essential to have strong time management skills in order to stay productive and on task in your work. One technique that can help is to block out chunks of time in 2-hour increments, with short 5-minute breaks in between each block. This allows you to focus on your work for a sustained period, while also giving you regular breaks to rest and recharge.
To get the most out of your schedule, it's important to schedule meetings and lunch breaks accordingly to what fits your style. Take note of when you are the most productive and focused, then tailor your schedule to make the most of those times. One way to figure out your most productive time of the day is to run a test over a couple of days to gauge when you are the most focused and motivated. Once you have an idea of your ideal schedule, you can brainstorm ways to make it work for you.
“Time management is the key to unlocking your full potential as a graphic artist. Prioritize, plan, and focus to achieve greatness.”
Another important aspect of time management is to prioritize your tasks. make sure you tackle the most important things first and avoid getting bogged down in less important tasks. Setting clear and specific goals for each block of time will help to keep you focused and on track.
Another important aspect of time management in graphic design is to optimize your schedule for maximum productivity by running a week-long test, during which you can gauge the improvements you've made and make any necessary adjustments. You may also want to pay attention to how you're feeling during different times of the day and make note of any changes in your productivity or focus. By fine-tuning your schedule in this way, you can achieve the highest level of productivity without getting burnt out.
Here's an example of a timeline for a typical workday that incorporates these time management techniques:
9:00am - 11:00am: Prioritized task block (Focus on most important tasks of the day)
11:00am - 11:05am: Break (Rest and recharge)
11:05am - 1:05pm: Prioritized task block
1:05pm - 2:00pm: Lunch break (Take a break to recharge)
2:00pm - 4:00pm: Prioritized task block
4:00pm - 4:05pm: Break
4:05pm - 6:00pm: Prioritized task block (Focus on remaining important tasks)
It's important to remember that this is just an example and not necessarily what's going to work for everyone. It's essential to figure out what schedule works best for you based on your personal productivity patterns. Experiment with different schedules and techniques to find the right balance for you. And remember to be flexible, if some days require changes to the schedule, you may need to adjust the timeline according to the needs of the day.
Discovering the Beauty in Your Backyard: Tips for Staying Creative with Local Area Photography
As a photographer, it can be easy to get caught up in the idea that you need to travel to exotic locations or popular tourist destinations to capture eye-catching visuals. However, the truth is that the best art often comes from simply enjoying the art of photography and not trying to capture trending locations.
One of the best ways to do this is by exploring your local area. Whether you live in a big city or a small town, there is always something new to discover and photograph right outside your doorstep. Here are a few tips for staying creative and making the most of your local photography adventures:
Look for unique perspectives. Try looking at familiar places with a fresh perspective. Climb to the top of a nearby hill or building, or find a spot where you can photograph from a low angle to capture a different perspective of a well-known location.
Focus on the details. Sometimes the smallest details can make for the most interesting photographs. Take a close-up photo of a leaf, a flower, a texture on a building, or even something like a rusted metal gate.
Seek out new locations. Even if you think you know your local area well, there are likely places you have never been before. Take a walk or drive around your neighborhood and keep an eye out for new locations to explore and photograph.
Keep an open mind. Be open to new opportunities and don’t be afraid to experiment. You never know when a chance encounter or unexpected scene will lead to an exciting new photograph.
Consider the light Lighting can be the deciding factor in how interesting or beautiful a photograph appears. Be mindful of the quality of light at different times of day, such as the warm and soft light of the early morning or late afternoon, and the harsher, contrasting light of the middle of the day.
By following these tips, you can make the most of your local photography adventures and create beautiful, eye-catching visuals right in your own backyard. Remember that photography is about seeing the world around you and capturing it in a way that is meaningful and interesting to you. So, take the time to explore your local area, and enjoy the process of discovering new and exciting things to photograph.
10 Inspirational Quotes to Ignite Your Passion for Exploring and Photographing New Places.
Are you looking for inspiration to help fuel your next photography adventure? Look no further! We've compiled a list of 12 quotes from renowned photographers and industry leaders that will not only motivate you to get out and explore new areas, but also to approach your photography with a creative and passionate mindset. From Henri Cartier-Bresson to Steve Jobs, these quotes will remind you of the importance of loving what you do and to always strive for greatness. Keep reading to find the perfect quote to push you to your next level in photography. Comment below your favorite.
"A photograph is a secret about a secret. The more it tells you the less you know." - Diane Arbus
"It's not about the camera. It's about the eye." - Alex Webb
"You don't take a photograph, you make it." - Ansel Adams
"A good photograph is one that communicates a fact, touches the heart and leaves the viewer a changed person for having seen it. It is, in a word, effective." - Irving Penn
"The best images are the ones that retain their strength and impact over the years, regardless of the number of times they are viewed." - Anne Geddes
"The best way to predict the future is to create it." - Abraham Lincoln
"The only way to do great work is to love what you do." - Steve Jobs
"I have always been driven to buck the system, to innovate, to take things beyond where they've been." - Sam Abell
"Life is like photography, you need the negatives to develop." - Unknown
"Photography is a way of feeling, of touching, of loving. What you have caught on film is captured forever... it remembers little things, long after you have forgotten everything." - Aaron Siskind
"The most important thing is to enjoy your life—to be happy—it's all that matters." - Audrey Hepburn
"Your first 10,000 photographs are your worst." - Henri Cartier-Bresson
Exploring new areas and being creative with your photography is an exciting and rewarding experience. By venturing out and seeing new things, you open yourself up to new perspectives, new inspirations, and new opportunities. These quotes are meant to inspire you to keep going and to remind you that the journey of photography is not about perfection but growth and joy. Happy exploring and shooting!
Unblock Your Creativity: Tips for Getting Out of a Creative Slump and how to promote your content on Instagram.
Being in a creative slump can be frustrating and demotivating, especially for designers and photographers who rely on their creativity to produce work. However, it's important to remember that a creative block is a natural part of the creative process and can happen to anyone. In this blog post, we'll share some tips and tricks for getting out of a creative slump and getting back into the flow of making creative designs and shooting photography. From taking a break to set goals, learning from others, and working on a side project, these practical tips will help you overcome your creative block and start producing your best work again. Optimize your creativity and overcome the creative block by reading this blog post.
Get inspired: Look for inspiration in unexpected places. Go to an art museum, read a book, or take a walk through nature. Inspiration can come from anywhere, so don't limit yourself to only looking in your usual sources.
Make time for experimentation: Set aside time each day to experiment with new techniques or materials. This can help you break out of your usual routine and try something new.
Set goals: Having a clear goal in mind can help you stay focused and motivated. Try setting a specific, achievable goal for yourself, such as creating a certain number of new designs or taking a certain number of photographs each week.
Get feedback: Share your work with others and get feedback. This can help you get a fresh perspective on your work and identify areas for improvement.
Learn from others: Study the work of other creatives in your field. See how they approach problems and try to incorporate some of their methods into your own work.
Work on a side project: Have an idea for a project that you've always wanted to work on but never had the time for? Start working on it. Having a side project can help you tap into your creativity and explore new ideas.
Take a class or workshop: Sign up for a class or workshop to learn new skills. This can be a great way to break out of a rut and learn new techniques.
Collaborate: Collaborate with other creatives on a project. This can be a great way to learn from others and generate new ideas.
Don't be afraid to fail: Remember that failure is a natural part of the creative process. Don't be afraid to try new things, even if they don't work out. The more you experiment and take risks, the more likely you are to come up with something truly innovative.
Take a break: Sometimes, the best way to get out of a creative slump is to step away from your work altogether. Take a vacation, go on a hike, or simply spend some time away from your computer.
In addition to overcoming a creative slump, it's important to know how to effectively promote your work on social media. Instagram is a great platform for photographers and designers to share their work and connect with a wider audience. Here are a few tips for creating Instagram posts that will help you get more exposure and bring in new followers:
Use hashtags: Hashtags are a powerful tool for reaching new audiences on Instagram. When you post a new image, include relevant hashtags in the caption. This will make it easier for people searching for specific keywords to find your work.
Use location tags: If you're taking a picture at a specific location, use the location tag. This will make it easier for people who are searching for photos from that location to find your post.
Post consistently: To keep your followers engaged and attract new ones, it's important to post regularly. Try to post at least once a day, or at the very least a few times a week.
Engage with your followers: Respond to comments, direct messages and interact with your followers and other users on Instagram. This will help you build relationships and encourage people to follow your account.
Collaborate with other Instagram users: Collaborating with other users on Instagram can help you reach new audiences and gain exposure.
Use Instagram Stories: Use Instagram Stories to give your followers a behind-the-scenes look at your creative process, or share sneak peeks of upcoming projects.
Use Instagram Live: Instagram Live allows you to connect with your audience in real-time, it also gives you the opportunity to take questions, show your face and make it more personal.
Run a promotion or contest: Running a promotion or contest on Instagram can be a great way to attract new followers and engage with your existing ones.
Important note to using location tags to help people find your posts, it's also important to consider the precision of the location you're tagging. While it can be tempting to tag an exact location, such as a specific park or building, this can also lead to overcrowding and damage to the location. Instead, consider using a more general location, such as a city or region, to help promote your work without giving away secret or sensitive locations. This way your audience will know where the photo was taken, but you can also help keep a special or secret place from being overcrowded by too many visitors.
This also applies to using hashtags, try to use hashtags that are specific enough to reach people who are interested in your content but not so specific that you're giving away the exact location of a spot that you want to keep secret. This way you can get more exposure without risking ruining the location for yourself and other visitors. Keep the balance, think about it and choose the right hashtags and locations for your post.
By following these tips, you can make the most of Instagram as a way to promote your creative work, bring in new followers, and build relationships with potential clients or collaborators. Remember to use relevant hashtags, post consistently, engage with your followers, collaborate with other users, and take advantage of Instagram's features.
Make sure to keep testing, experimenting and updating your strategy, what works well for one user may not work as well for another, and remember to have fun with it!
In summary, getting out of a creative slump takes time and effort. By trying new things, seeking inspiration and feedback, learning from others and collaborating, setting goals, and not being afraid to fail, you can overcome this phase and get back to doing what you love.
5 Reasons Why Lume Cube's Portable Panel Lights are a Must-Have for Any Photographer's Toolkit
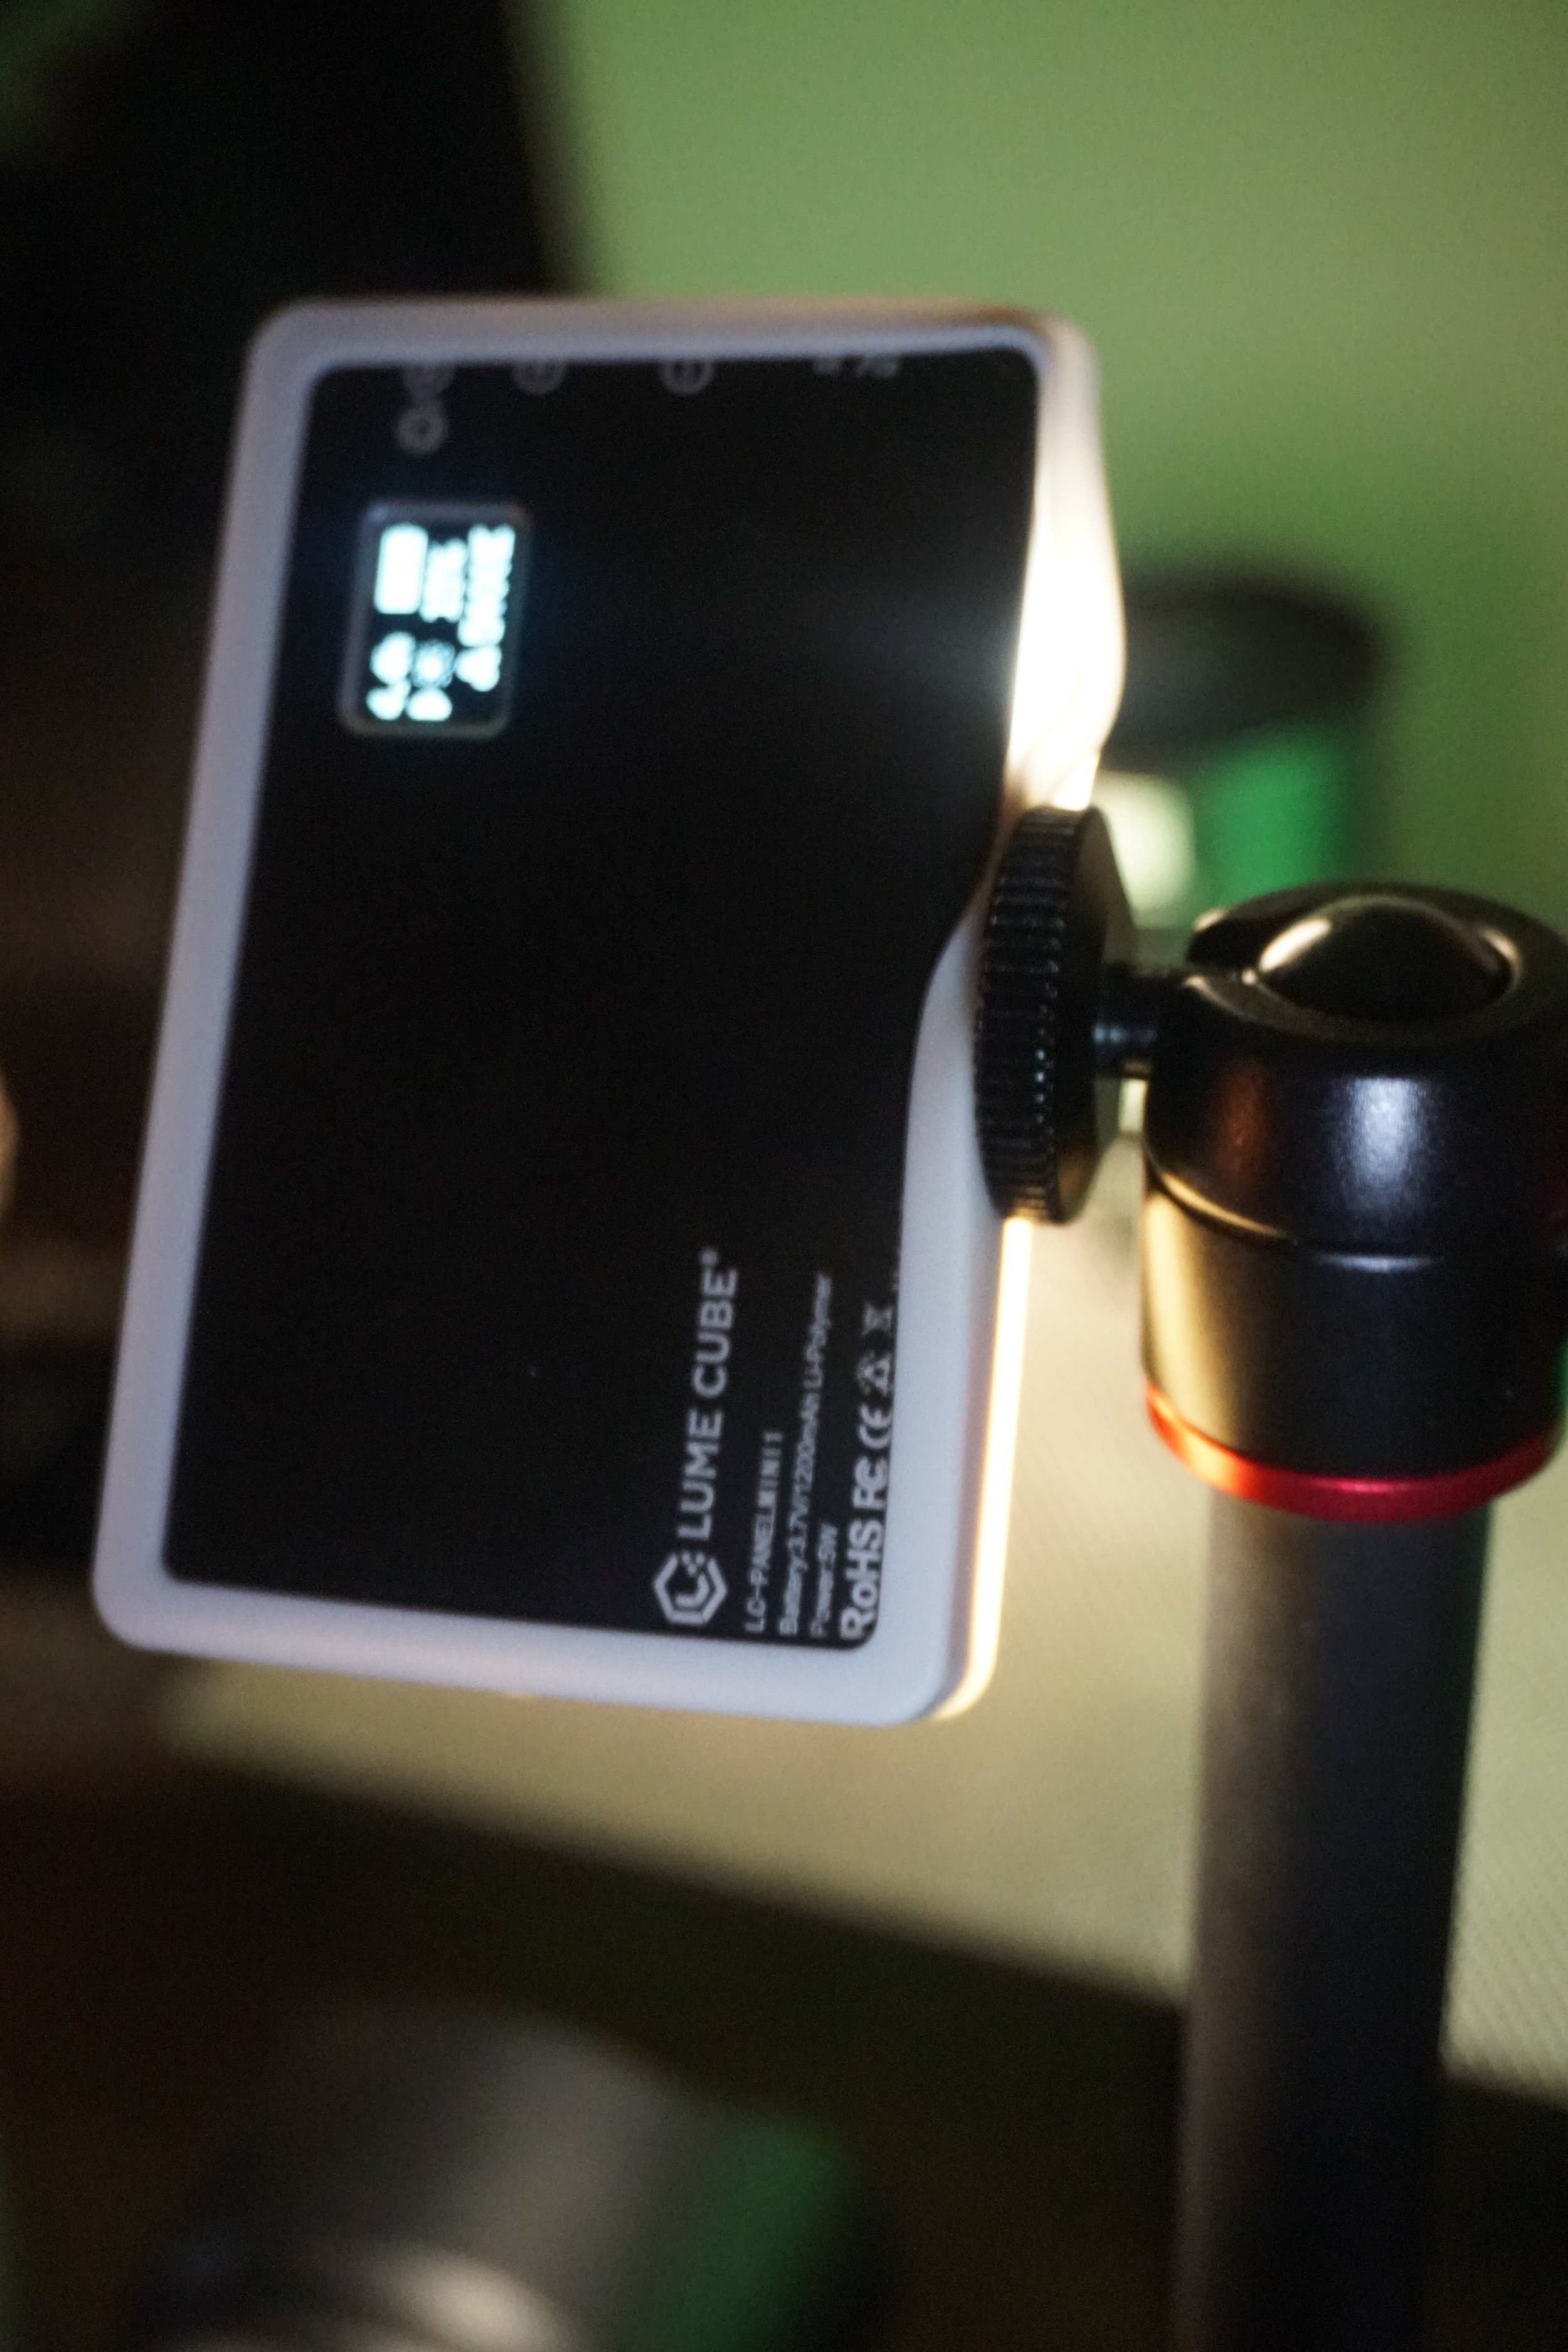
Looking for a versatile and cost-effective lighting solution for your photography needs? Look no further than Lume Cubes portable panel lights. These lightweight and compact lights are perfect for on-location shoots or for photographers working with limited space. They produce a soft, diffused light that is easy on the eyes and perfect for capturing subtle details and textures. With the ability to program different colors and use different light diffusers, you can easily adjust the intensity and direction of the light to suit your creative vision. Whether you're a professional photographer or just starting out, Lumecubes are a must-have for your toolkit.
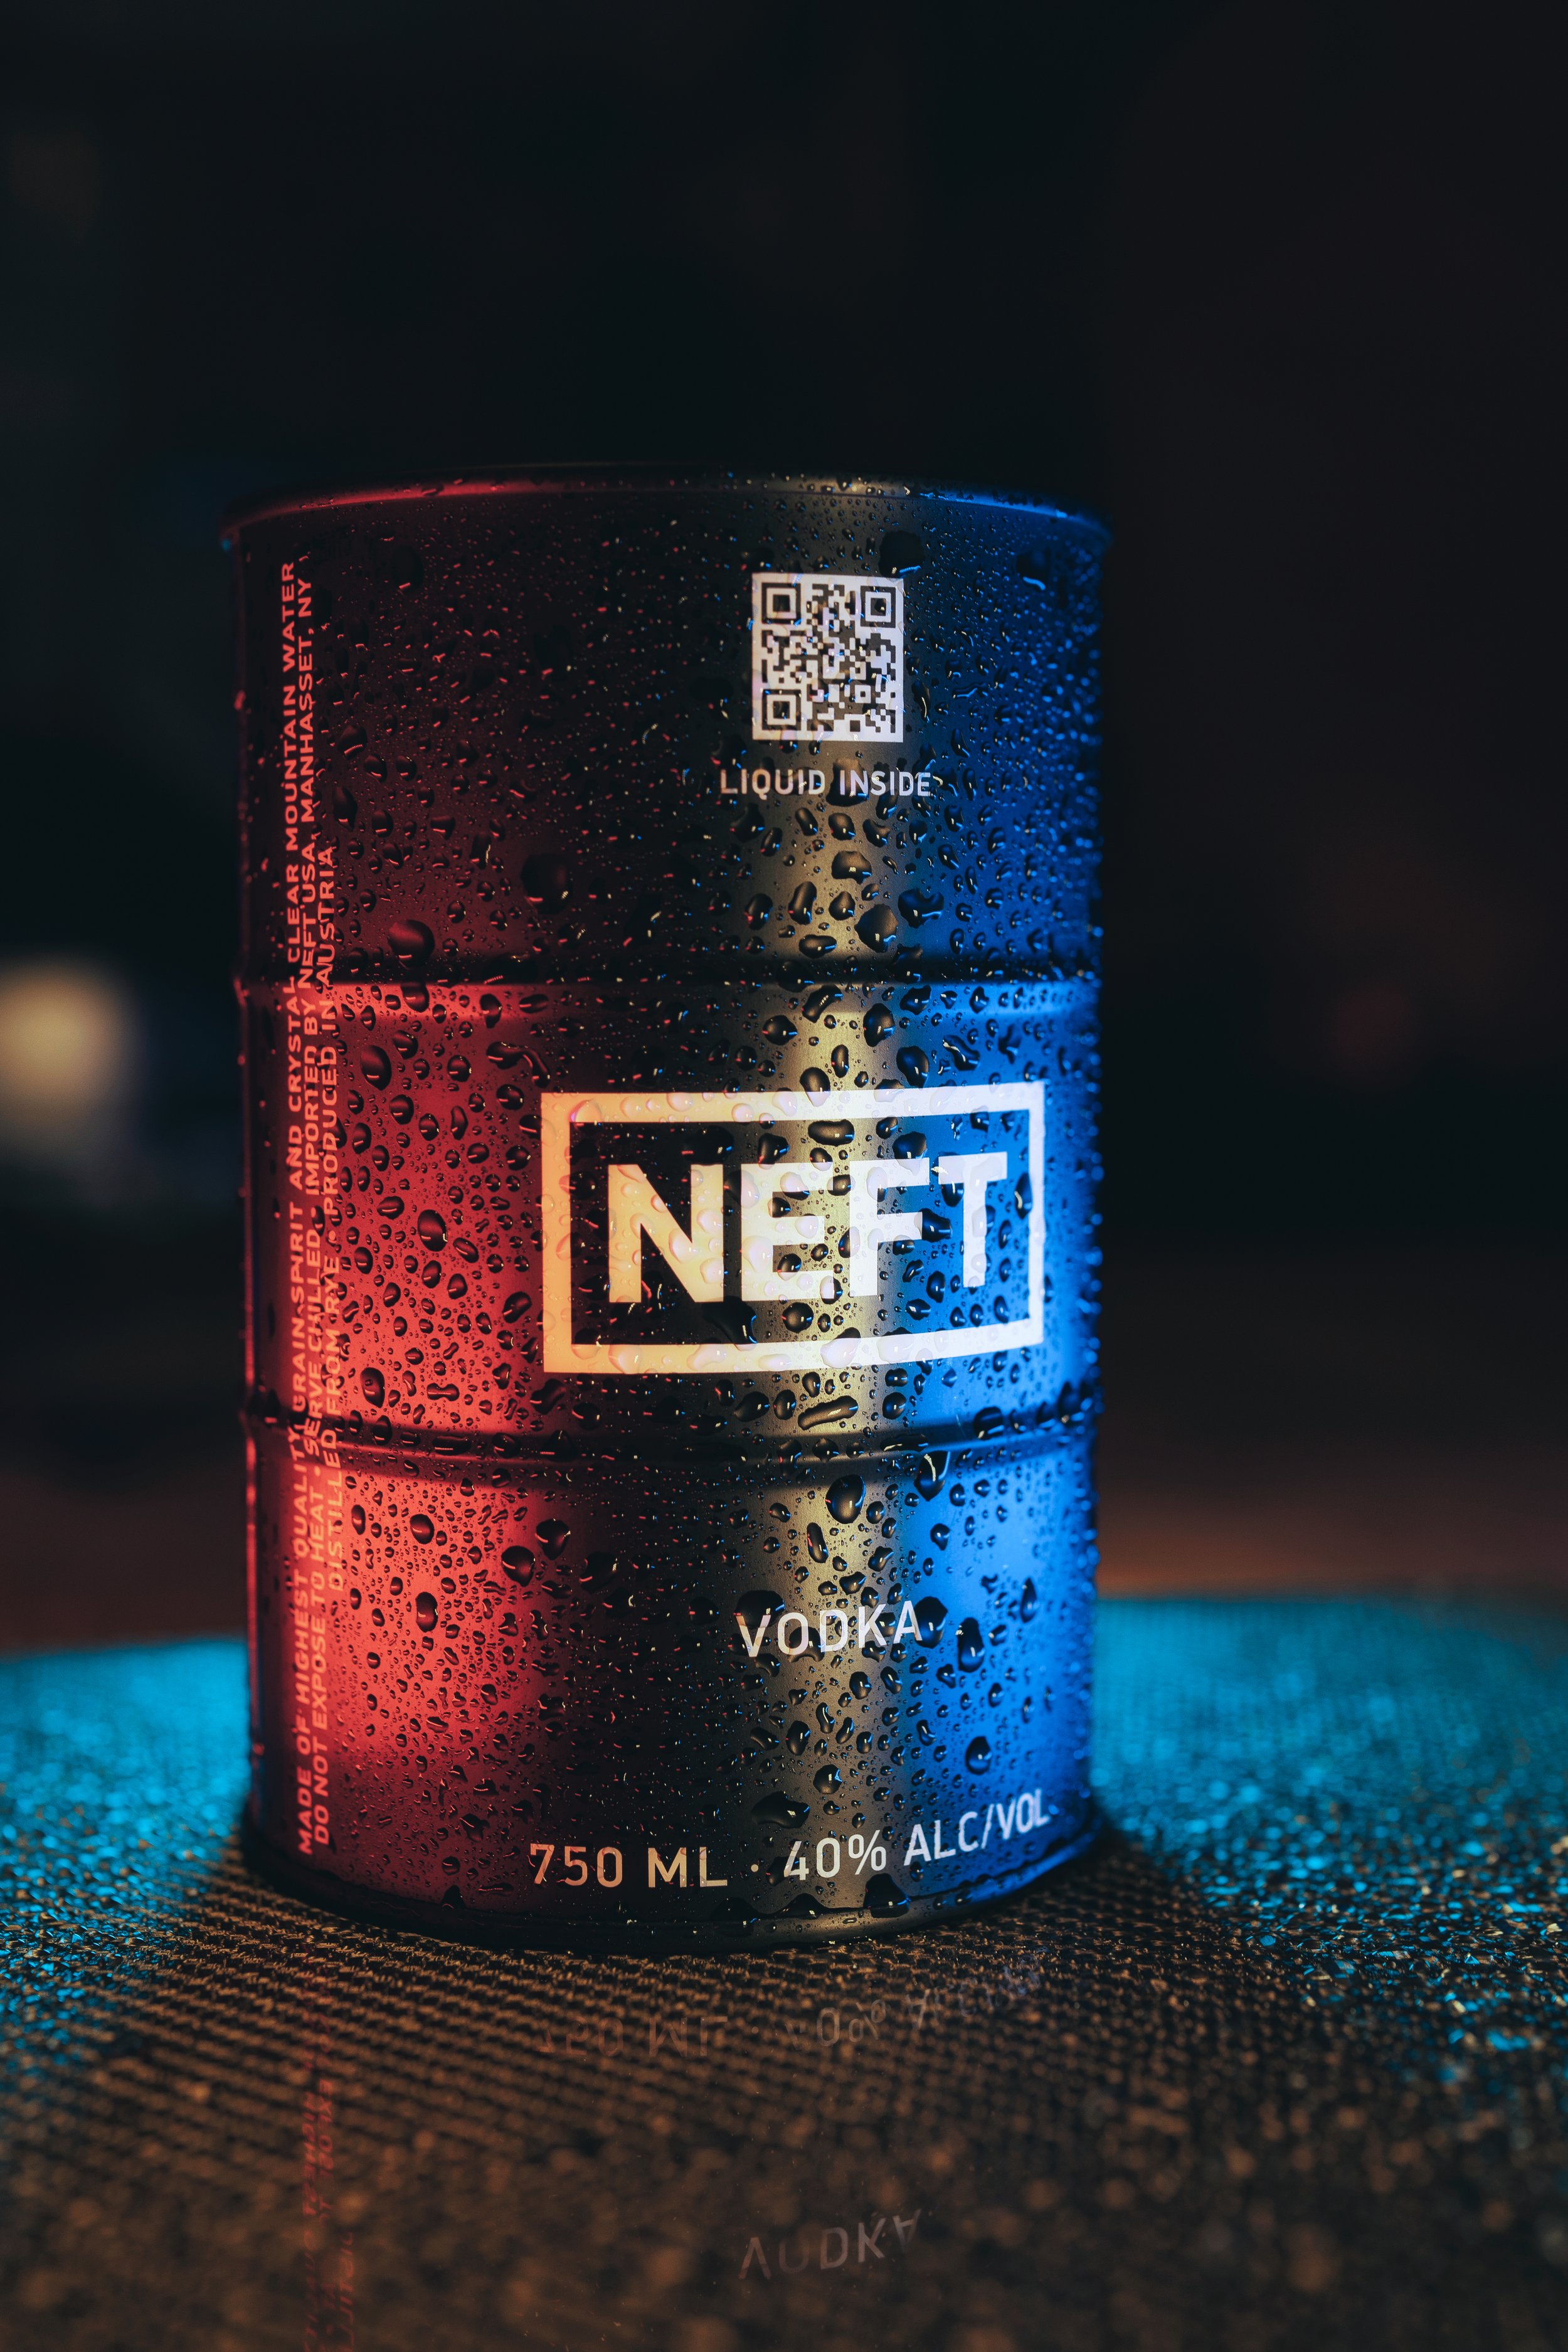
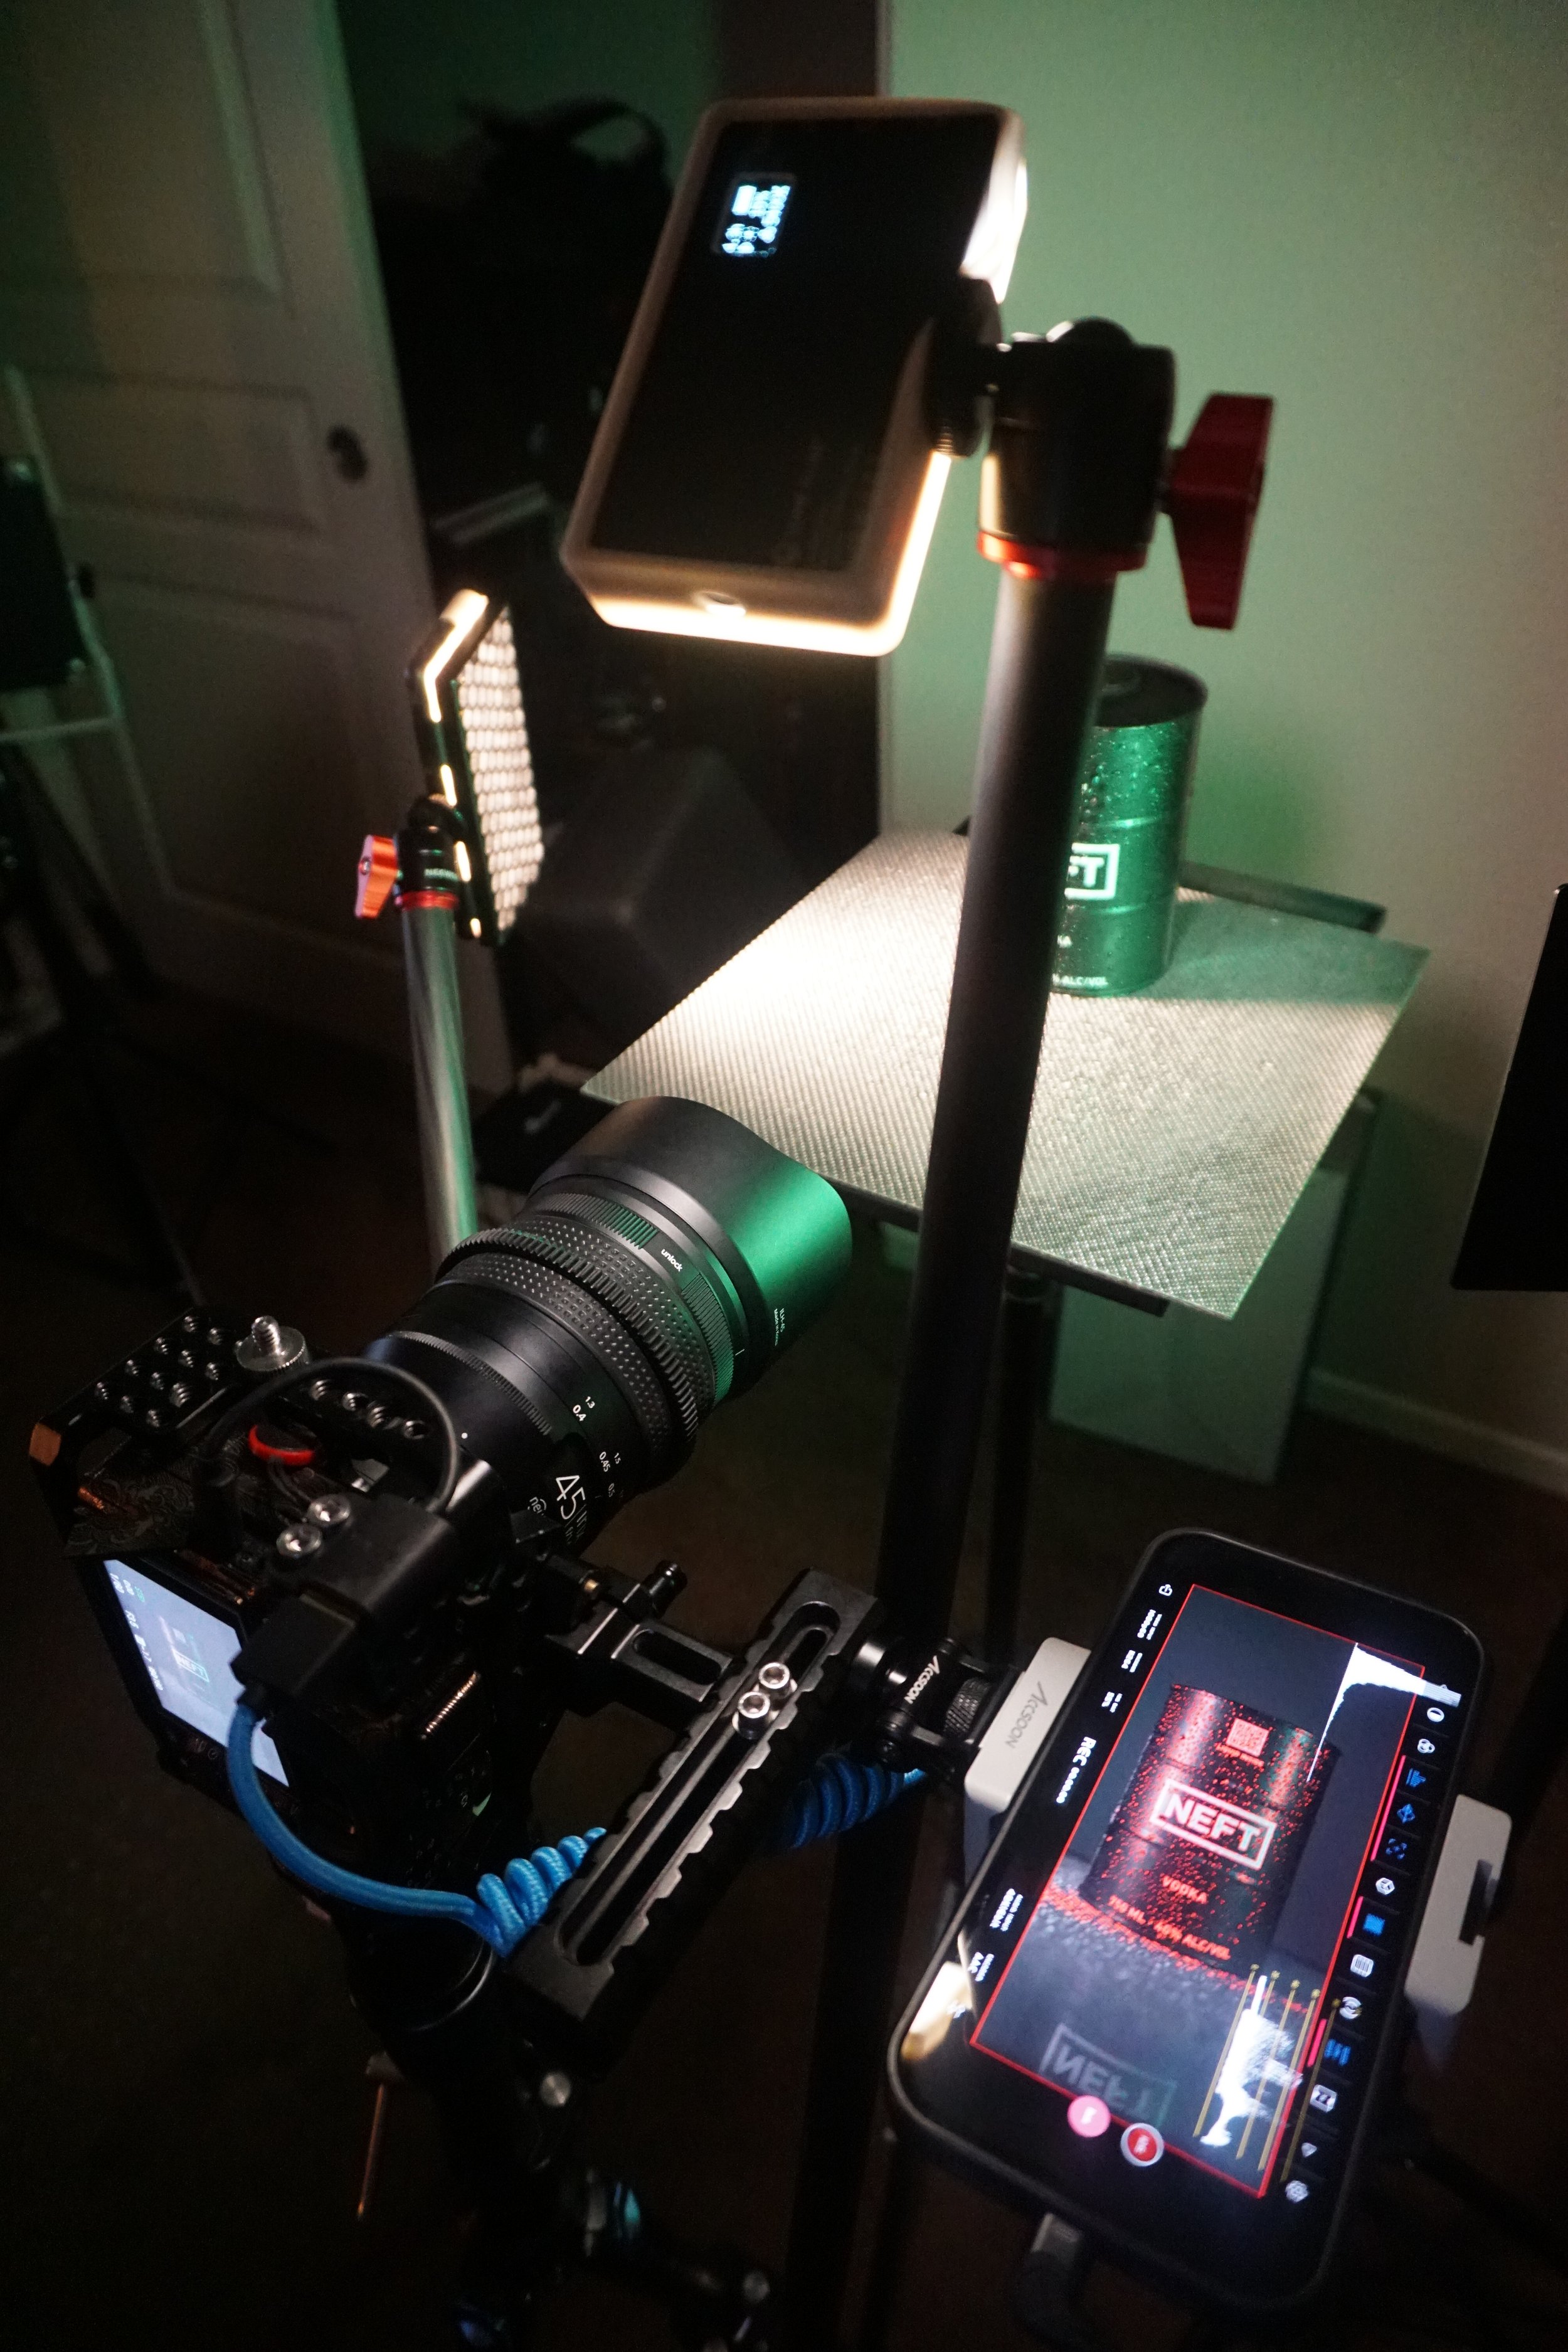
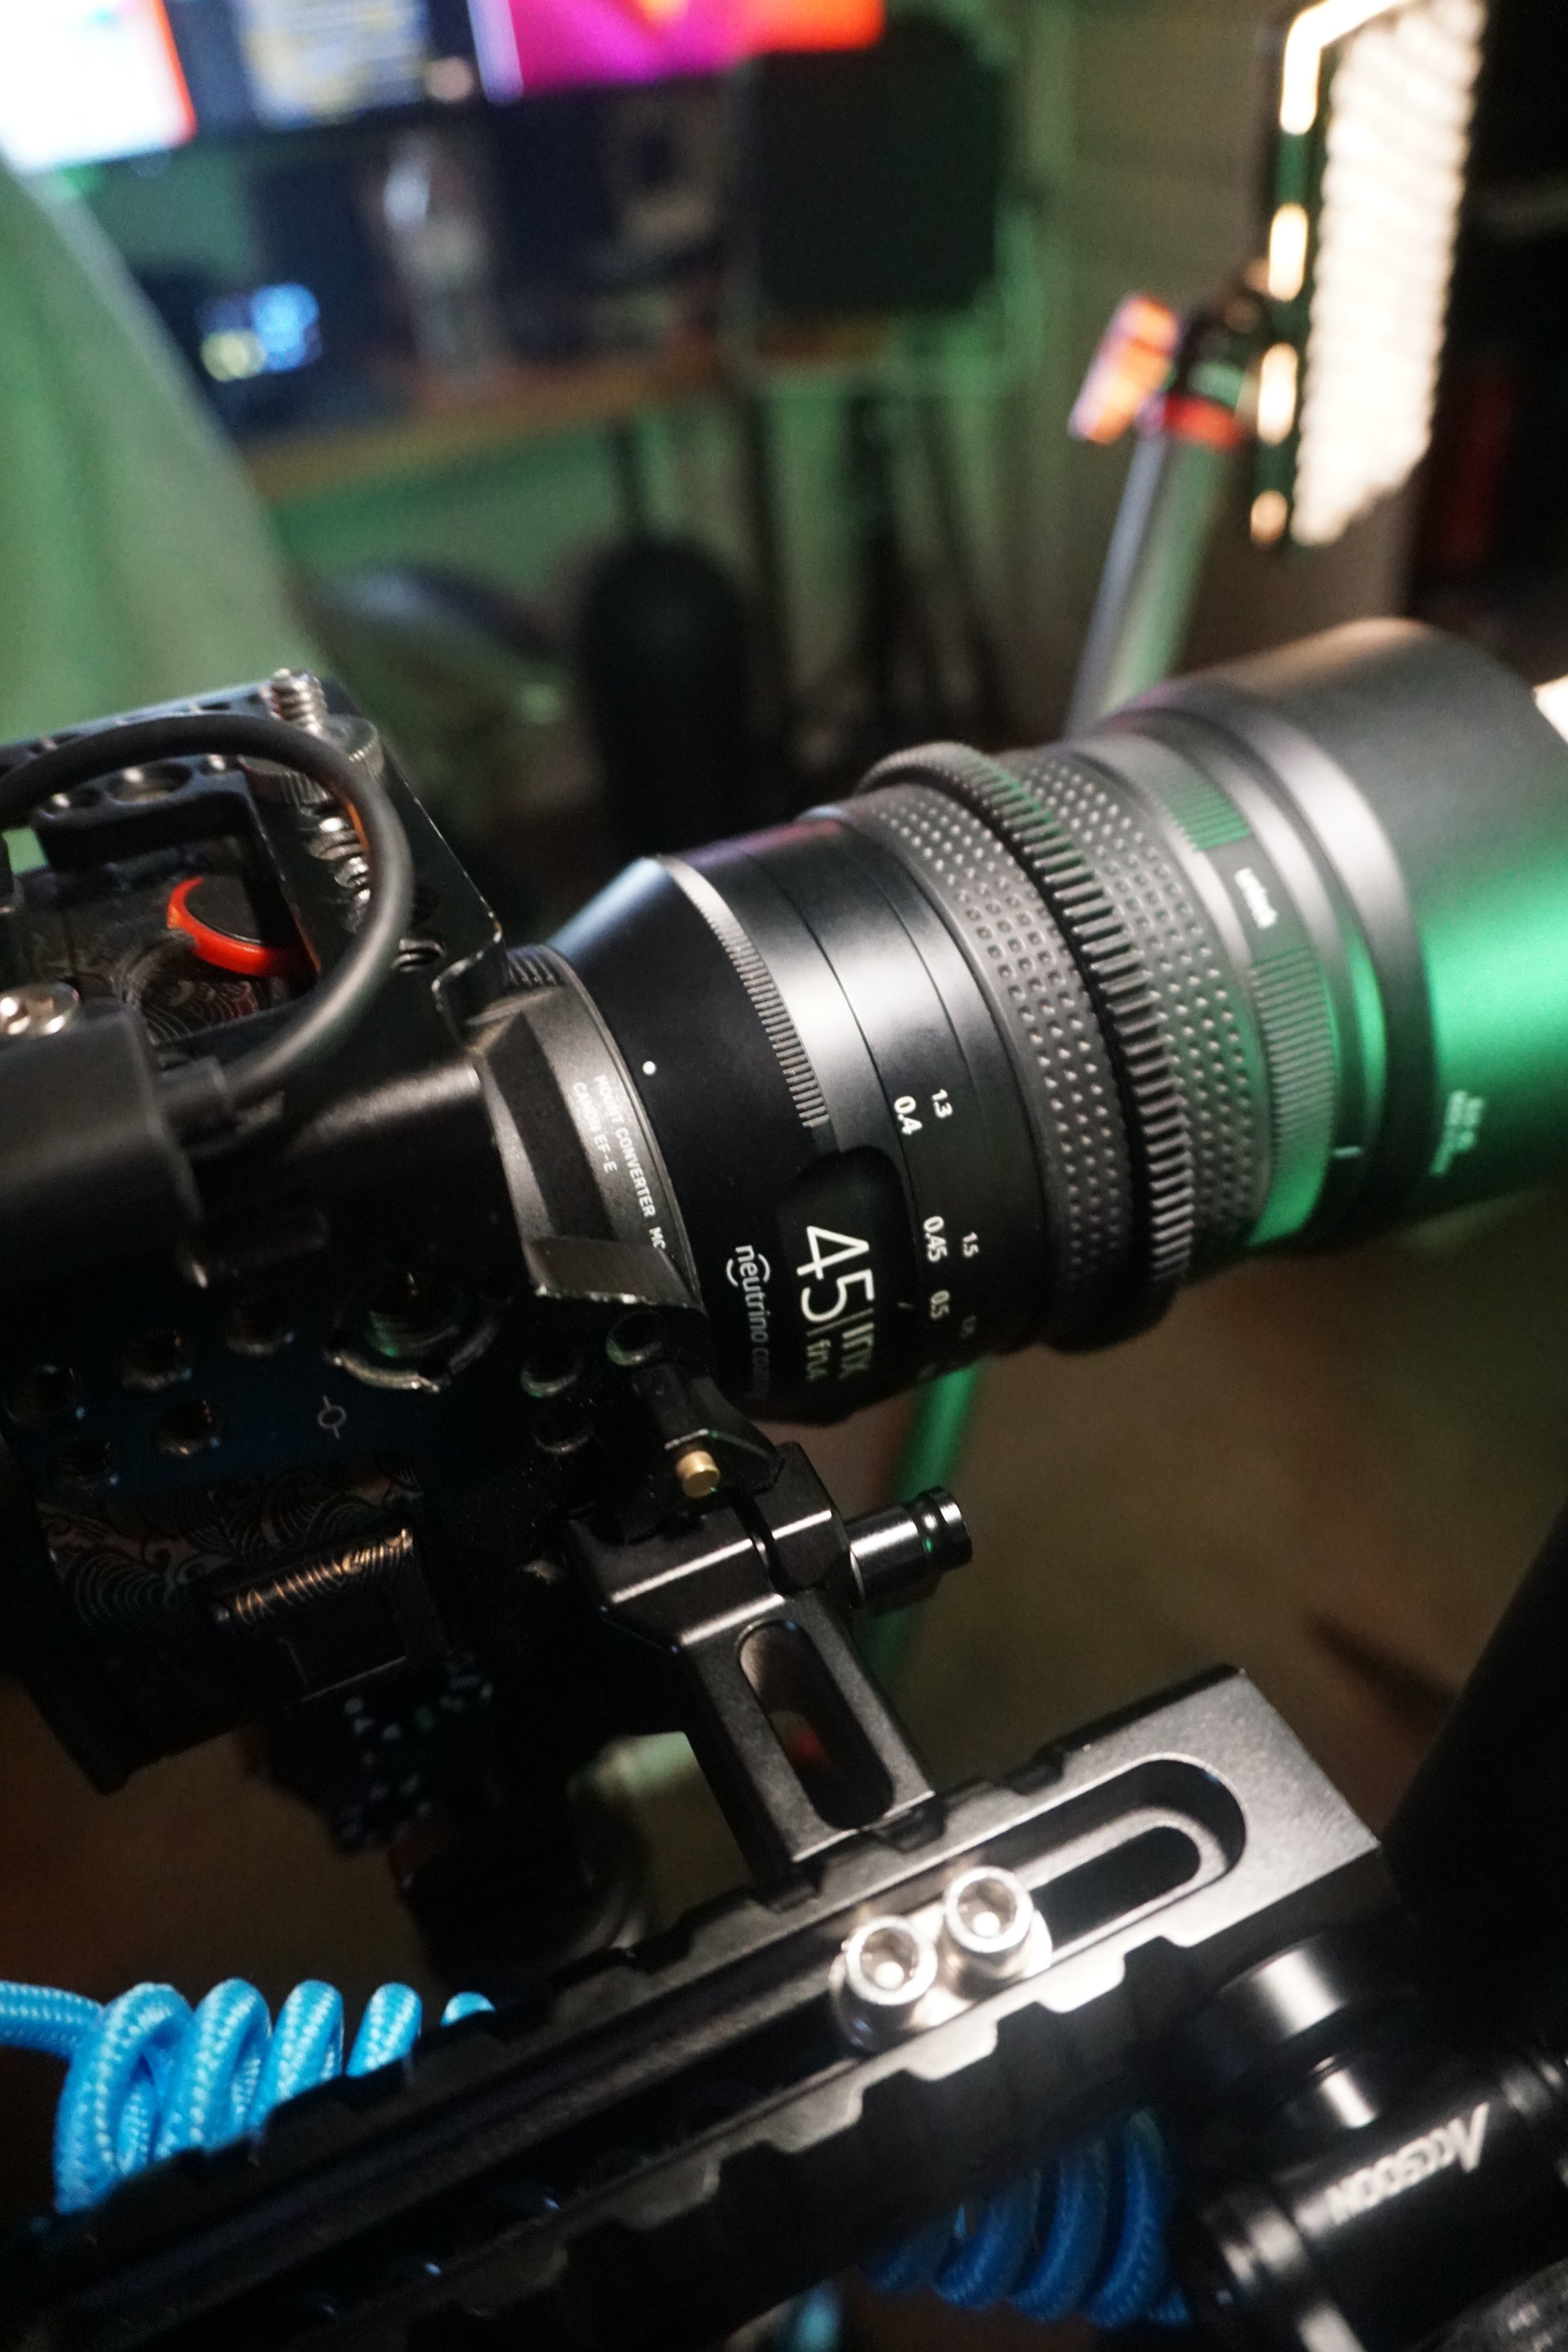
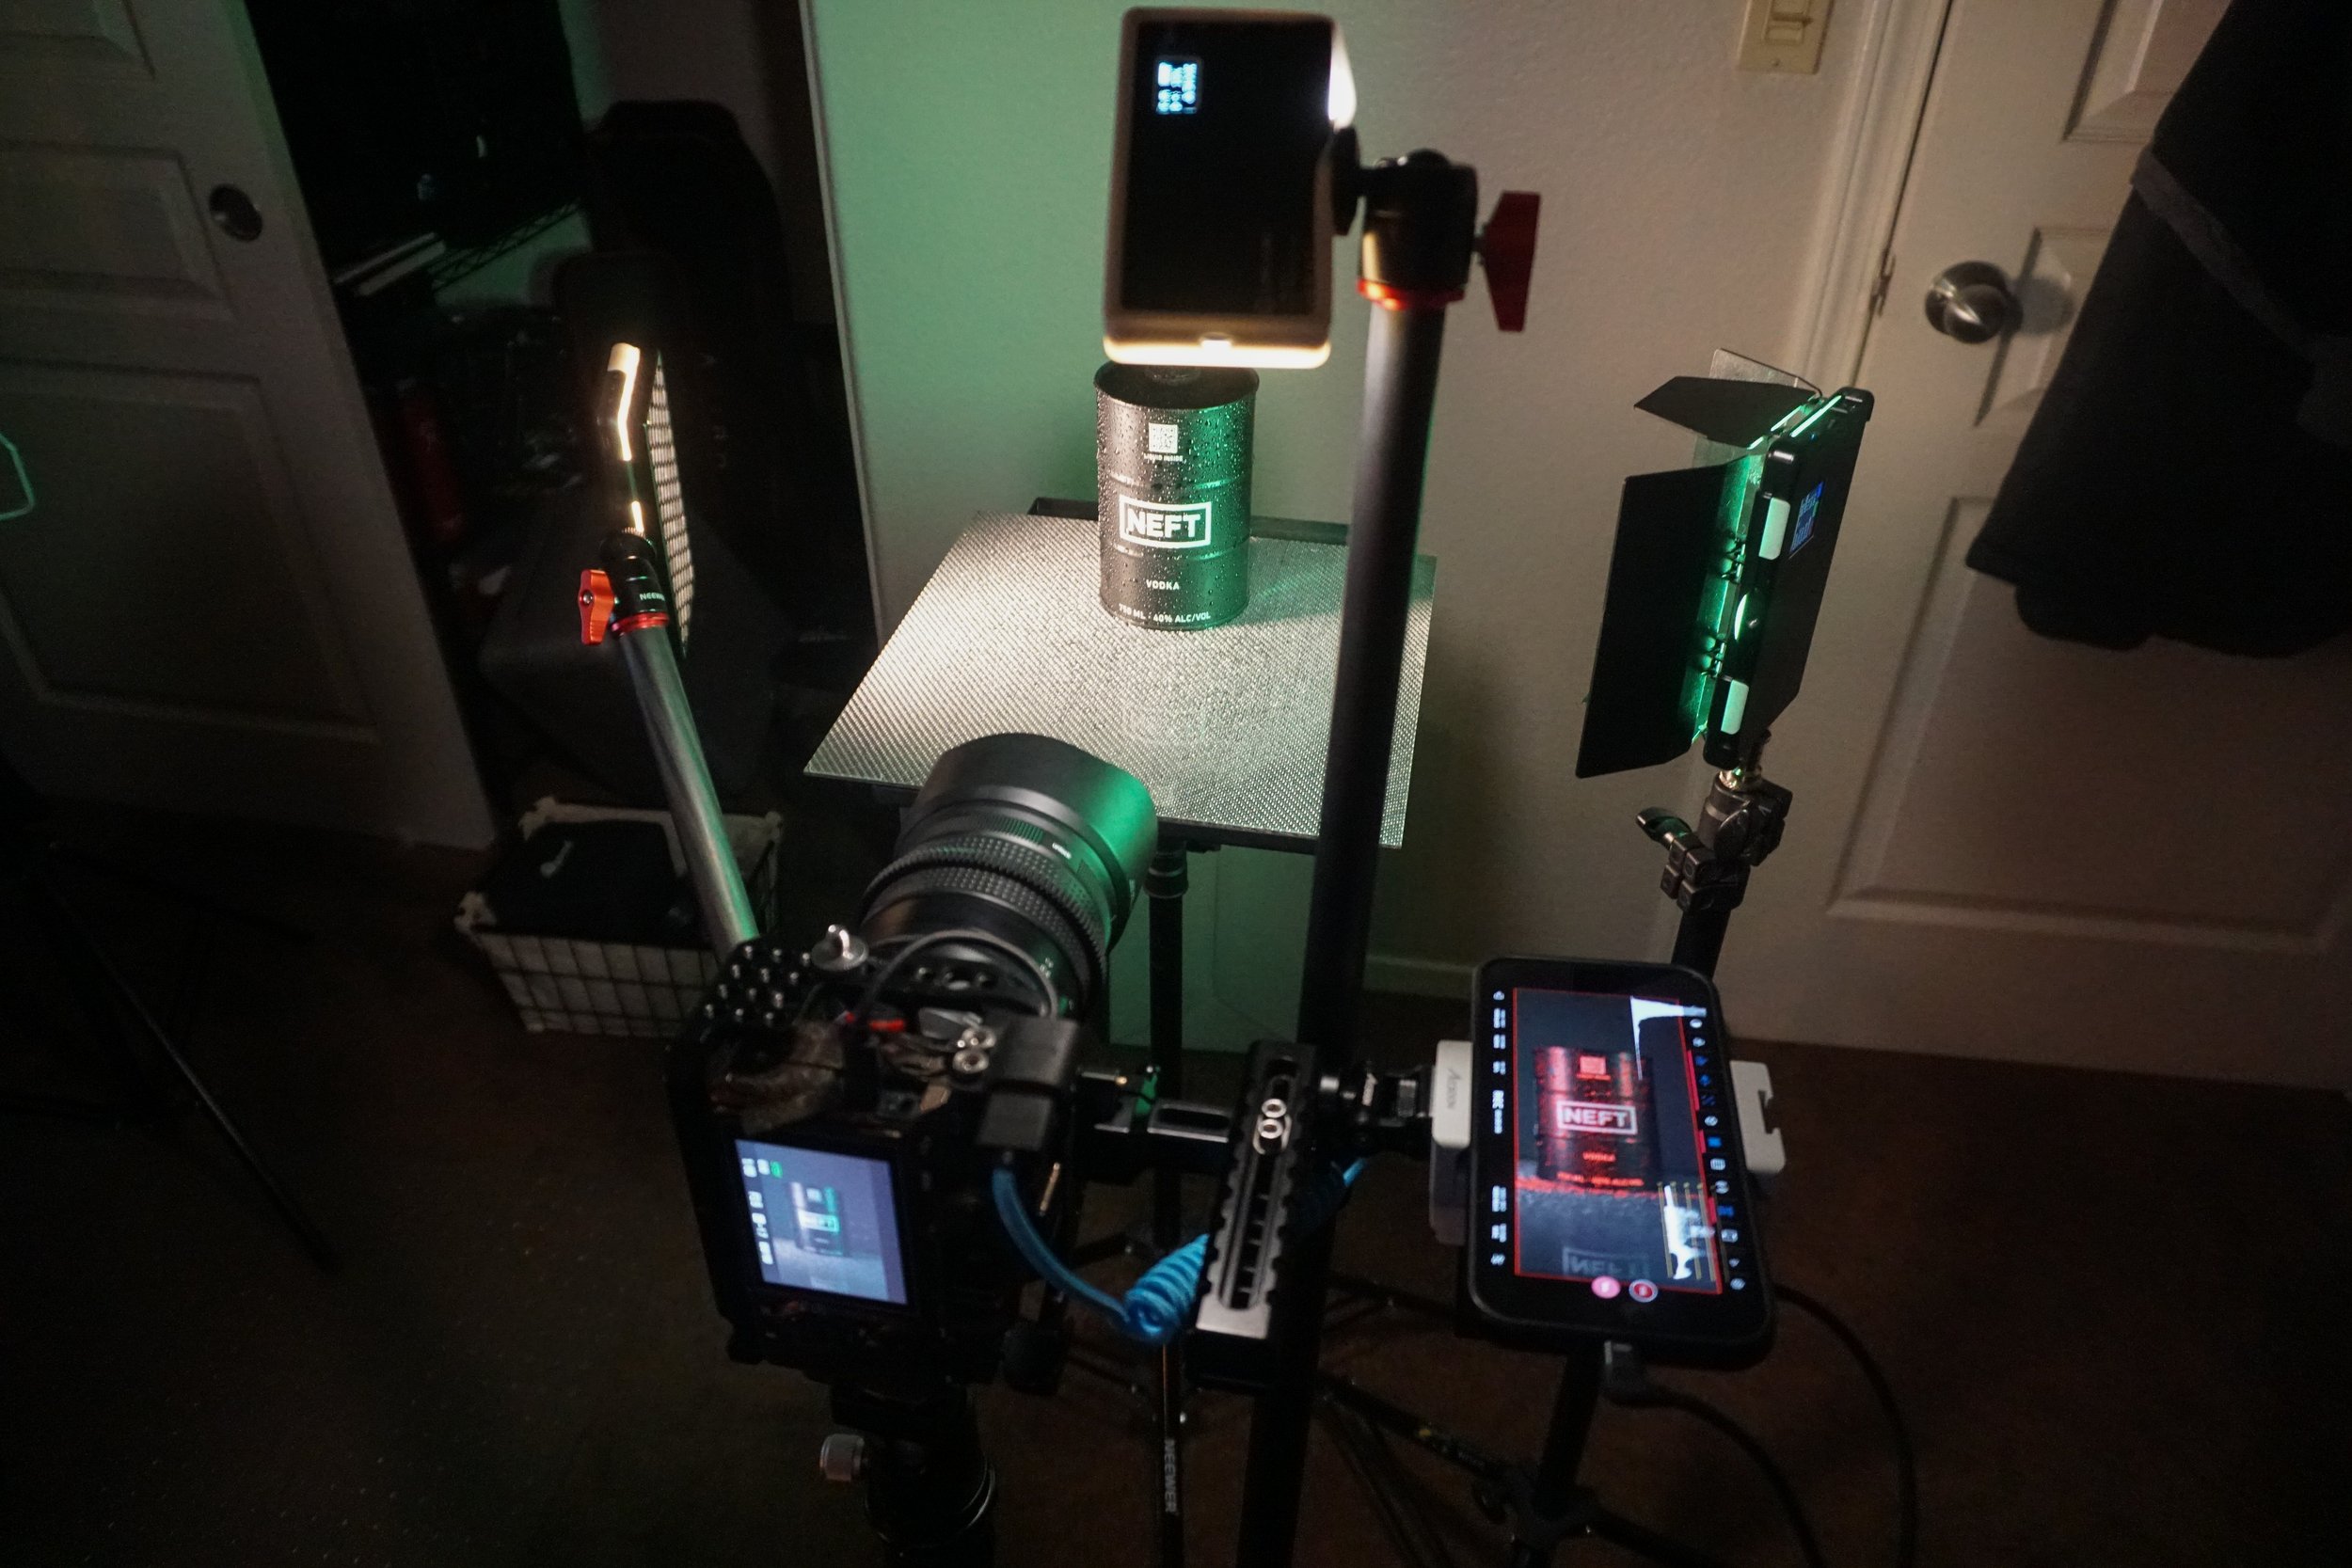
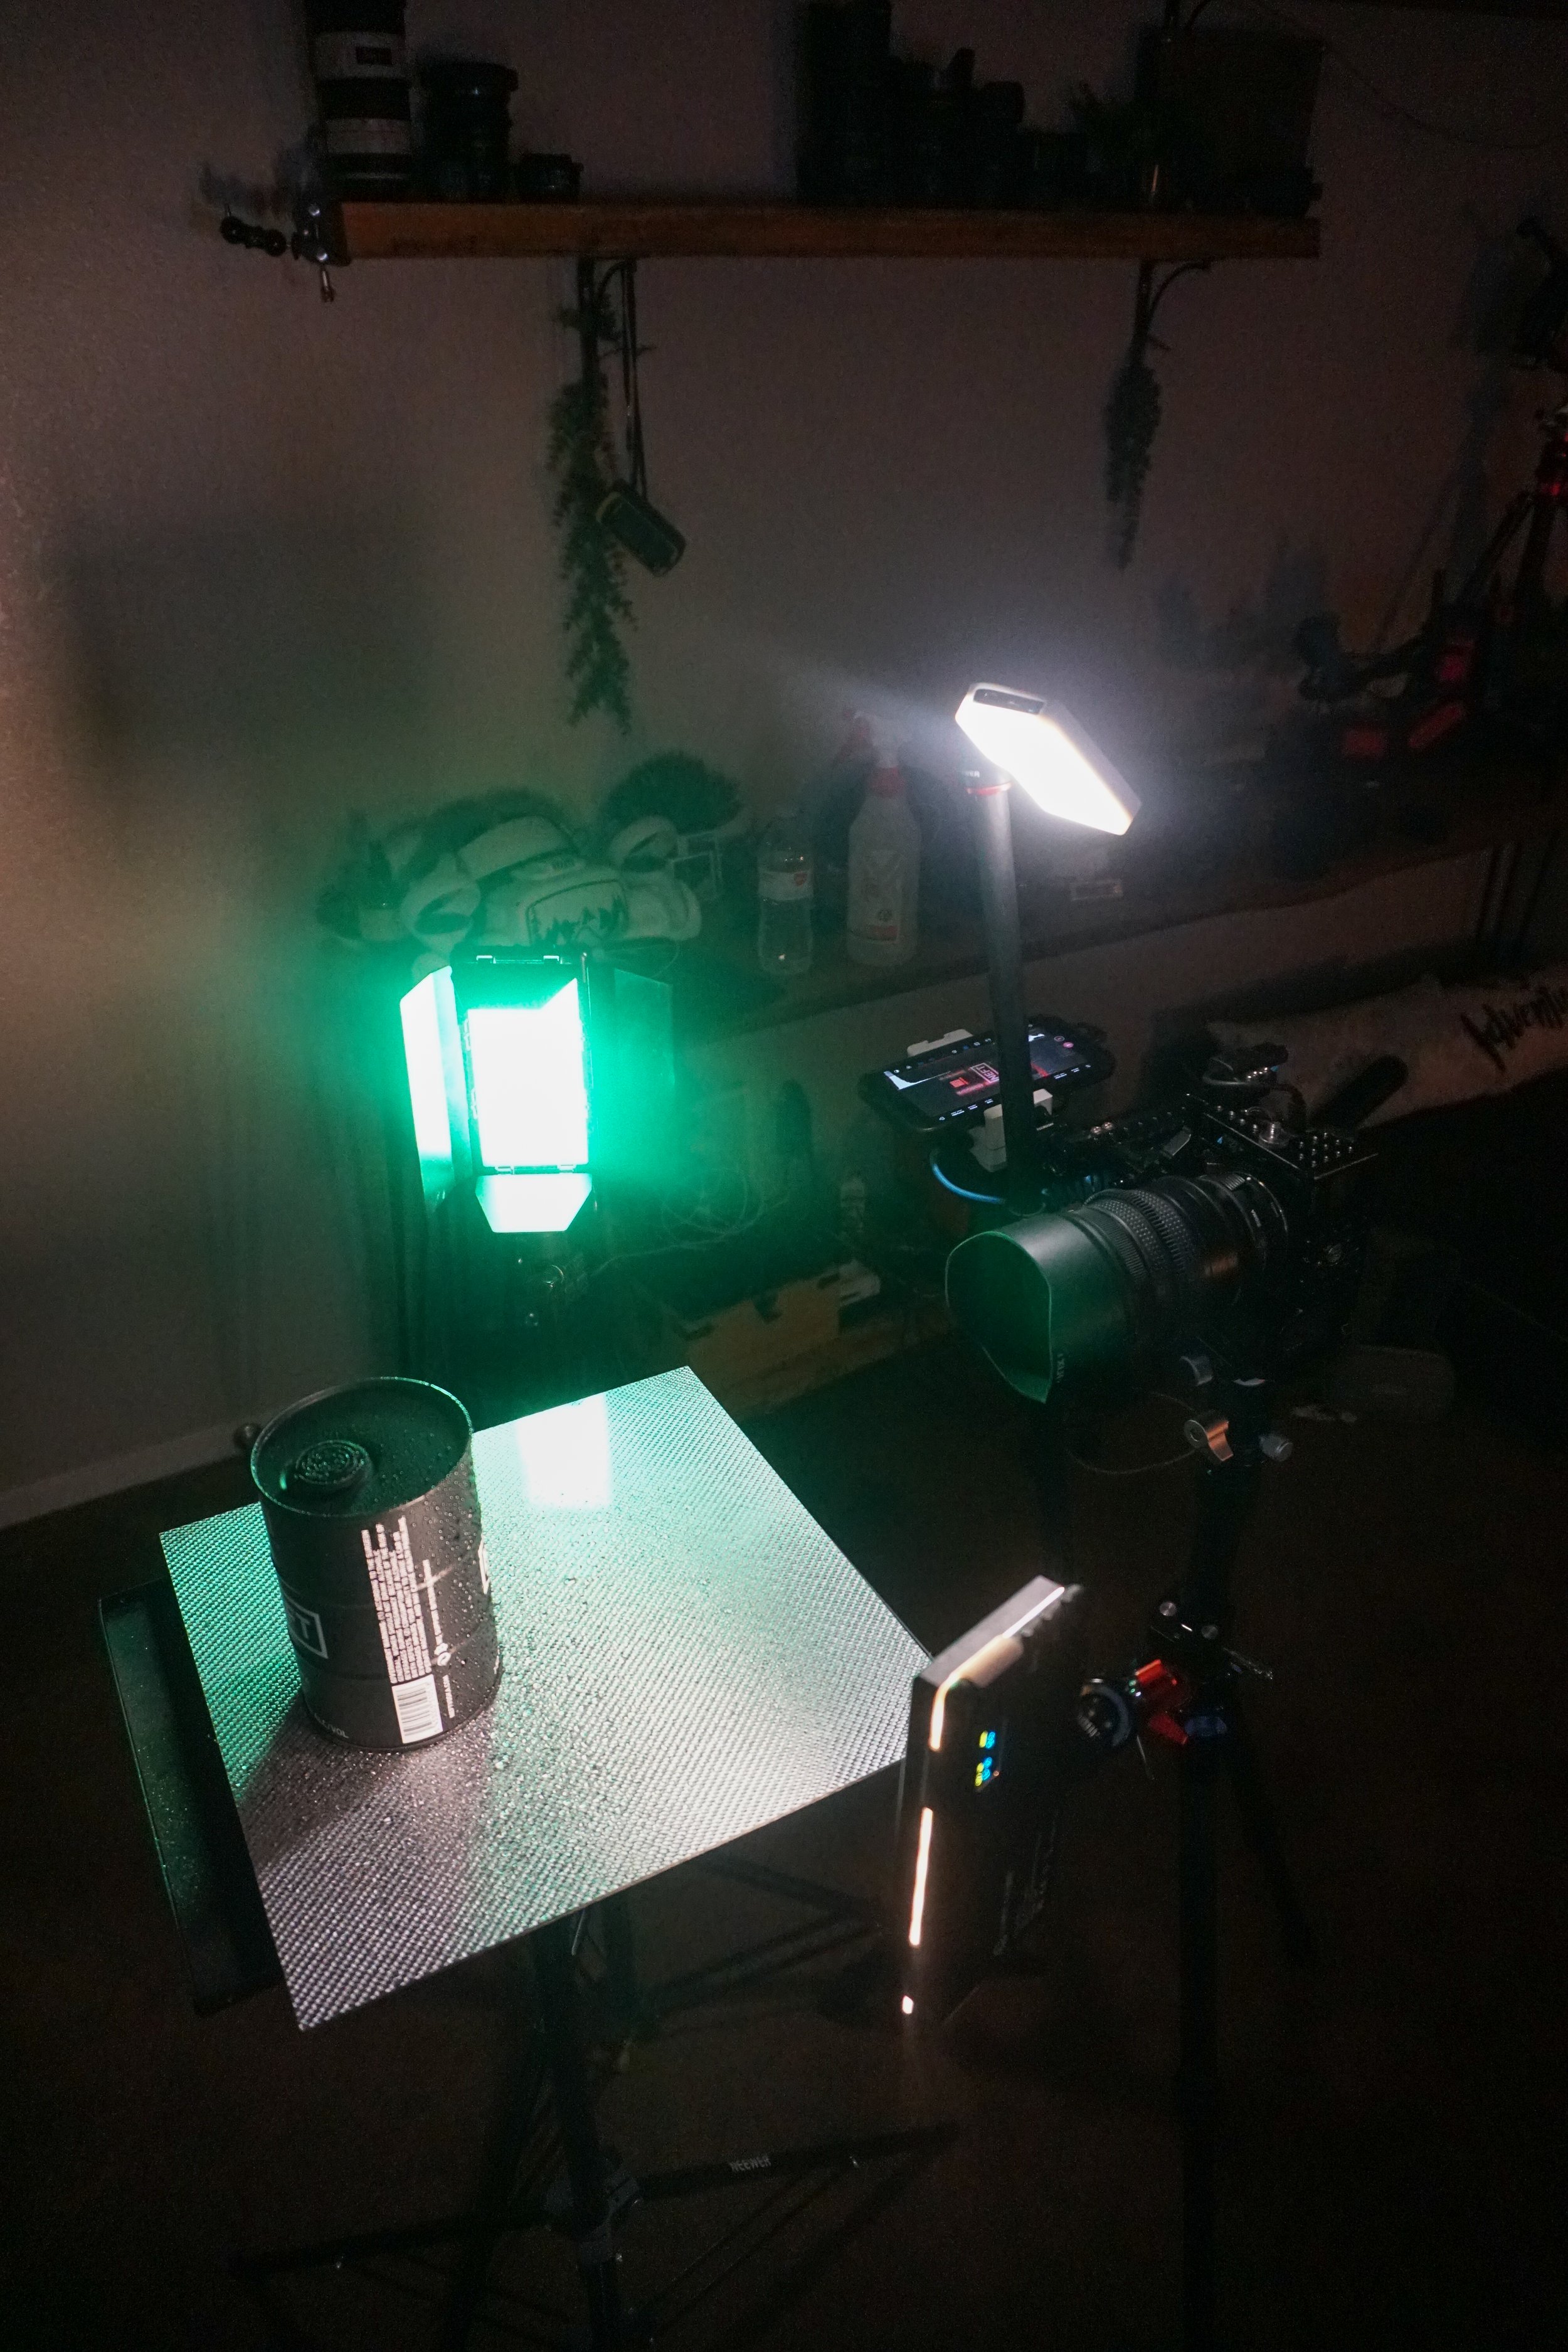
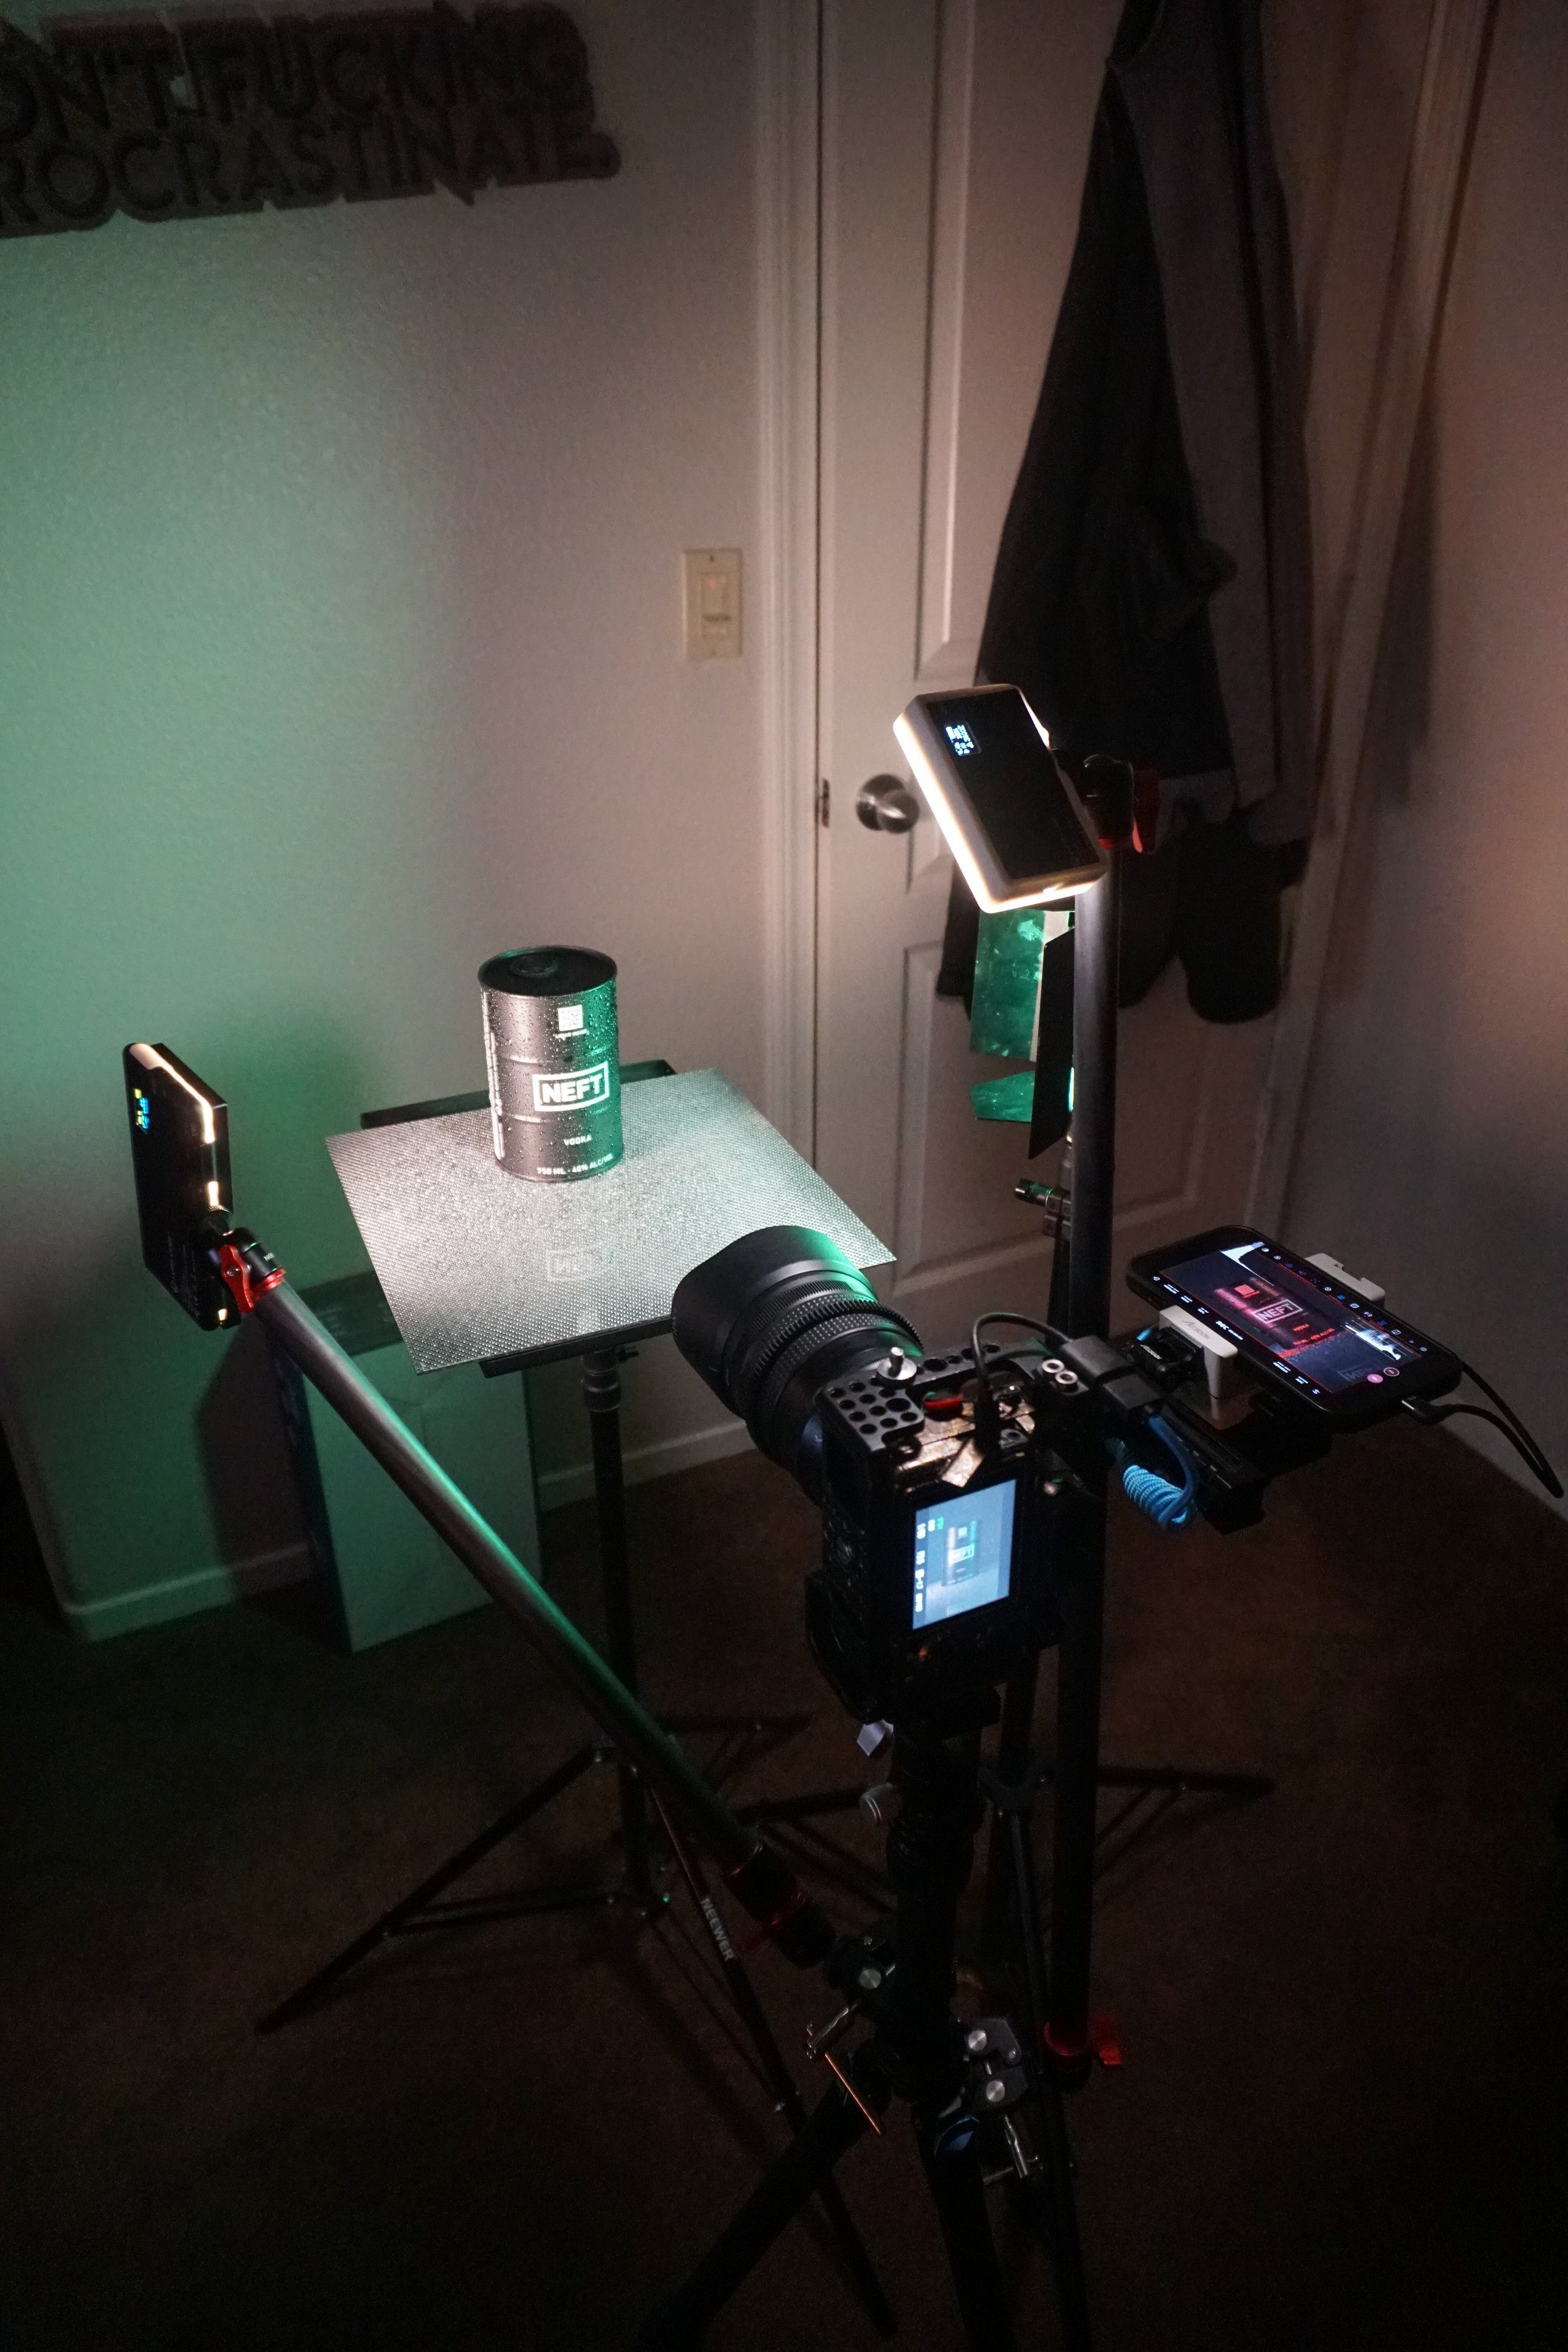
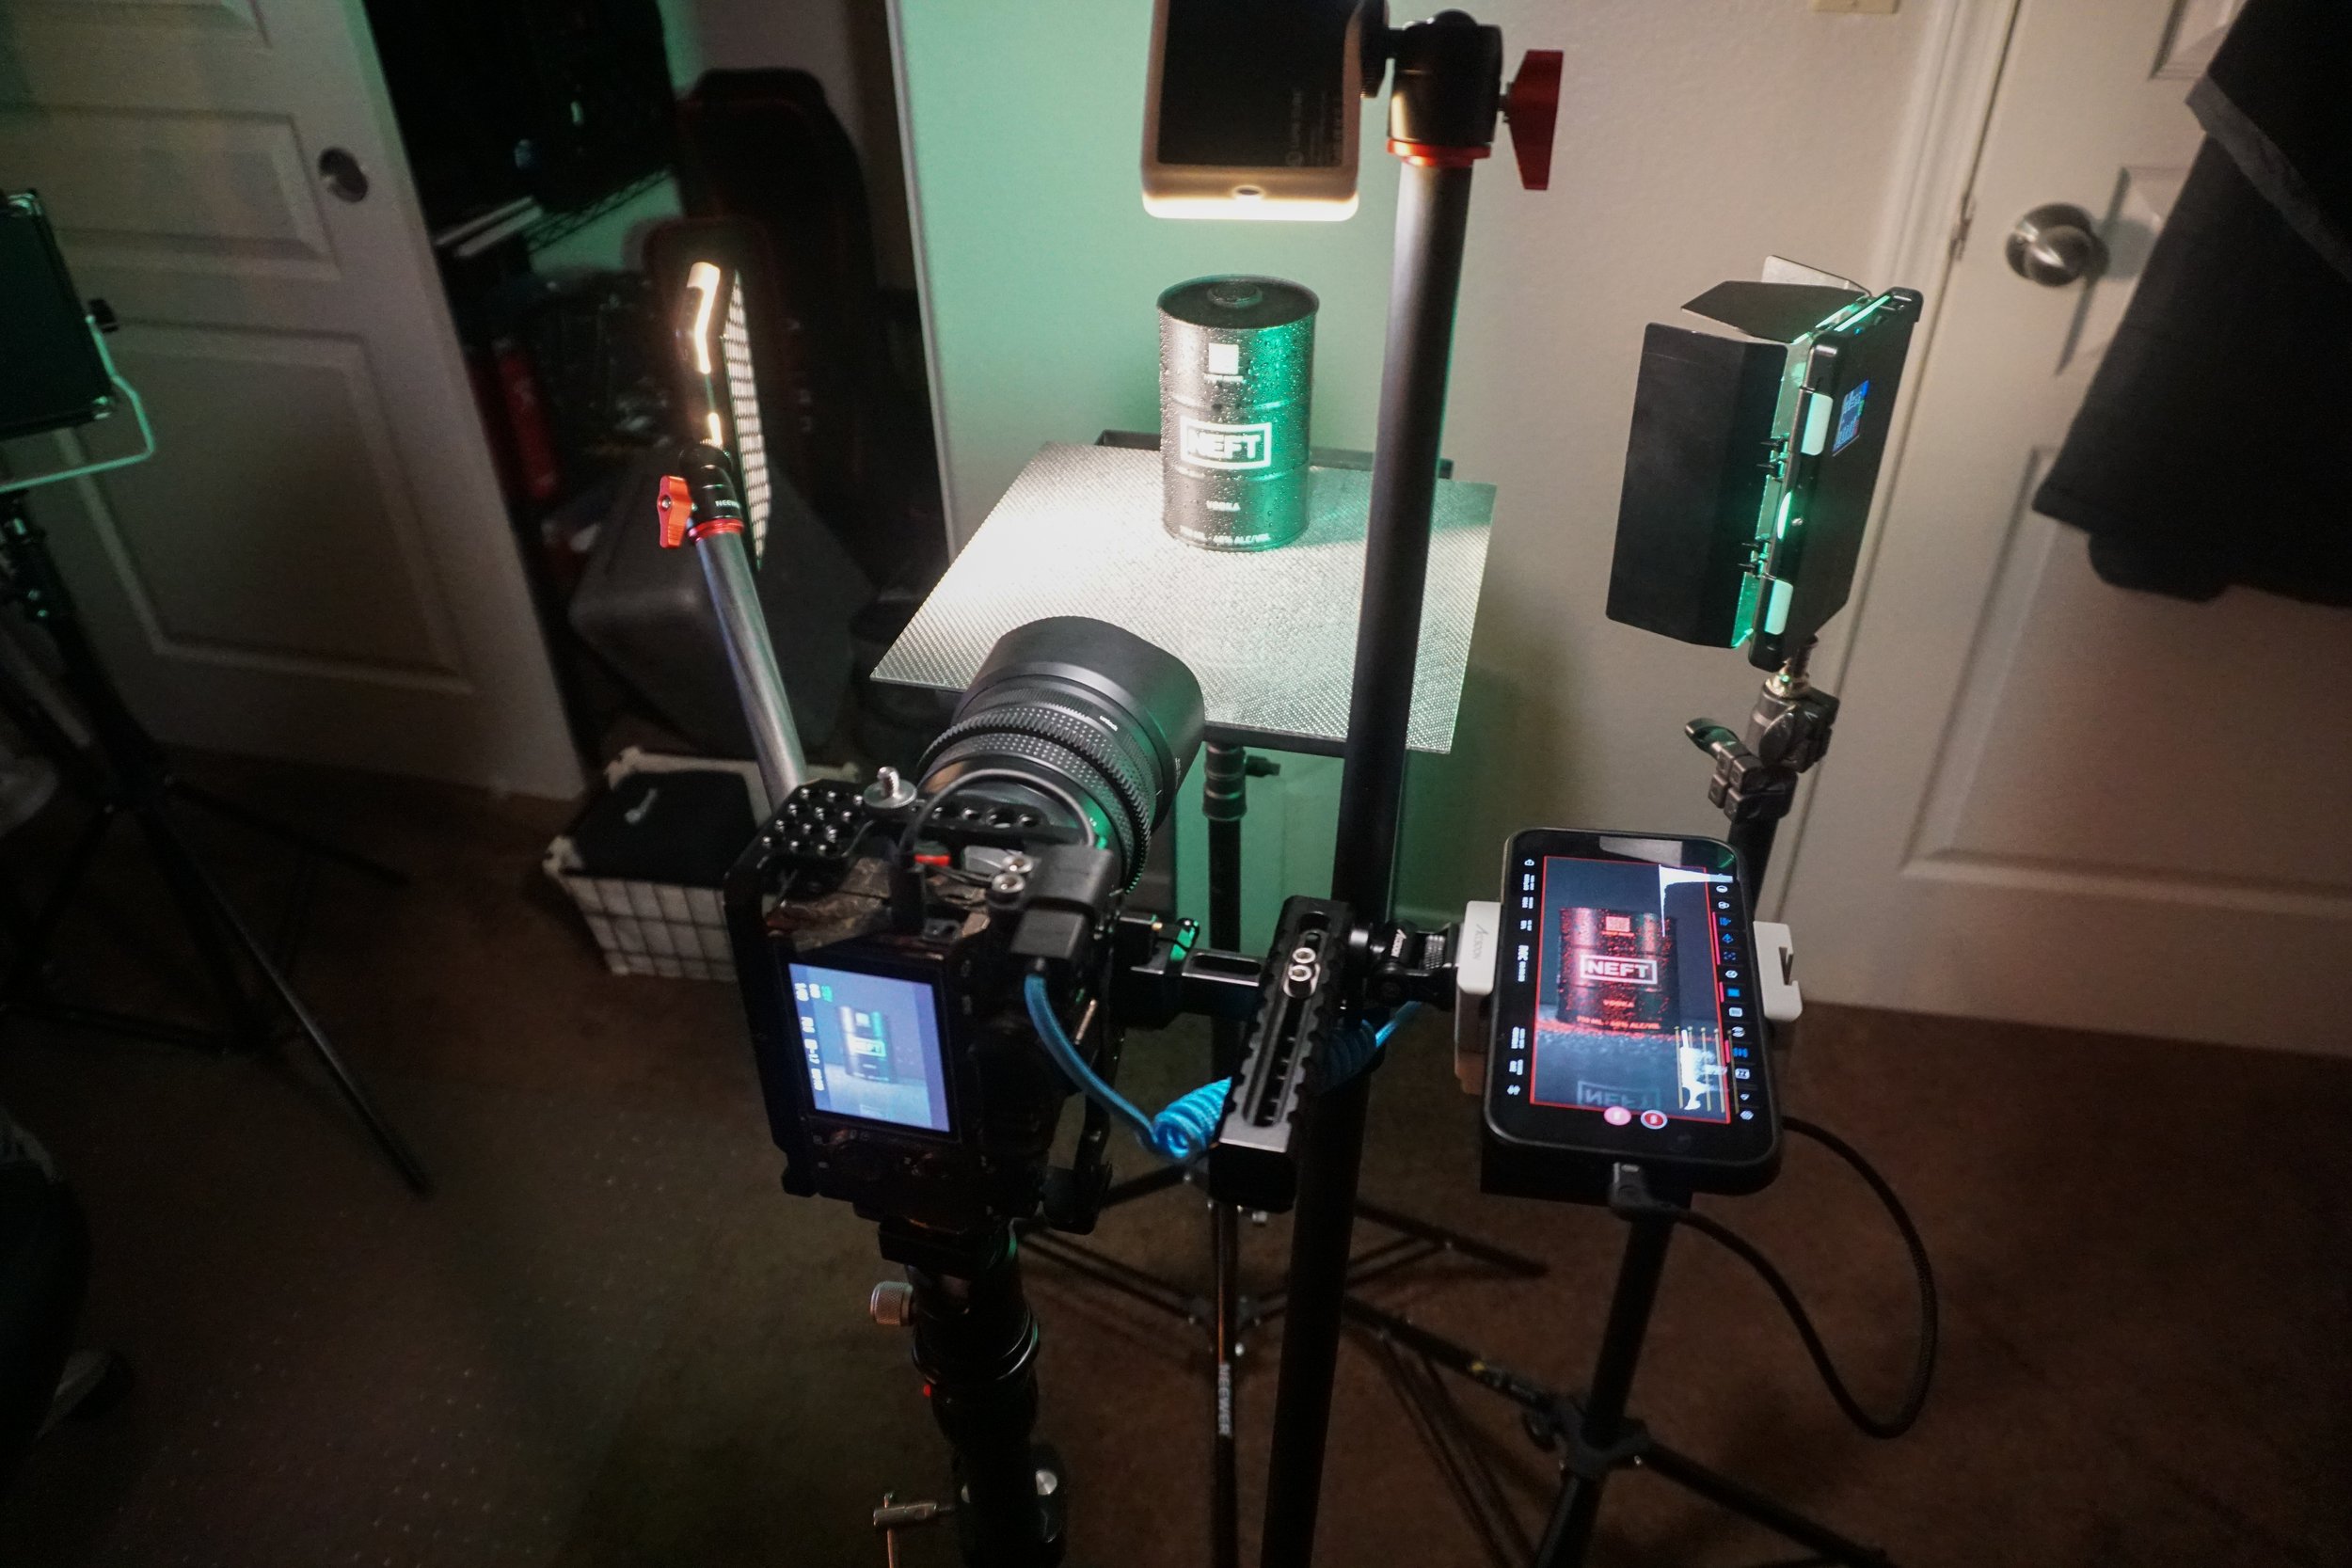
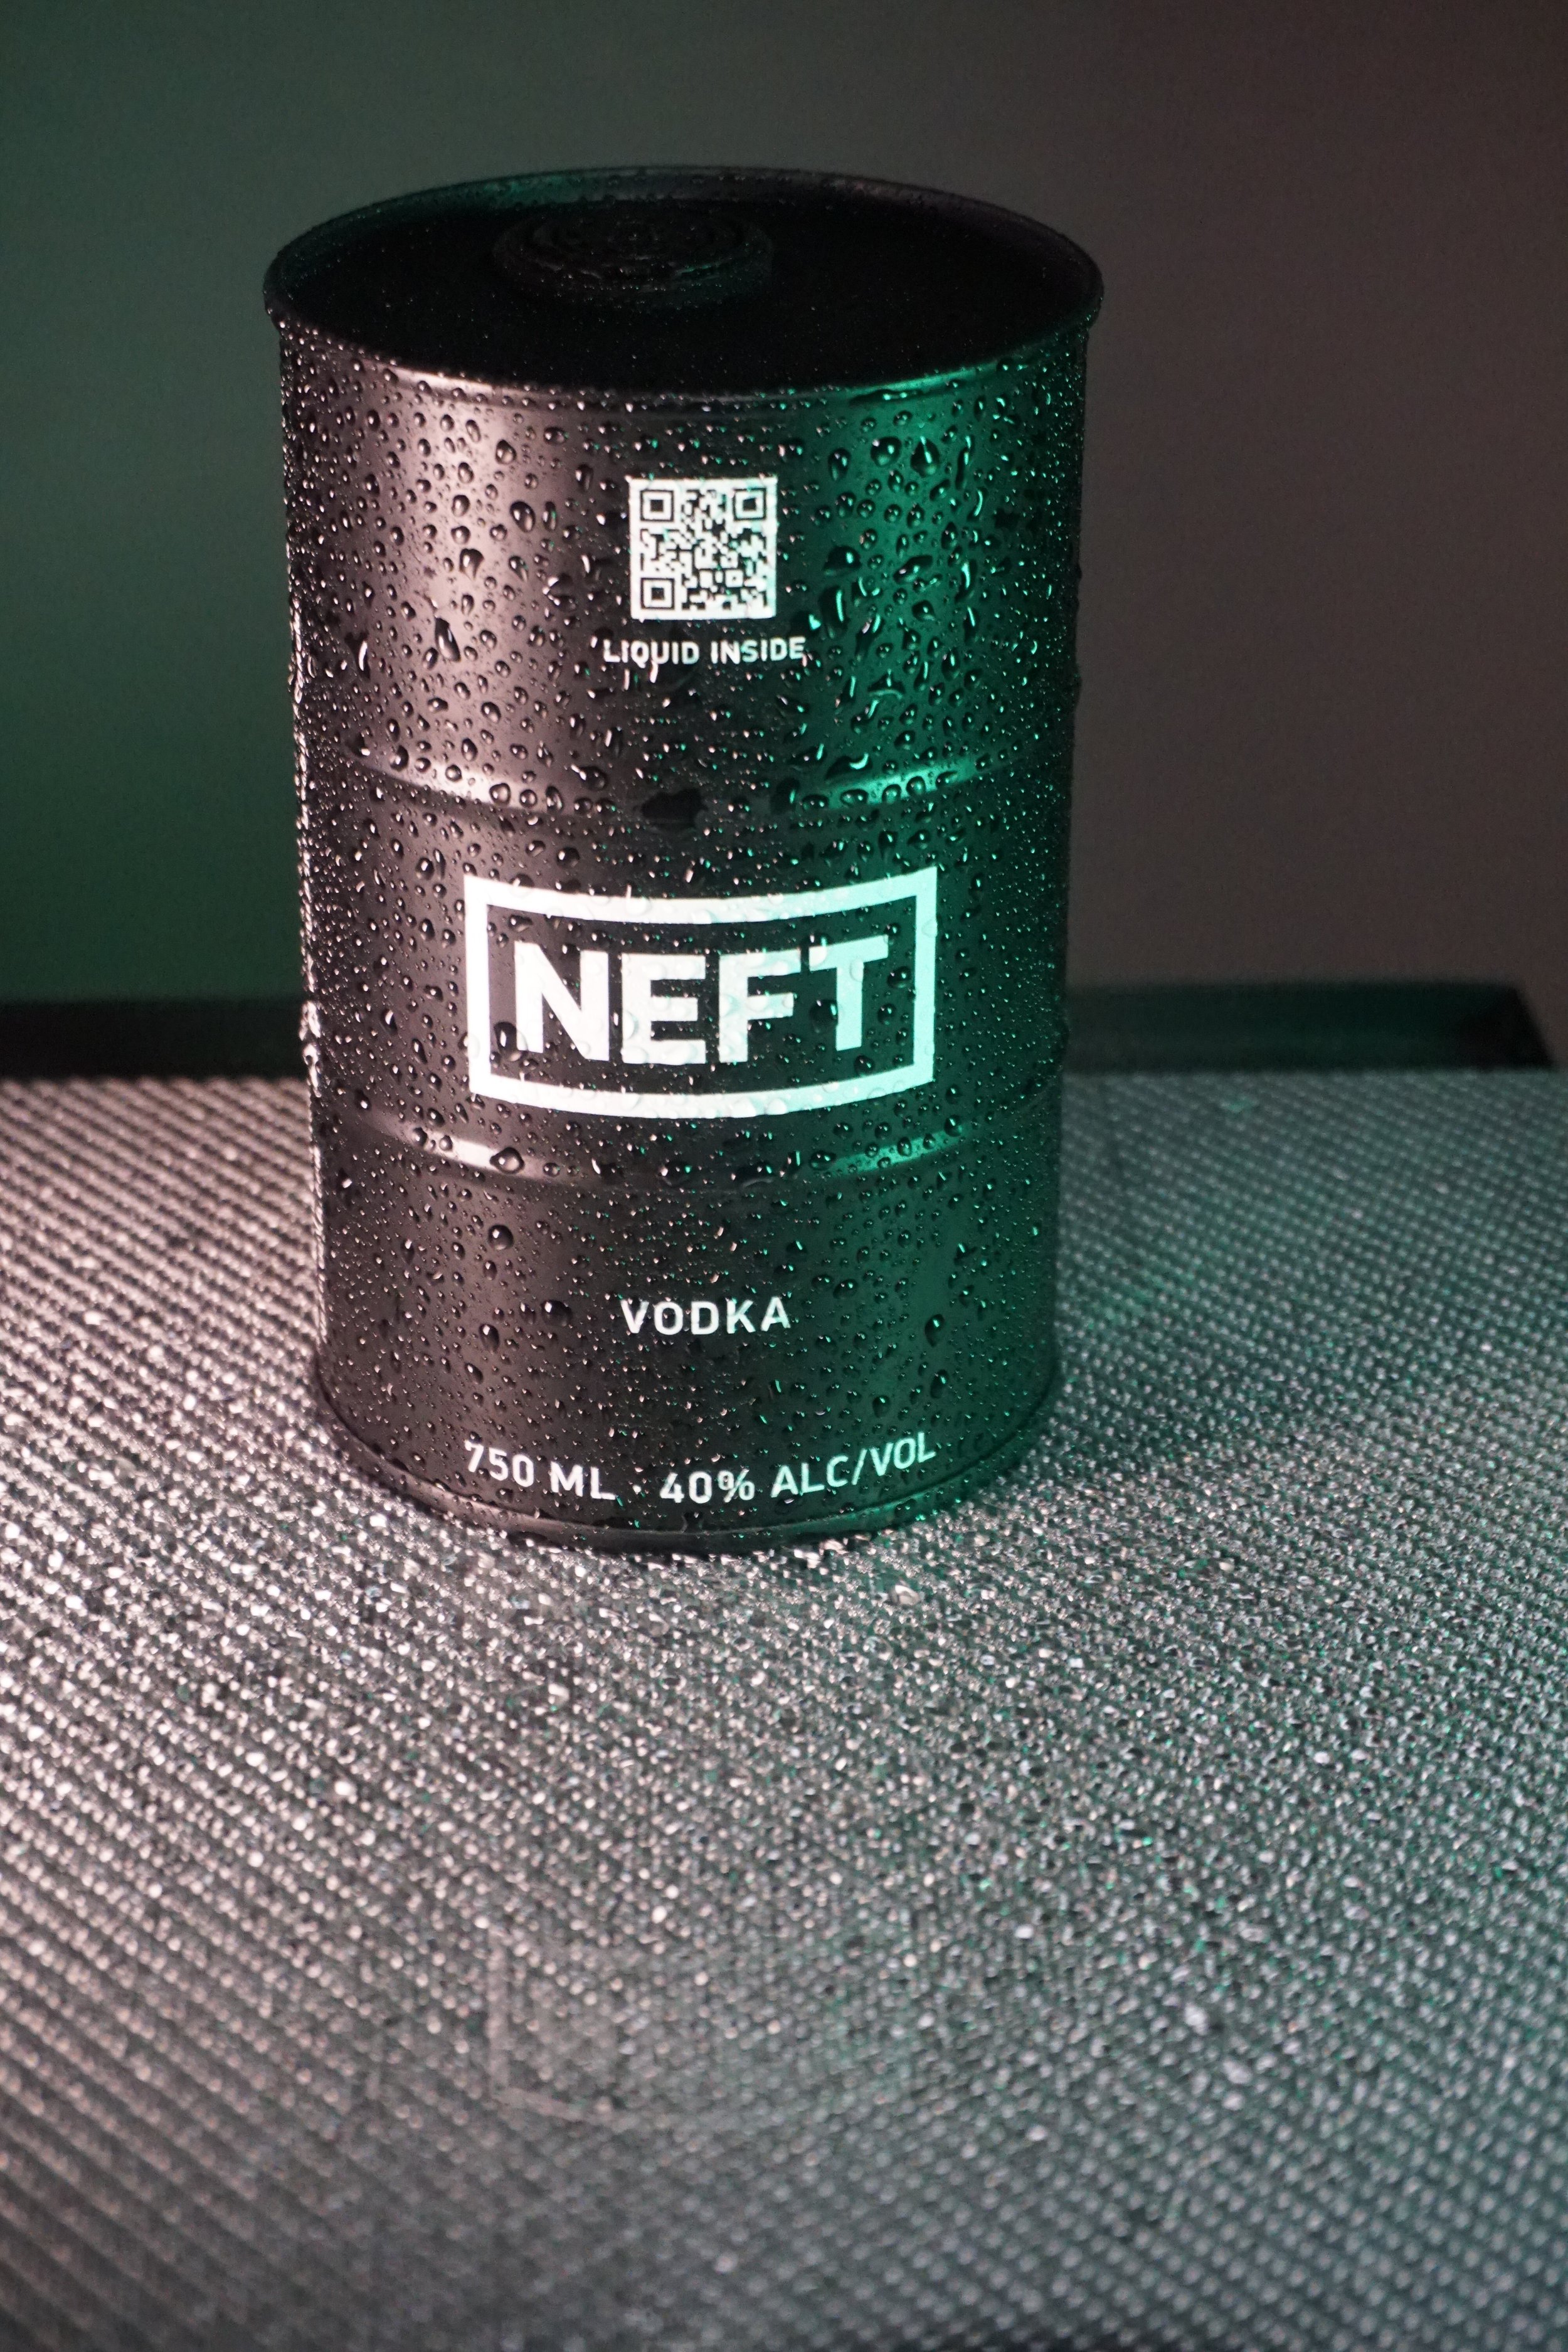
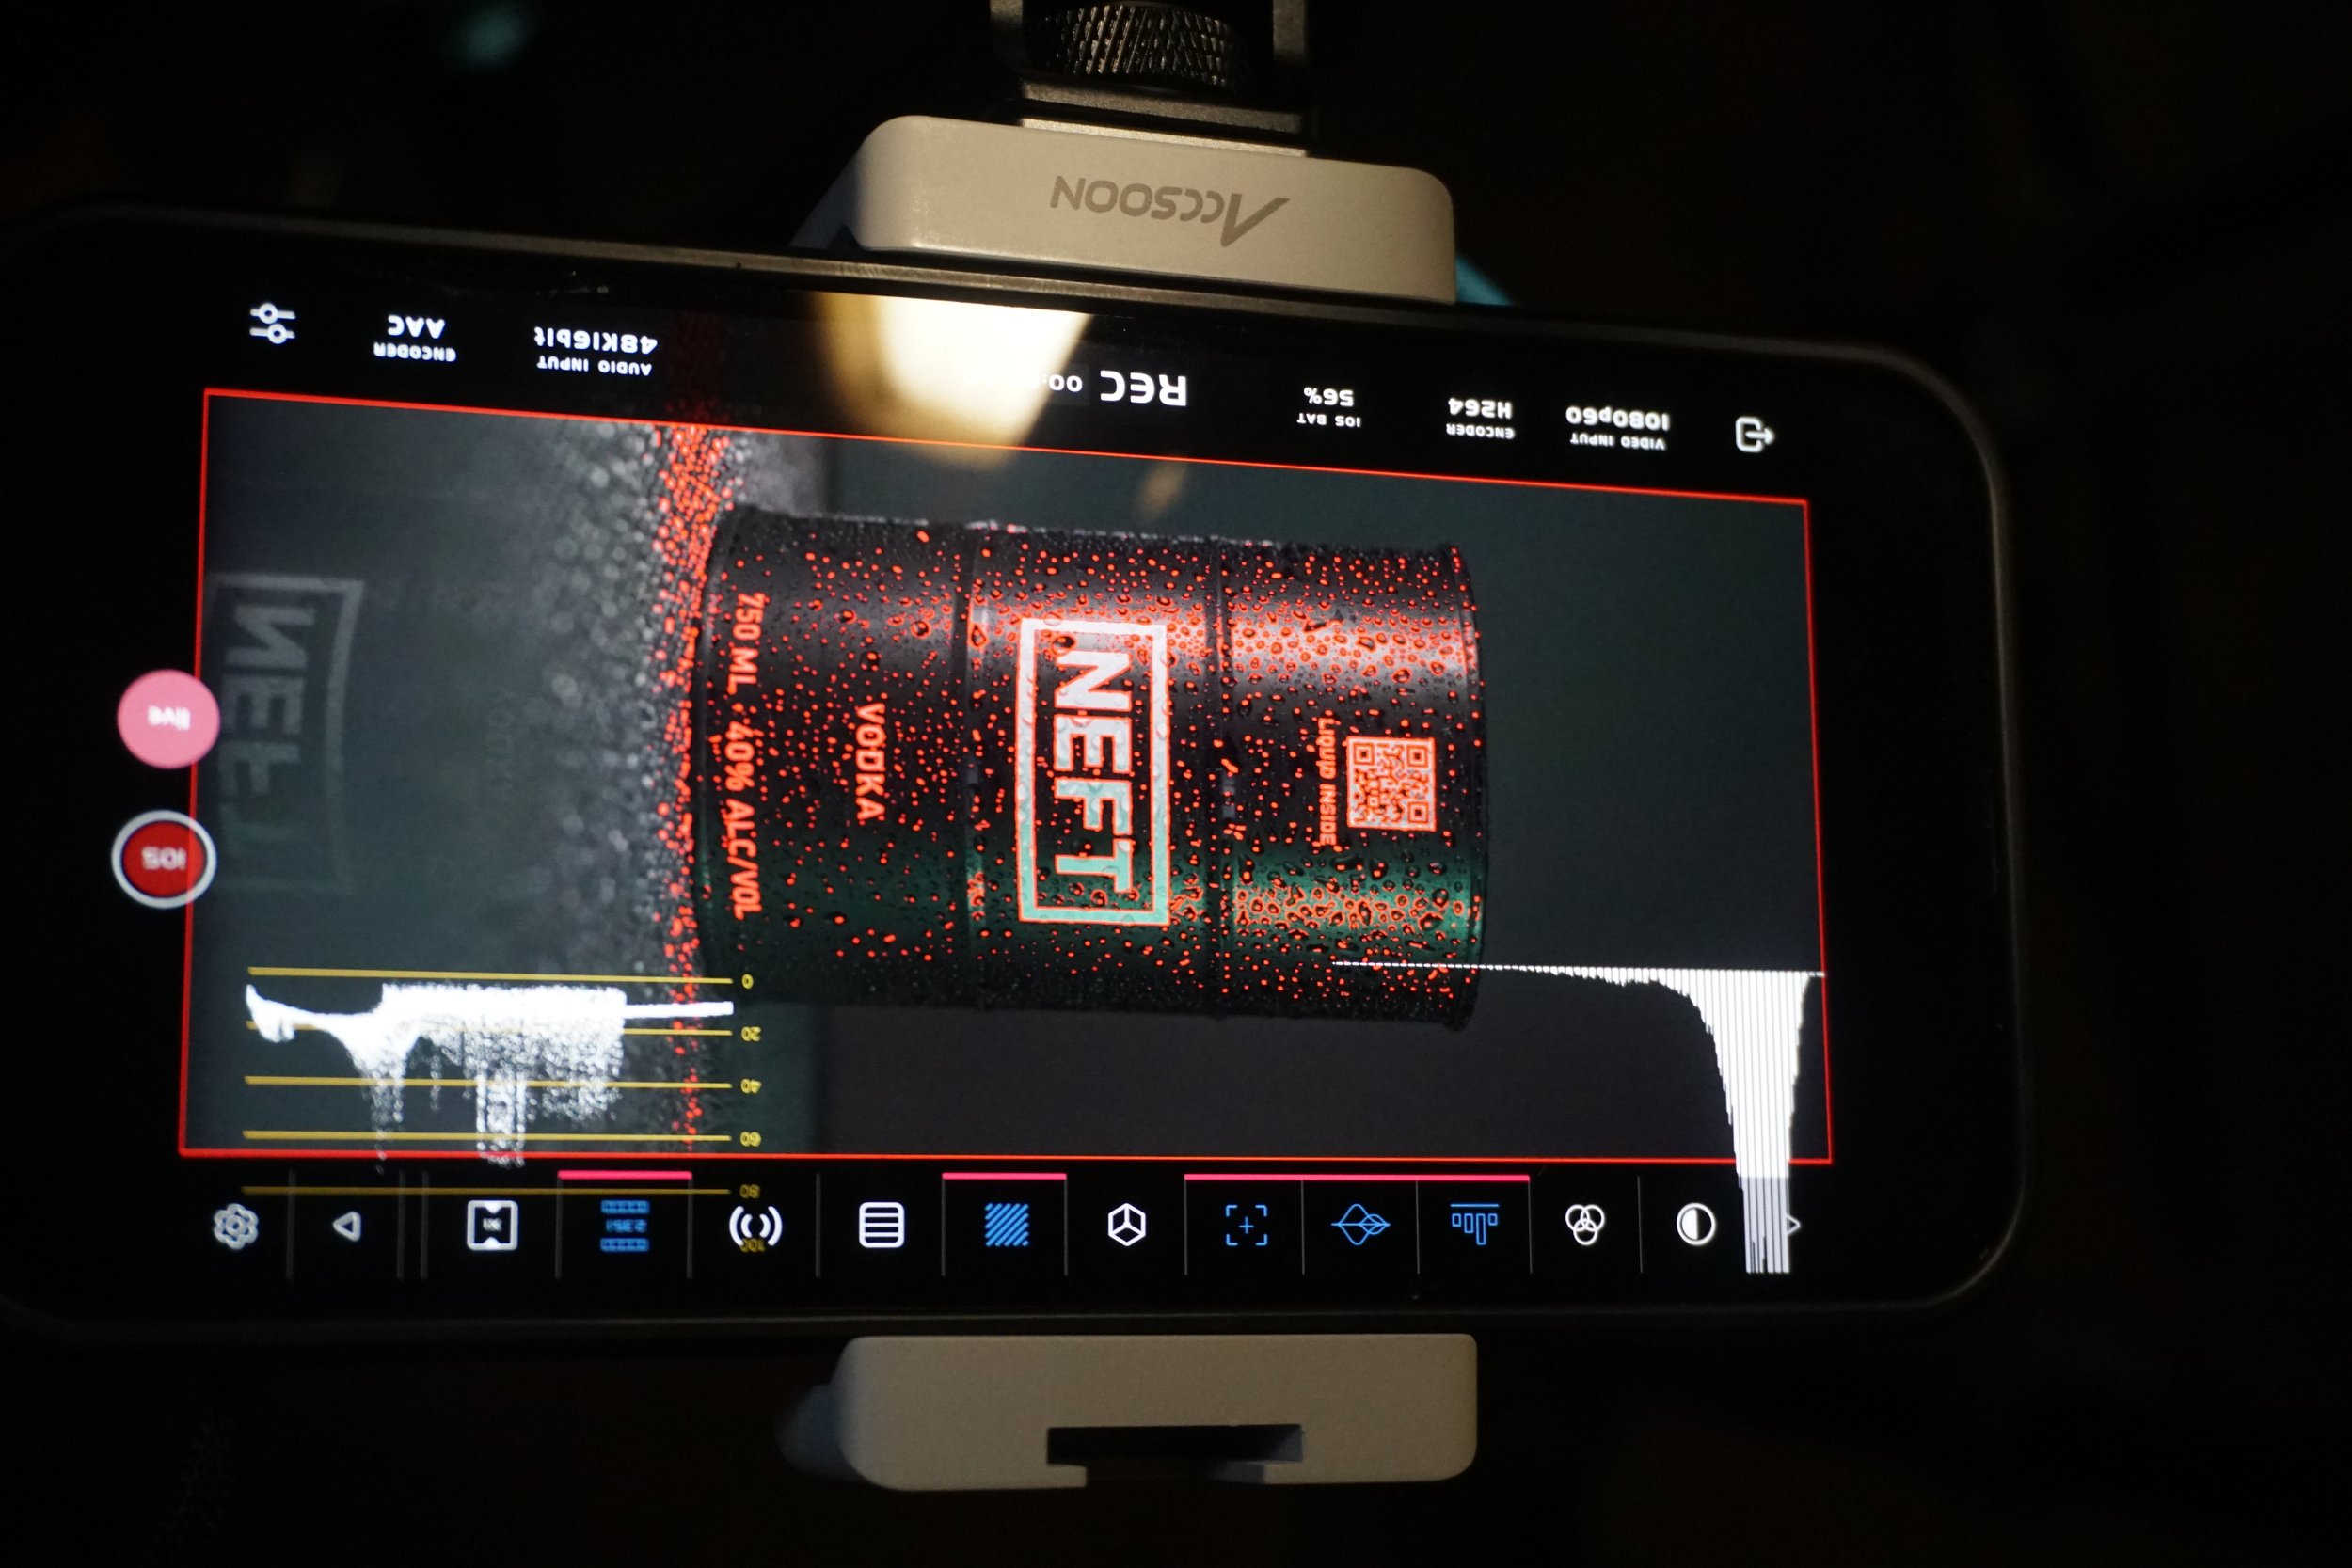
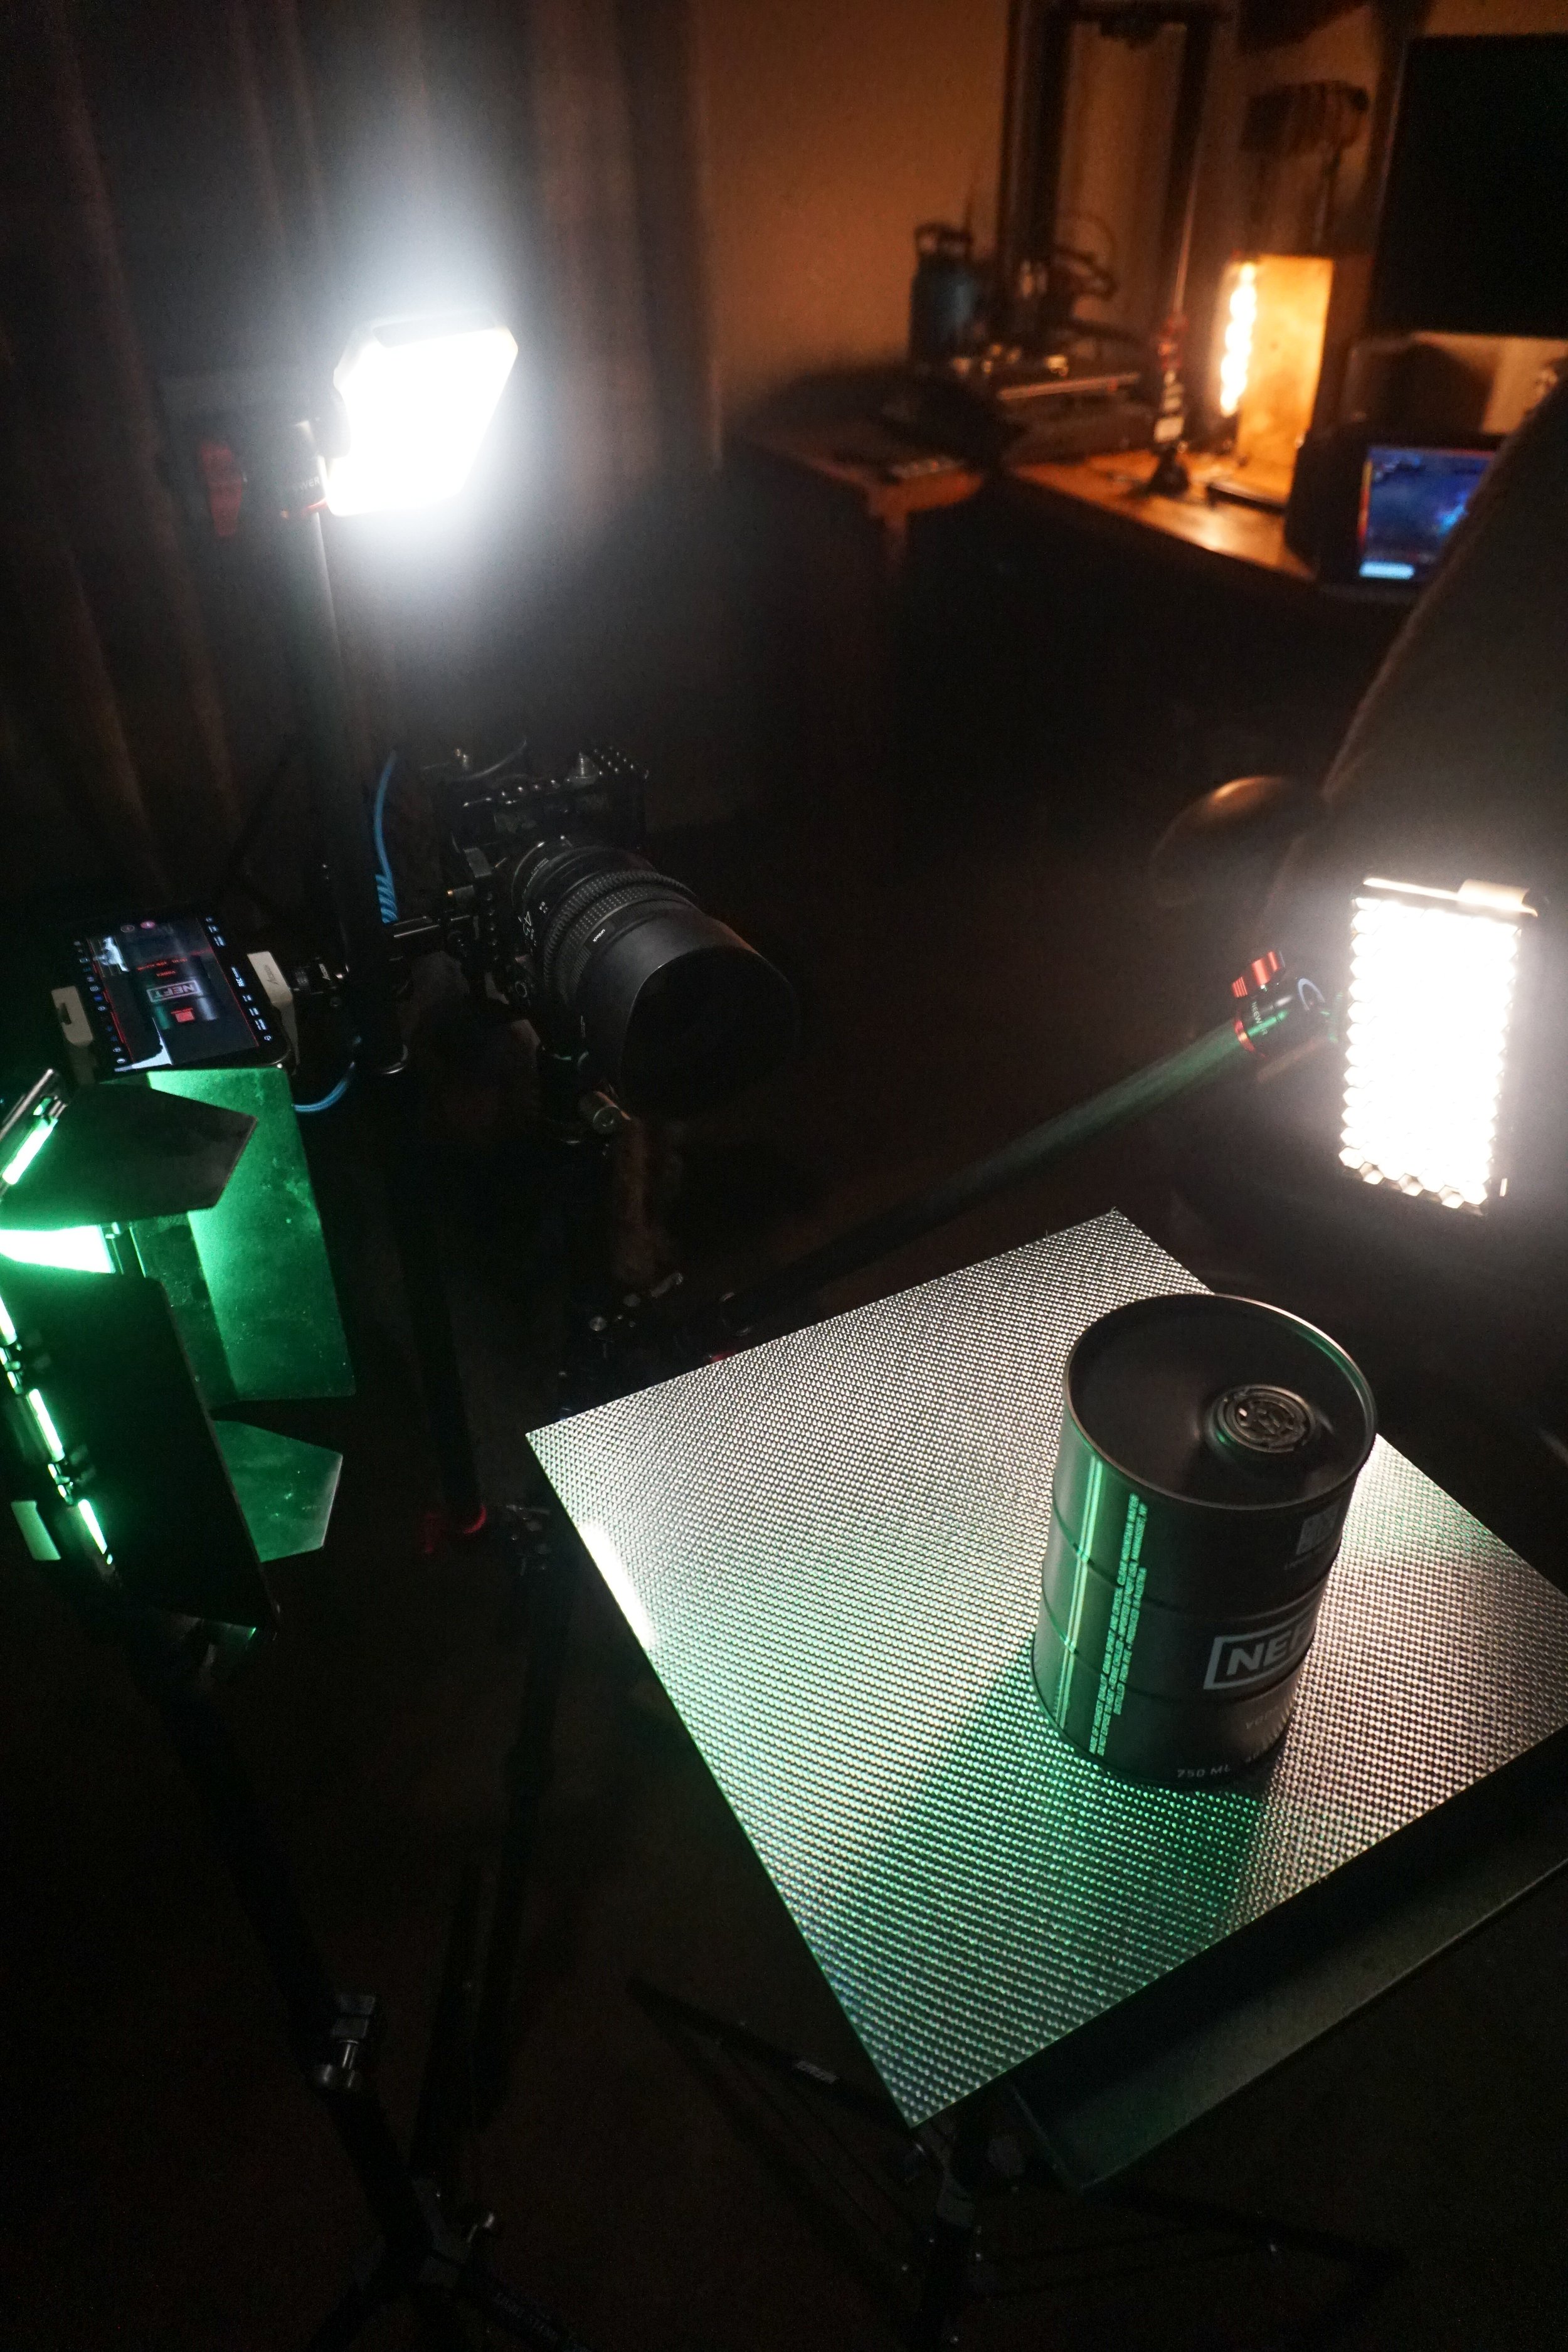
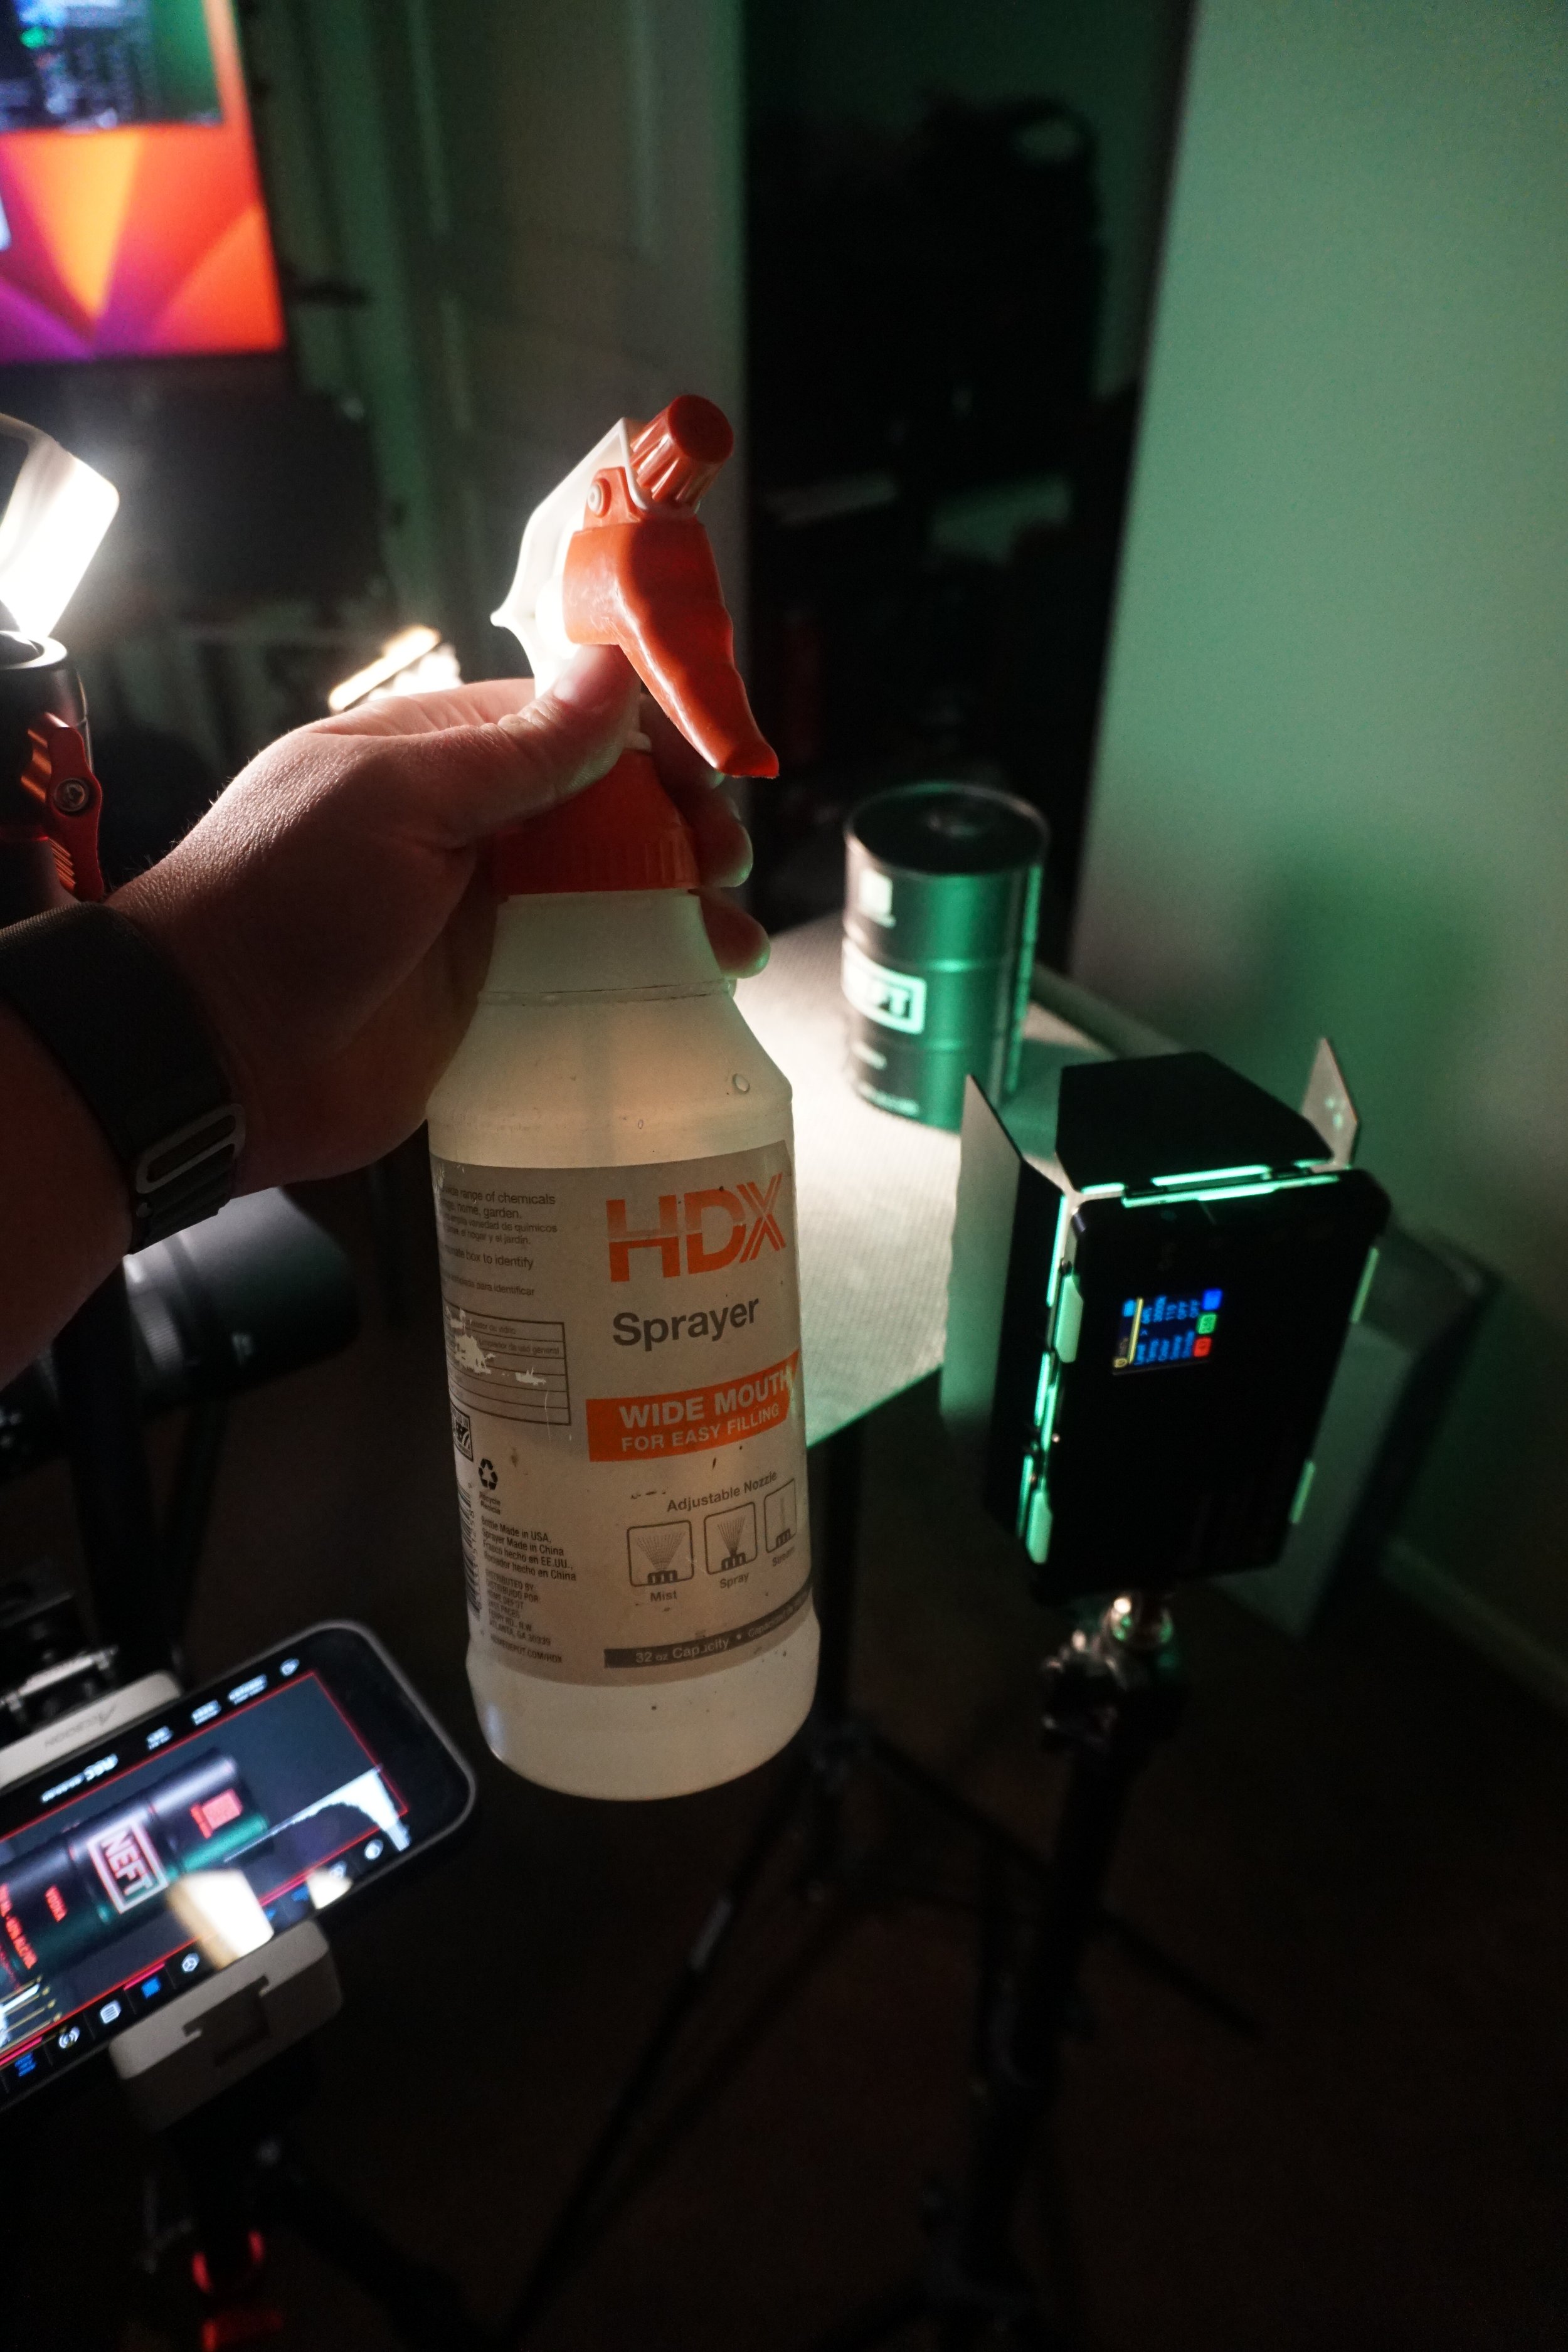
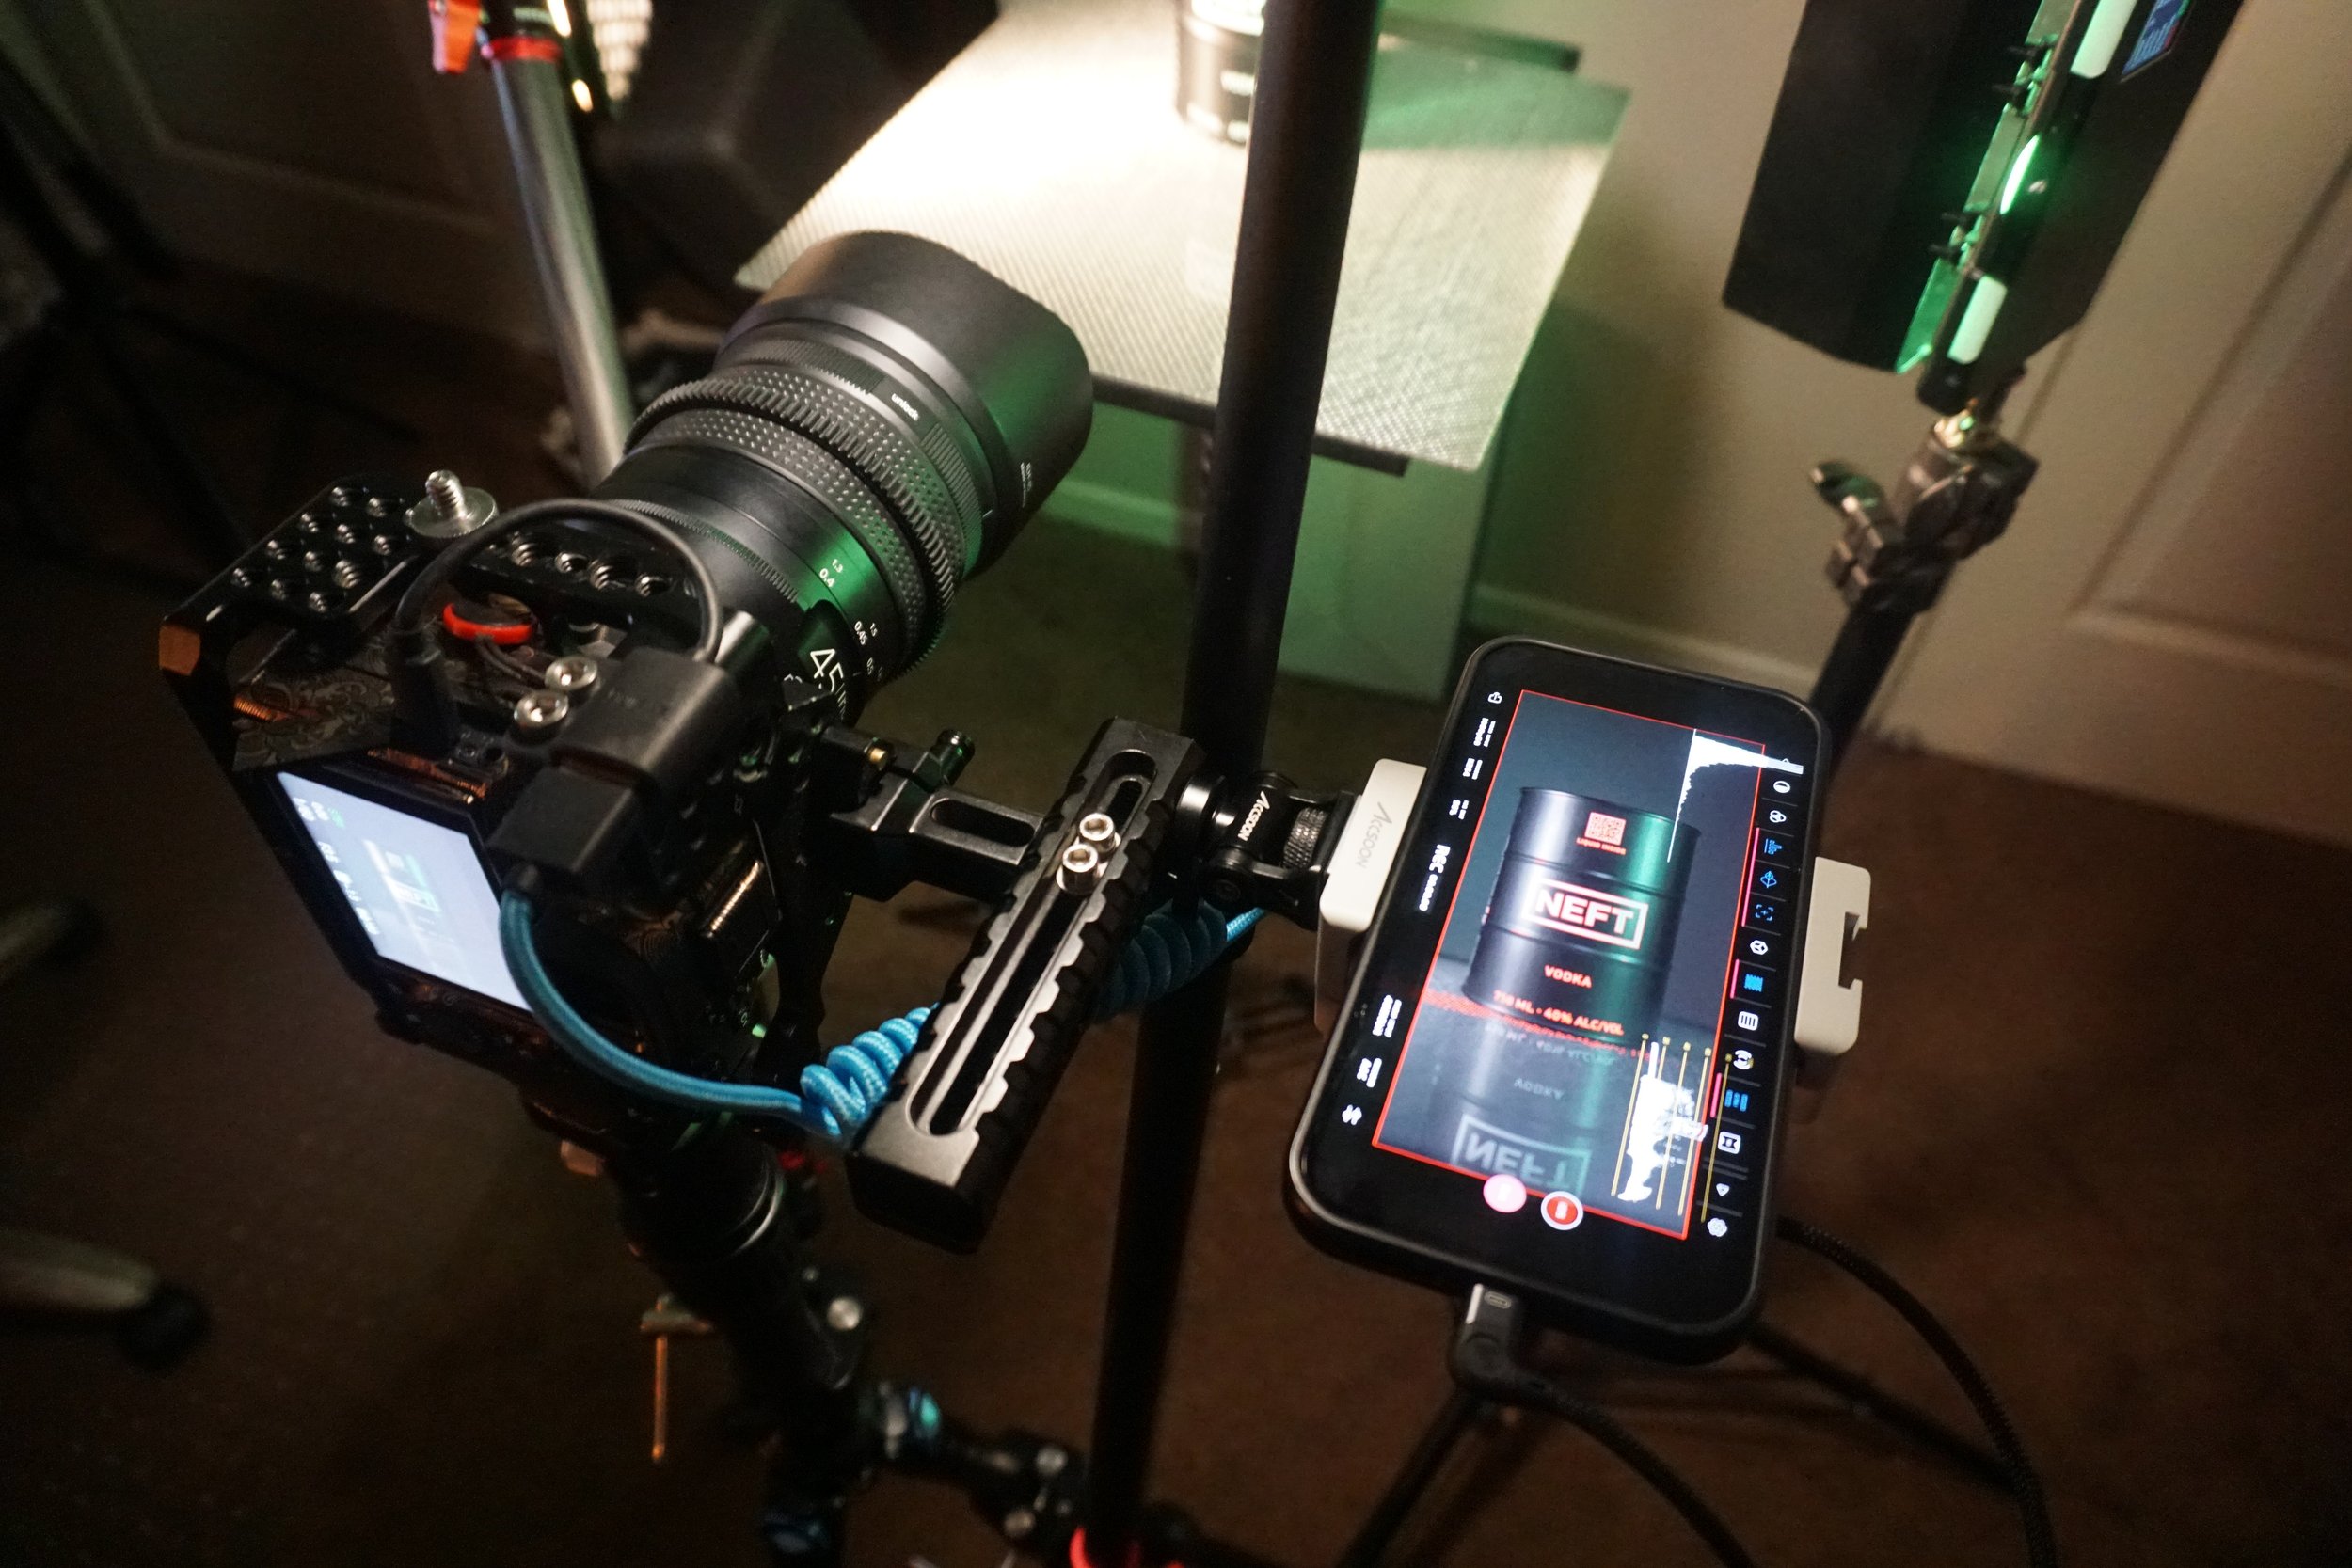
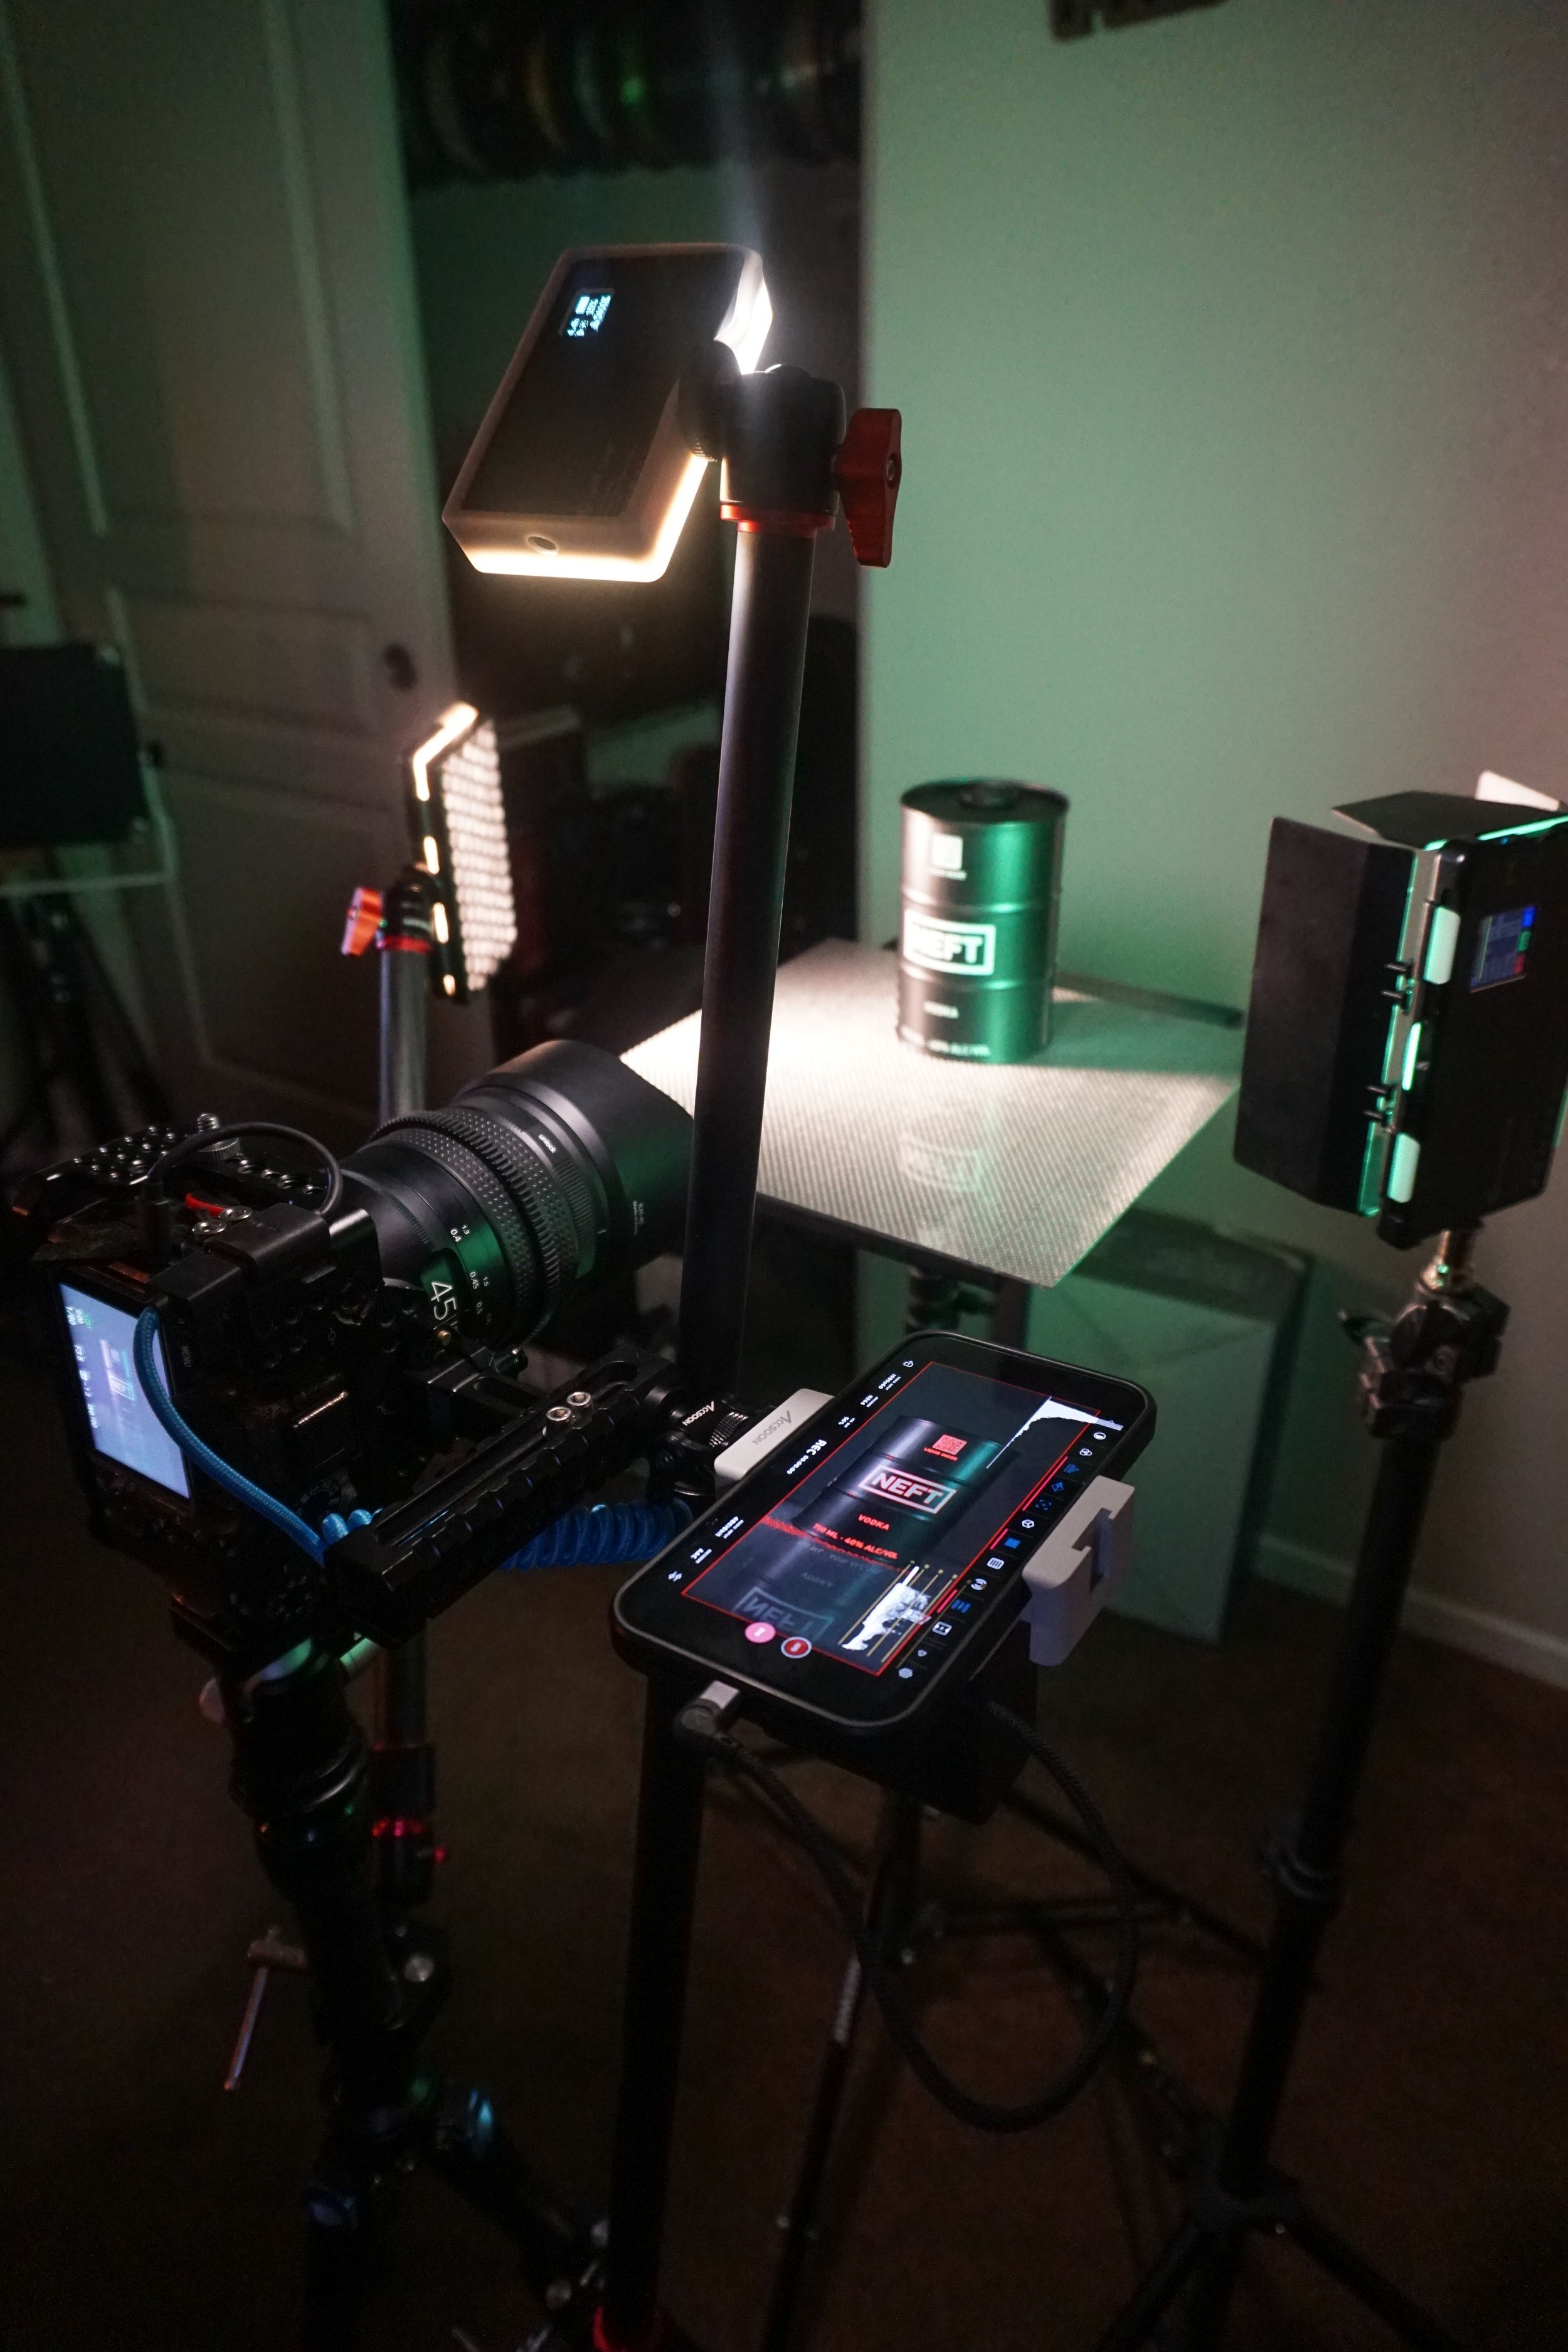
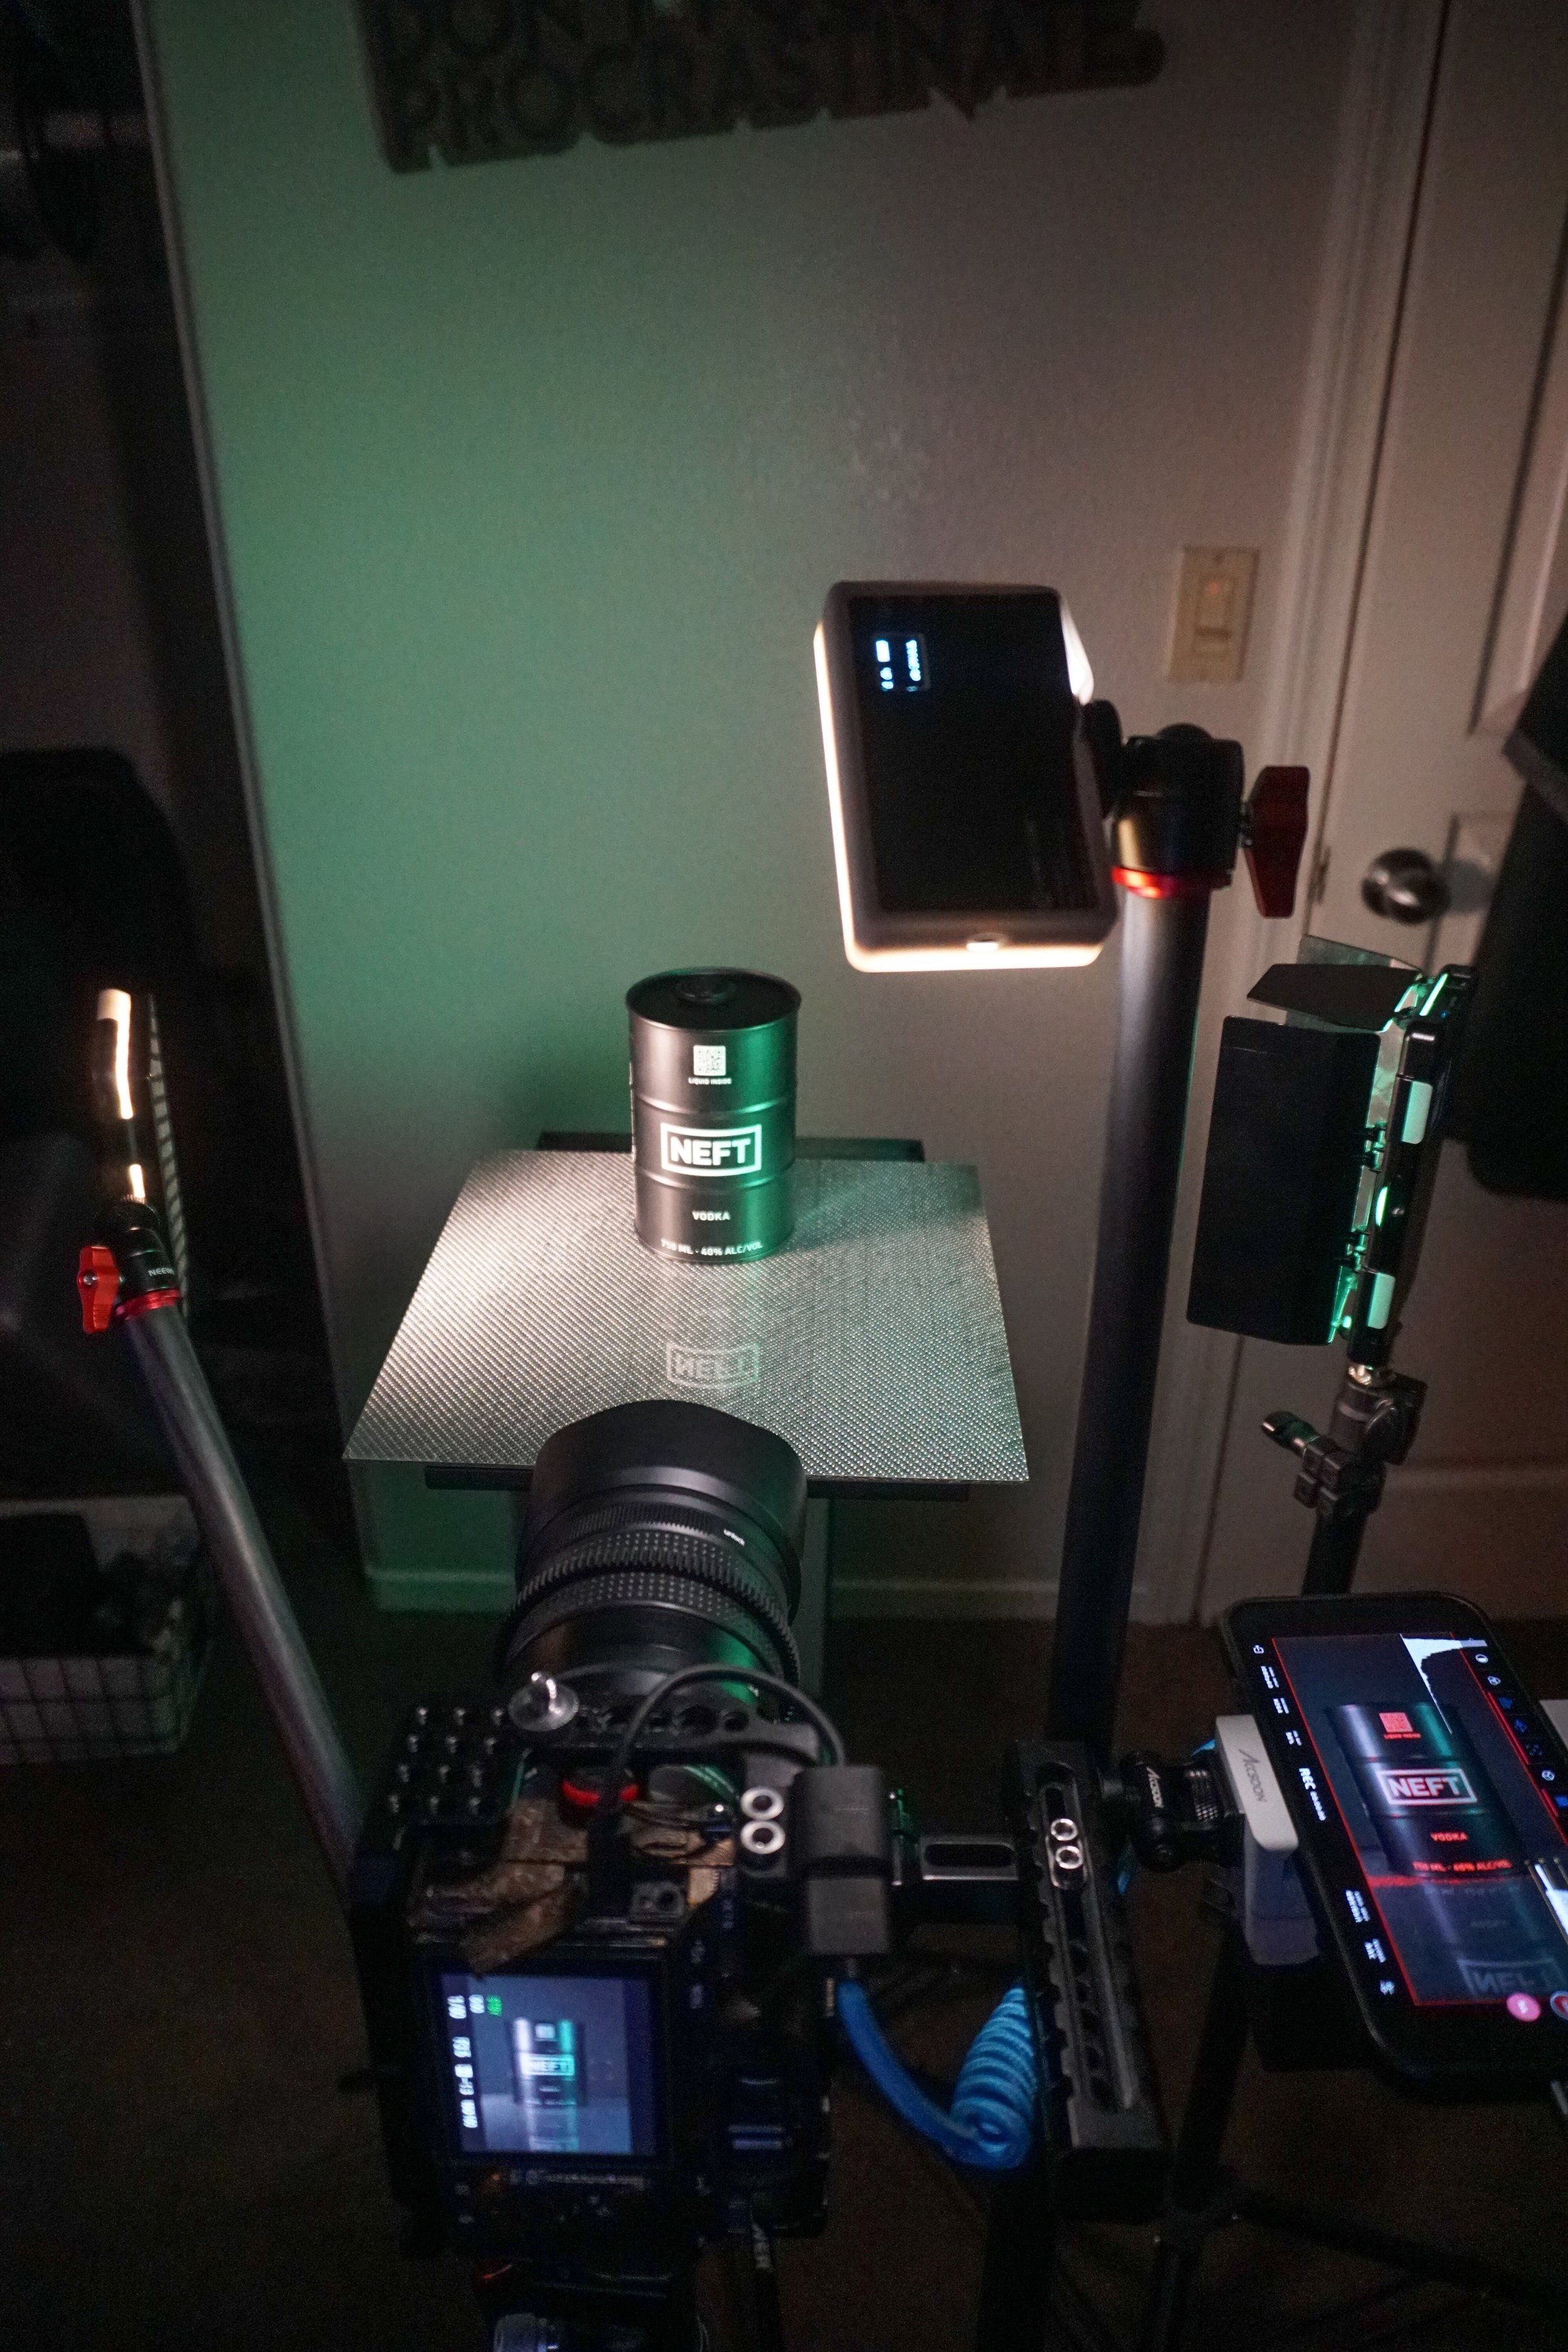
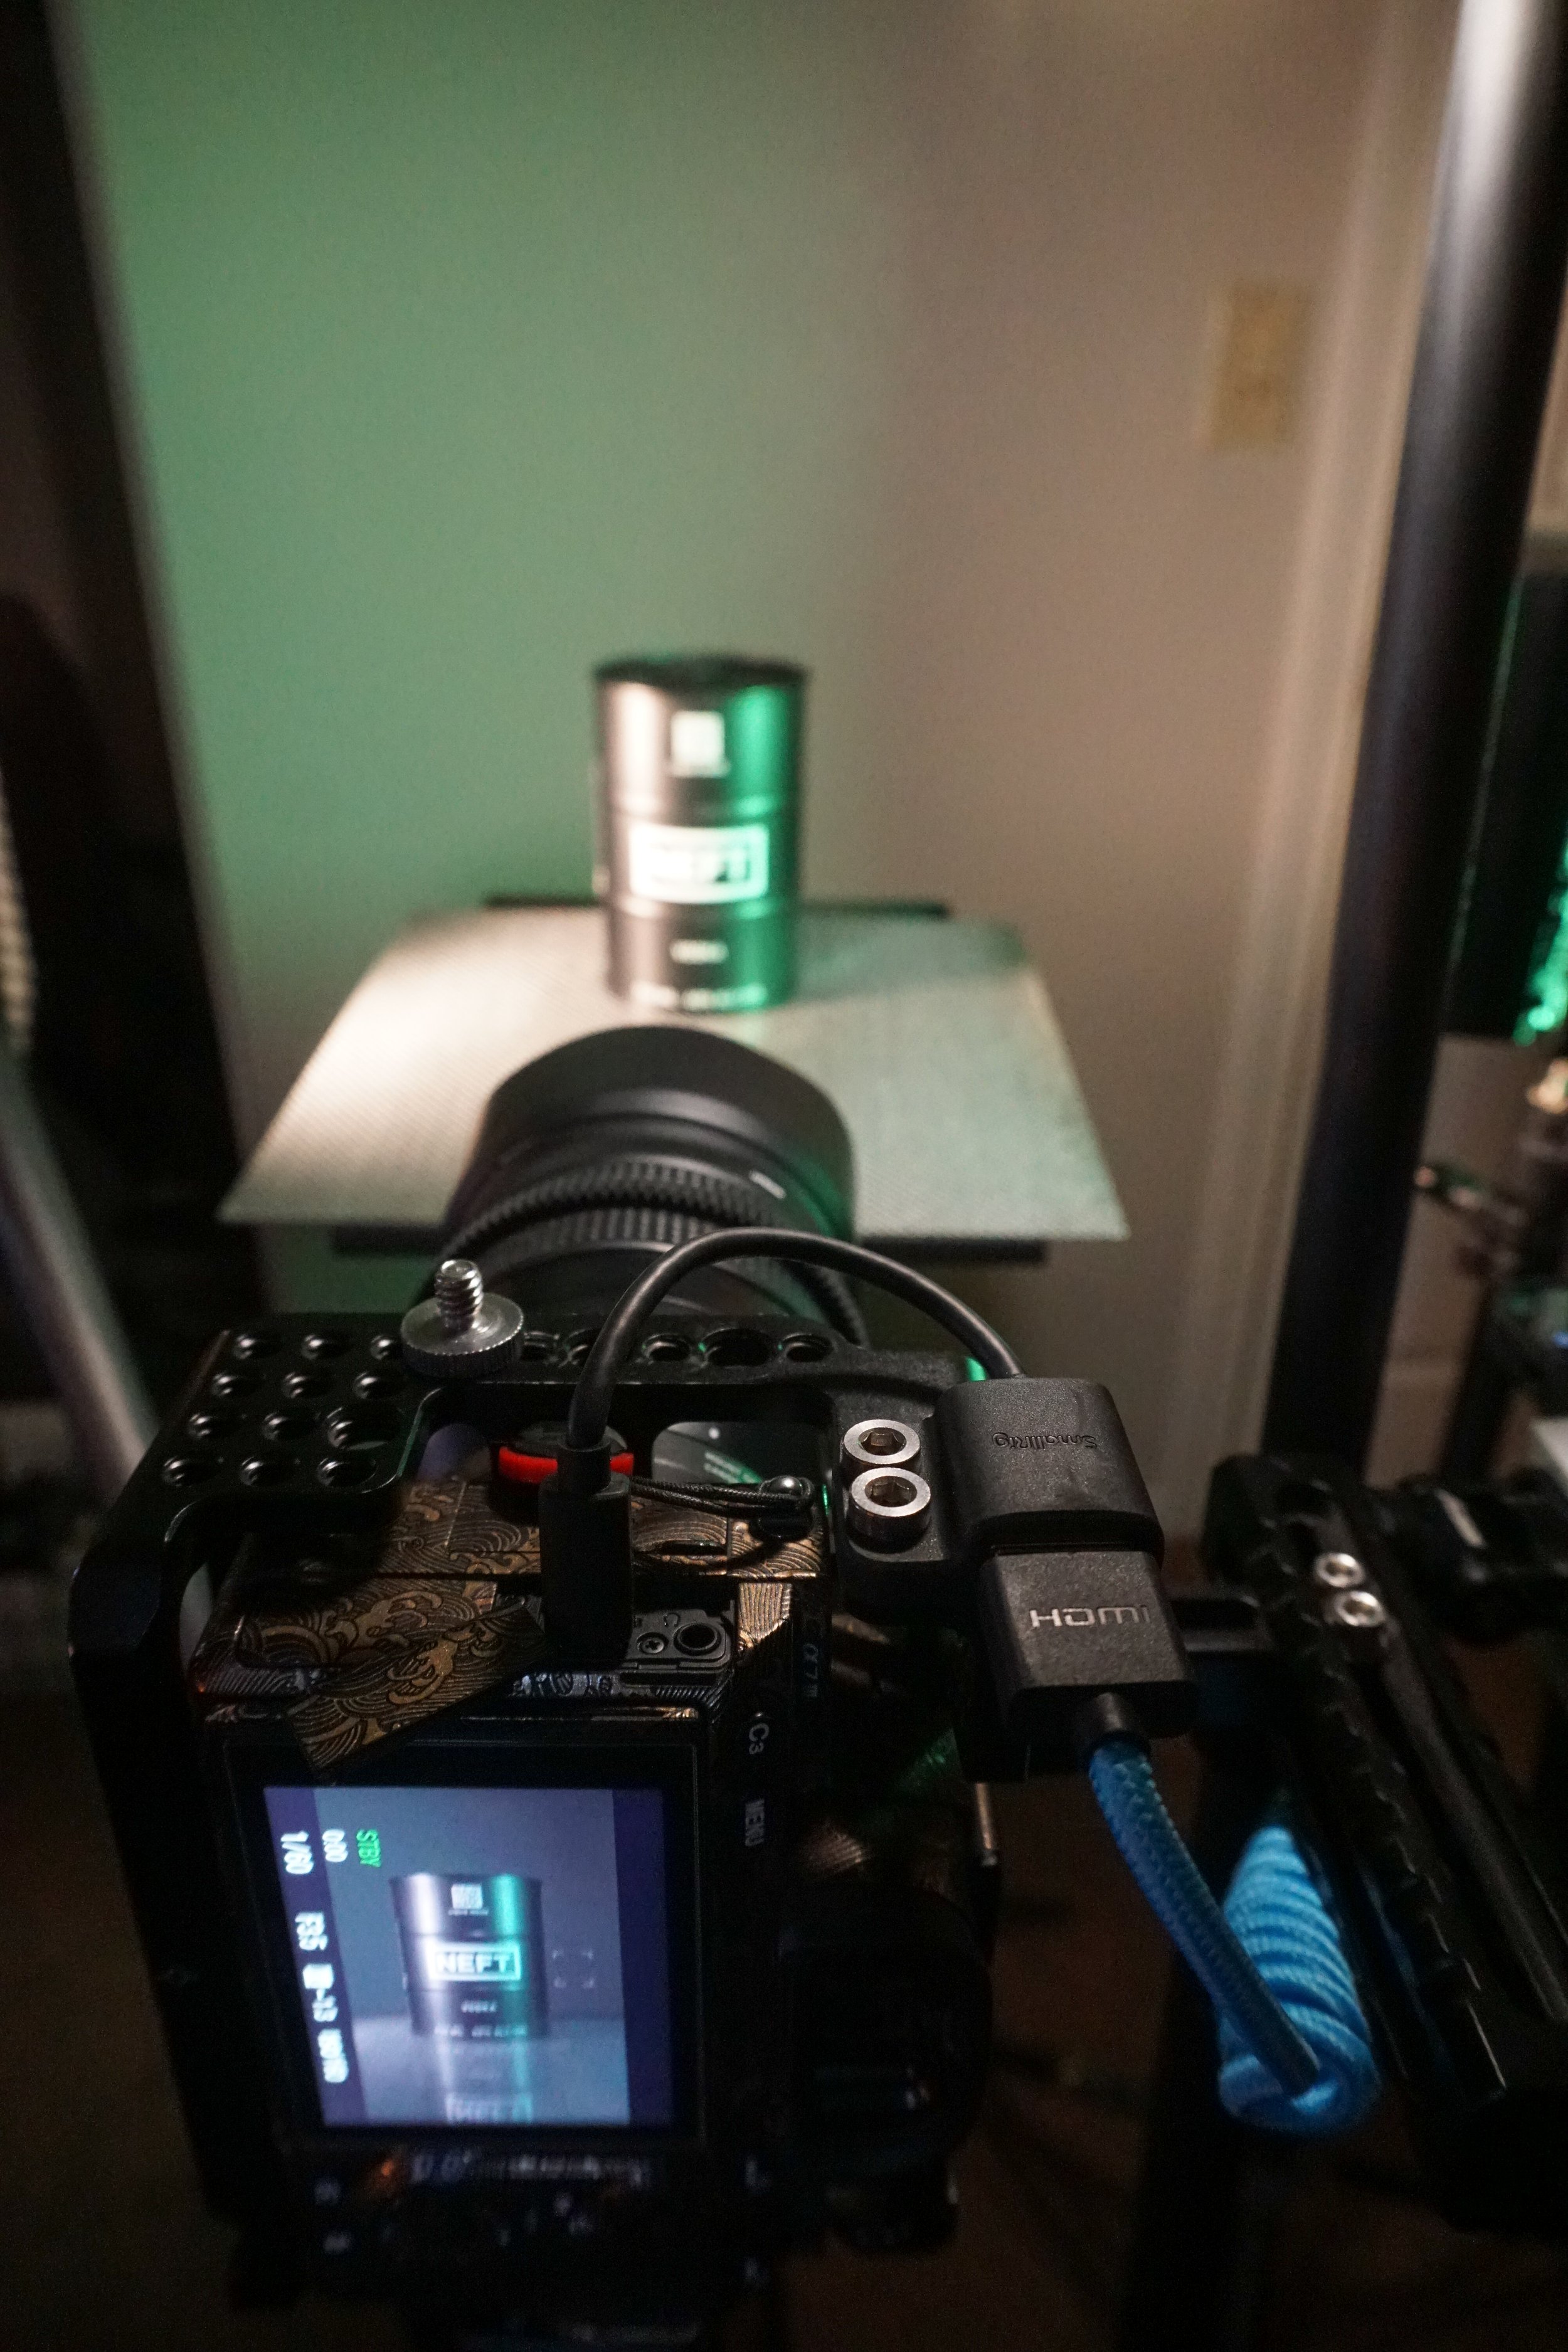
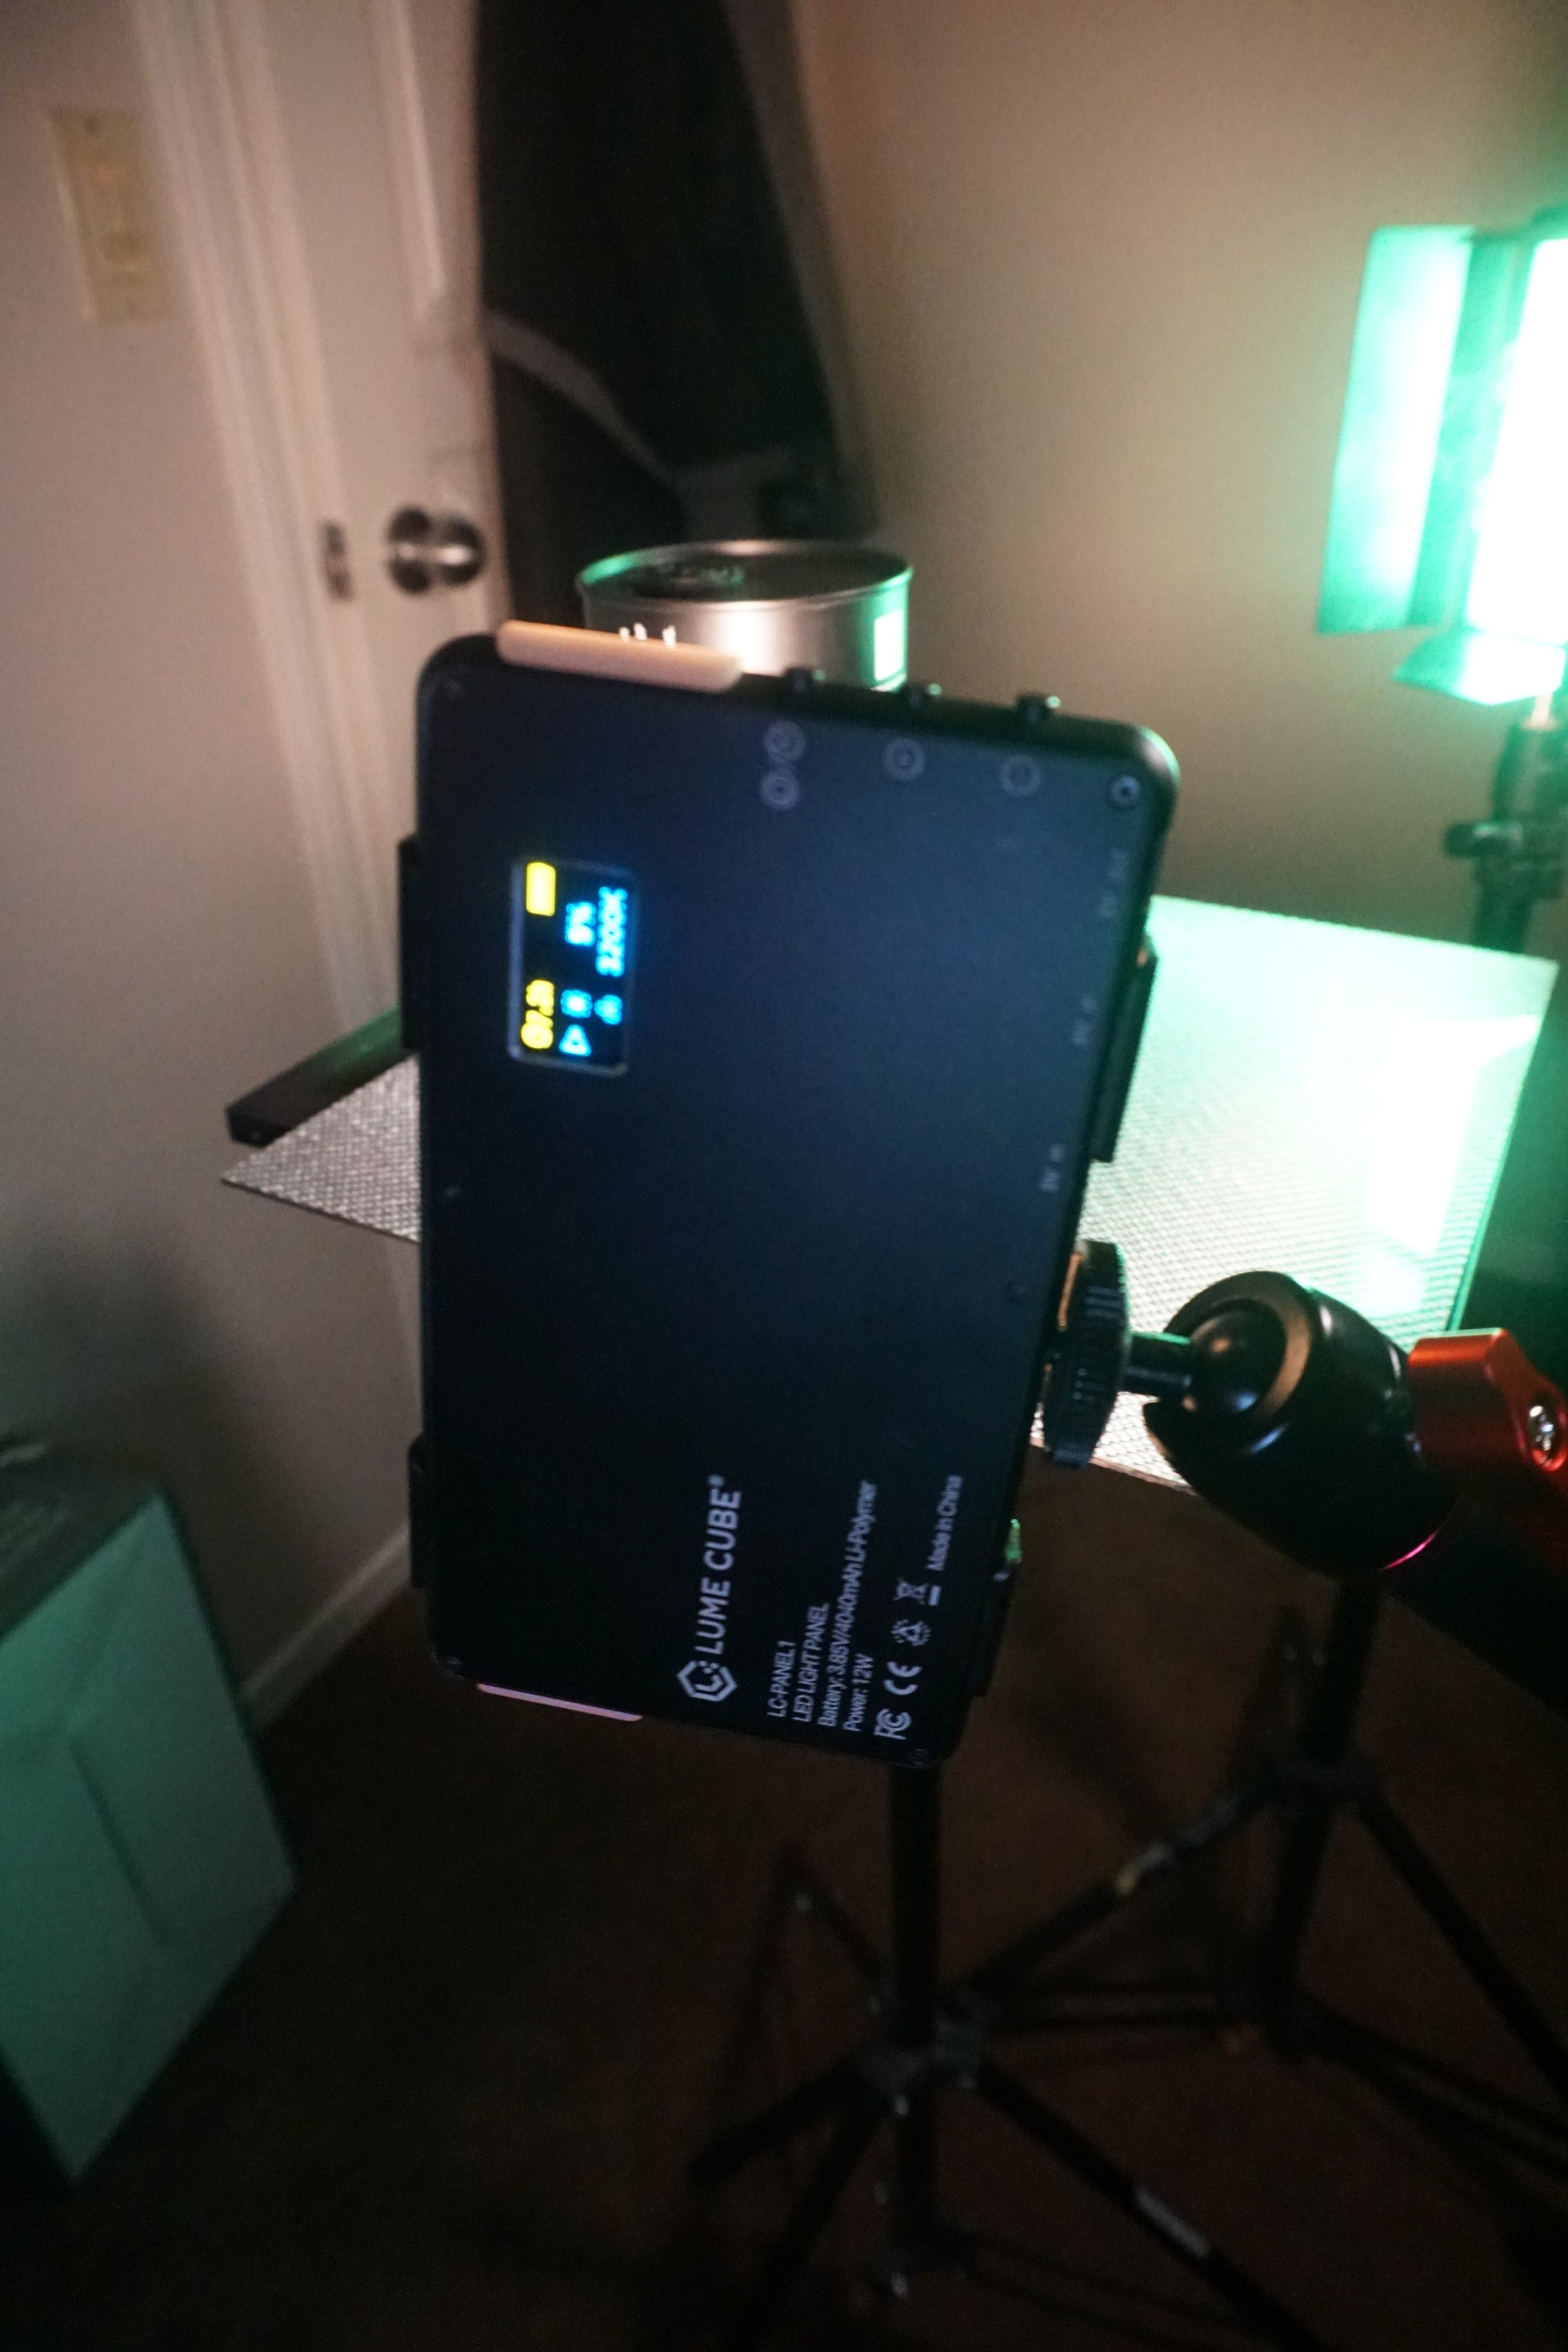
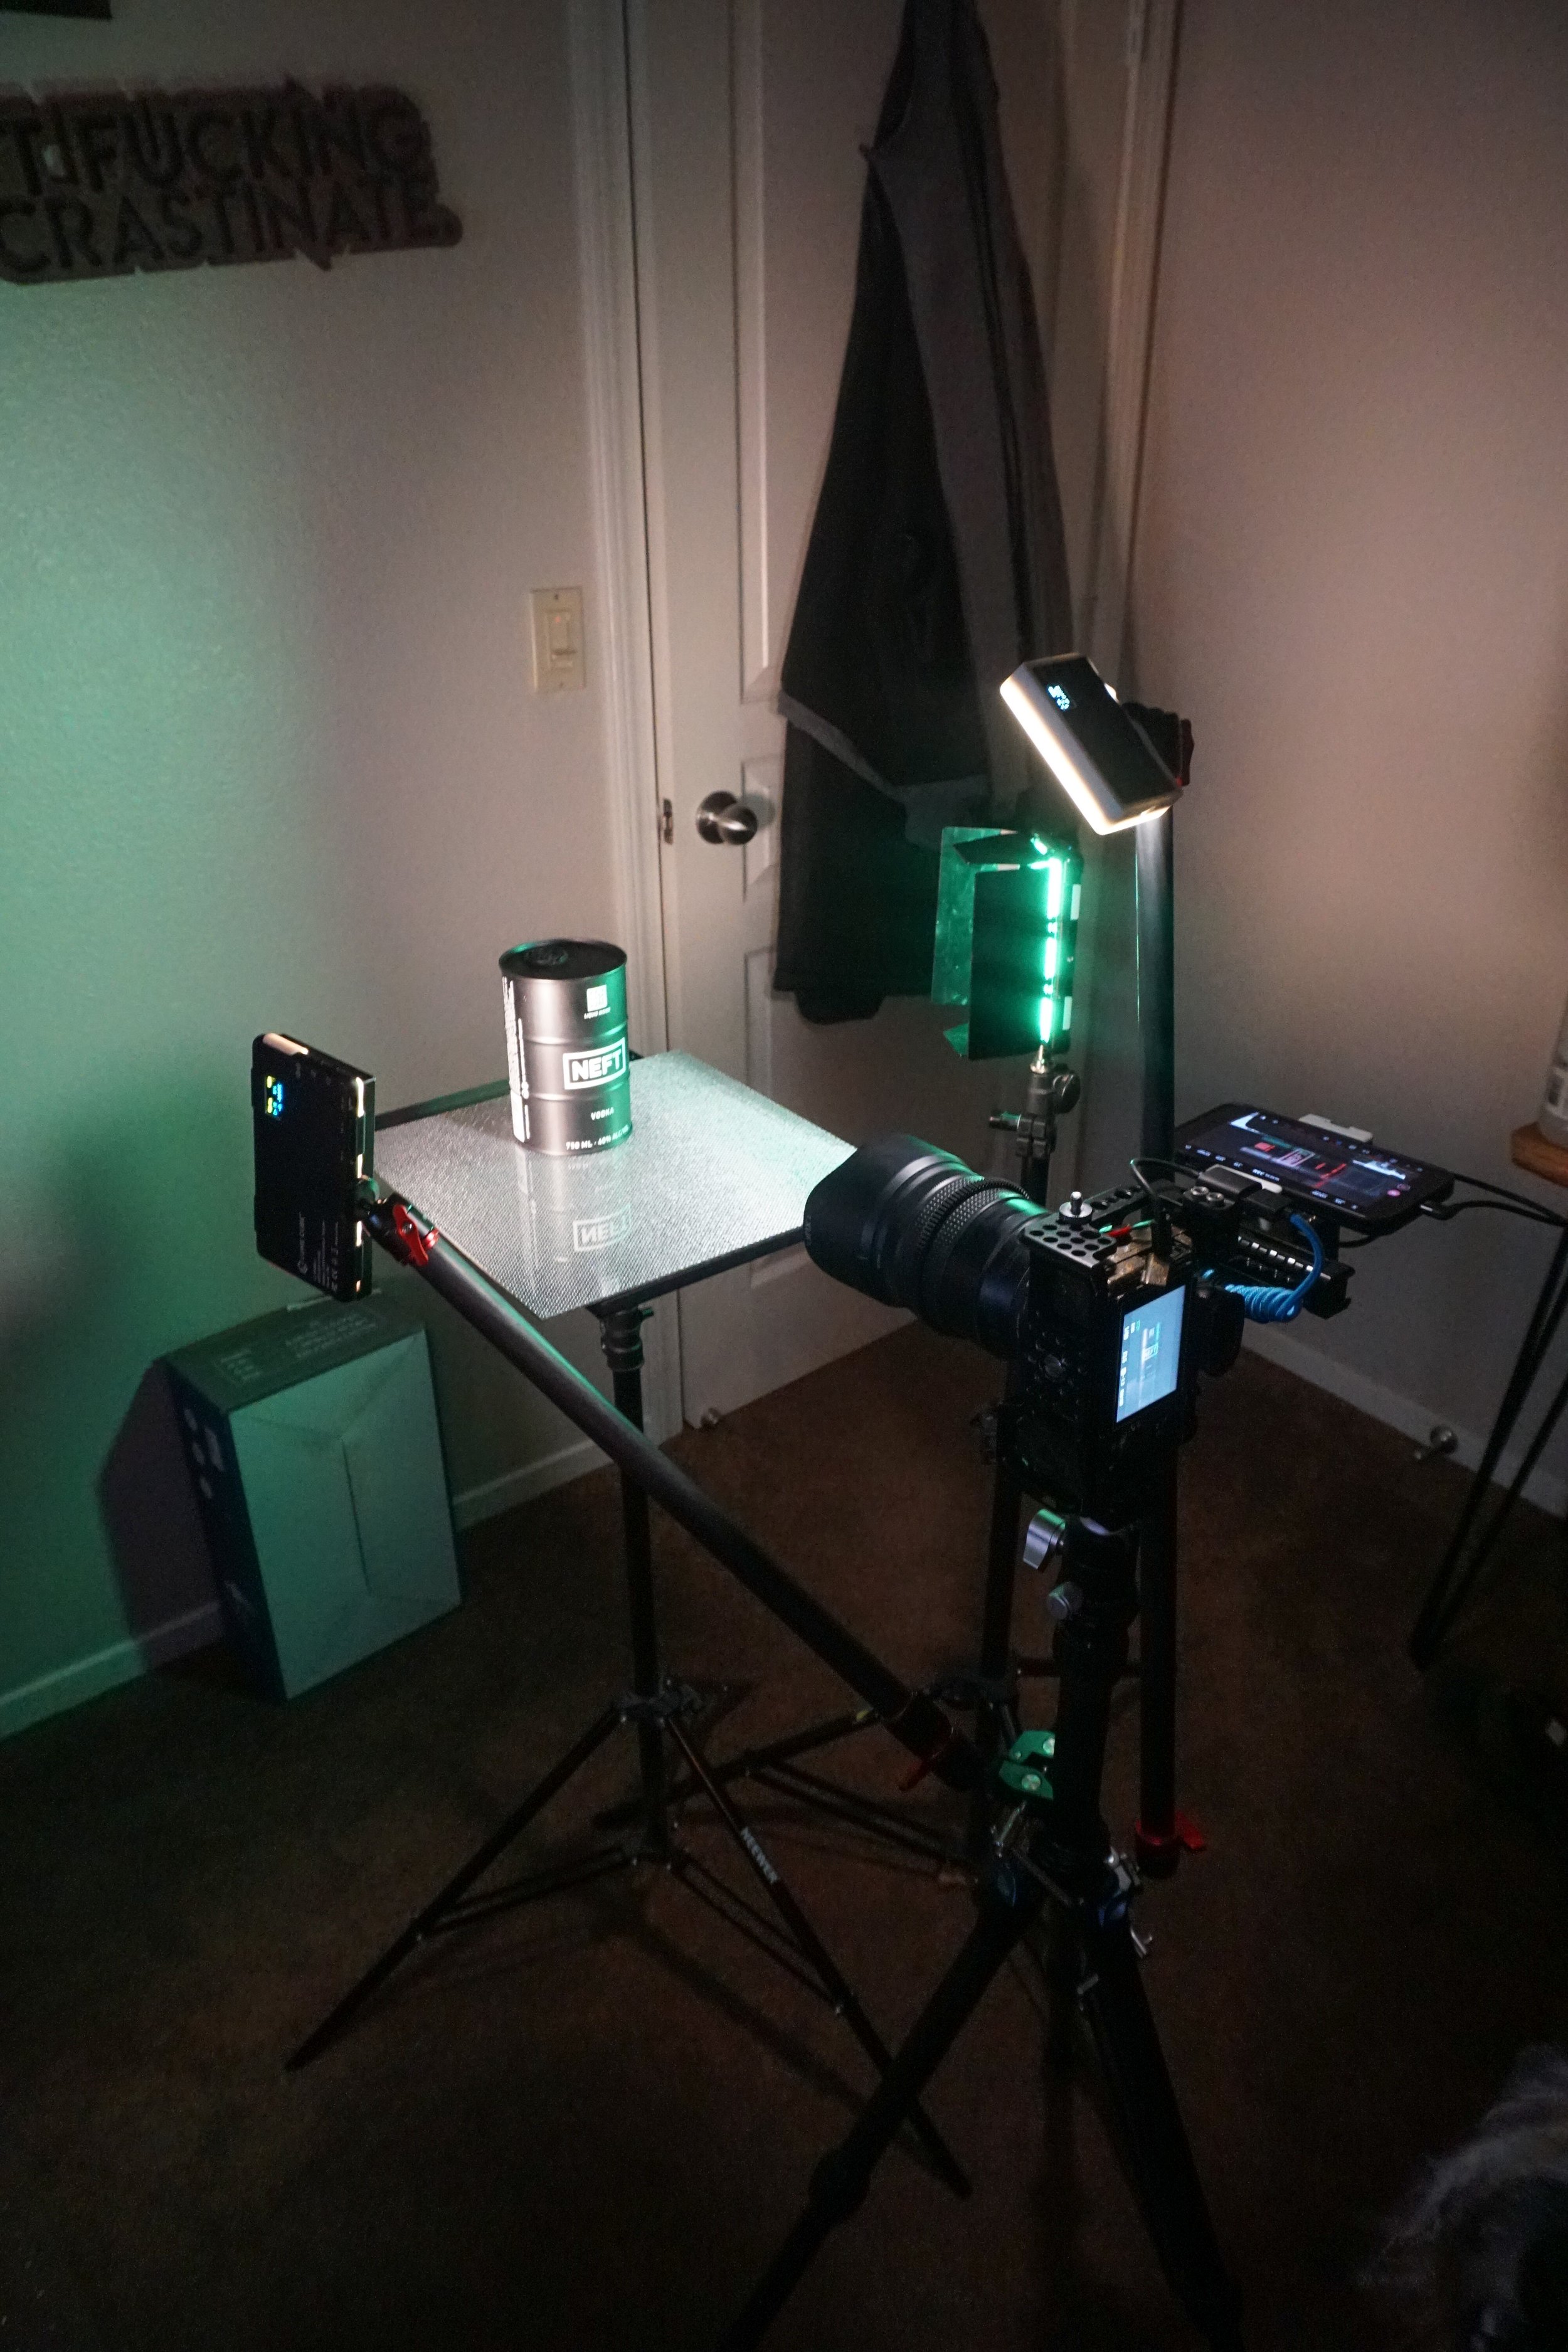
If you're a brand looking to create eye-catching product photos for your next vodka campaign, using portable panel lights like Lume Cubes can be a great way to achieve professional-quality results without breaking the bank. That’s what I used in this quick photoshoot setup.
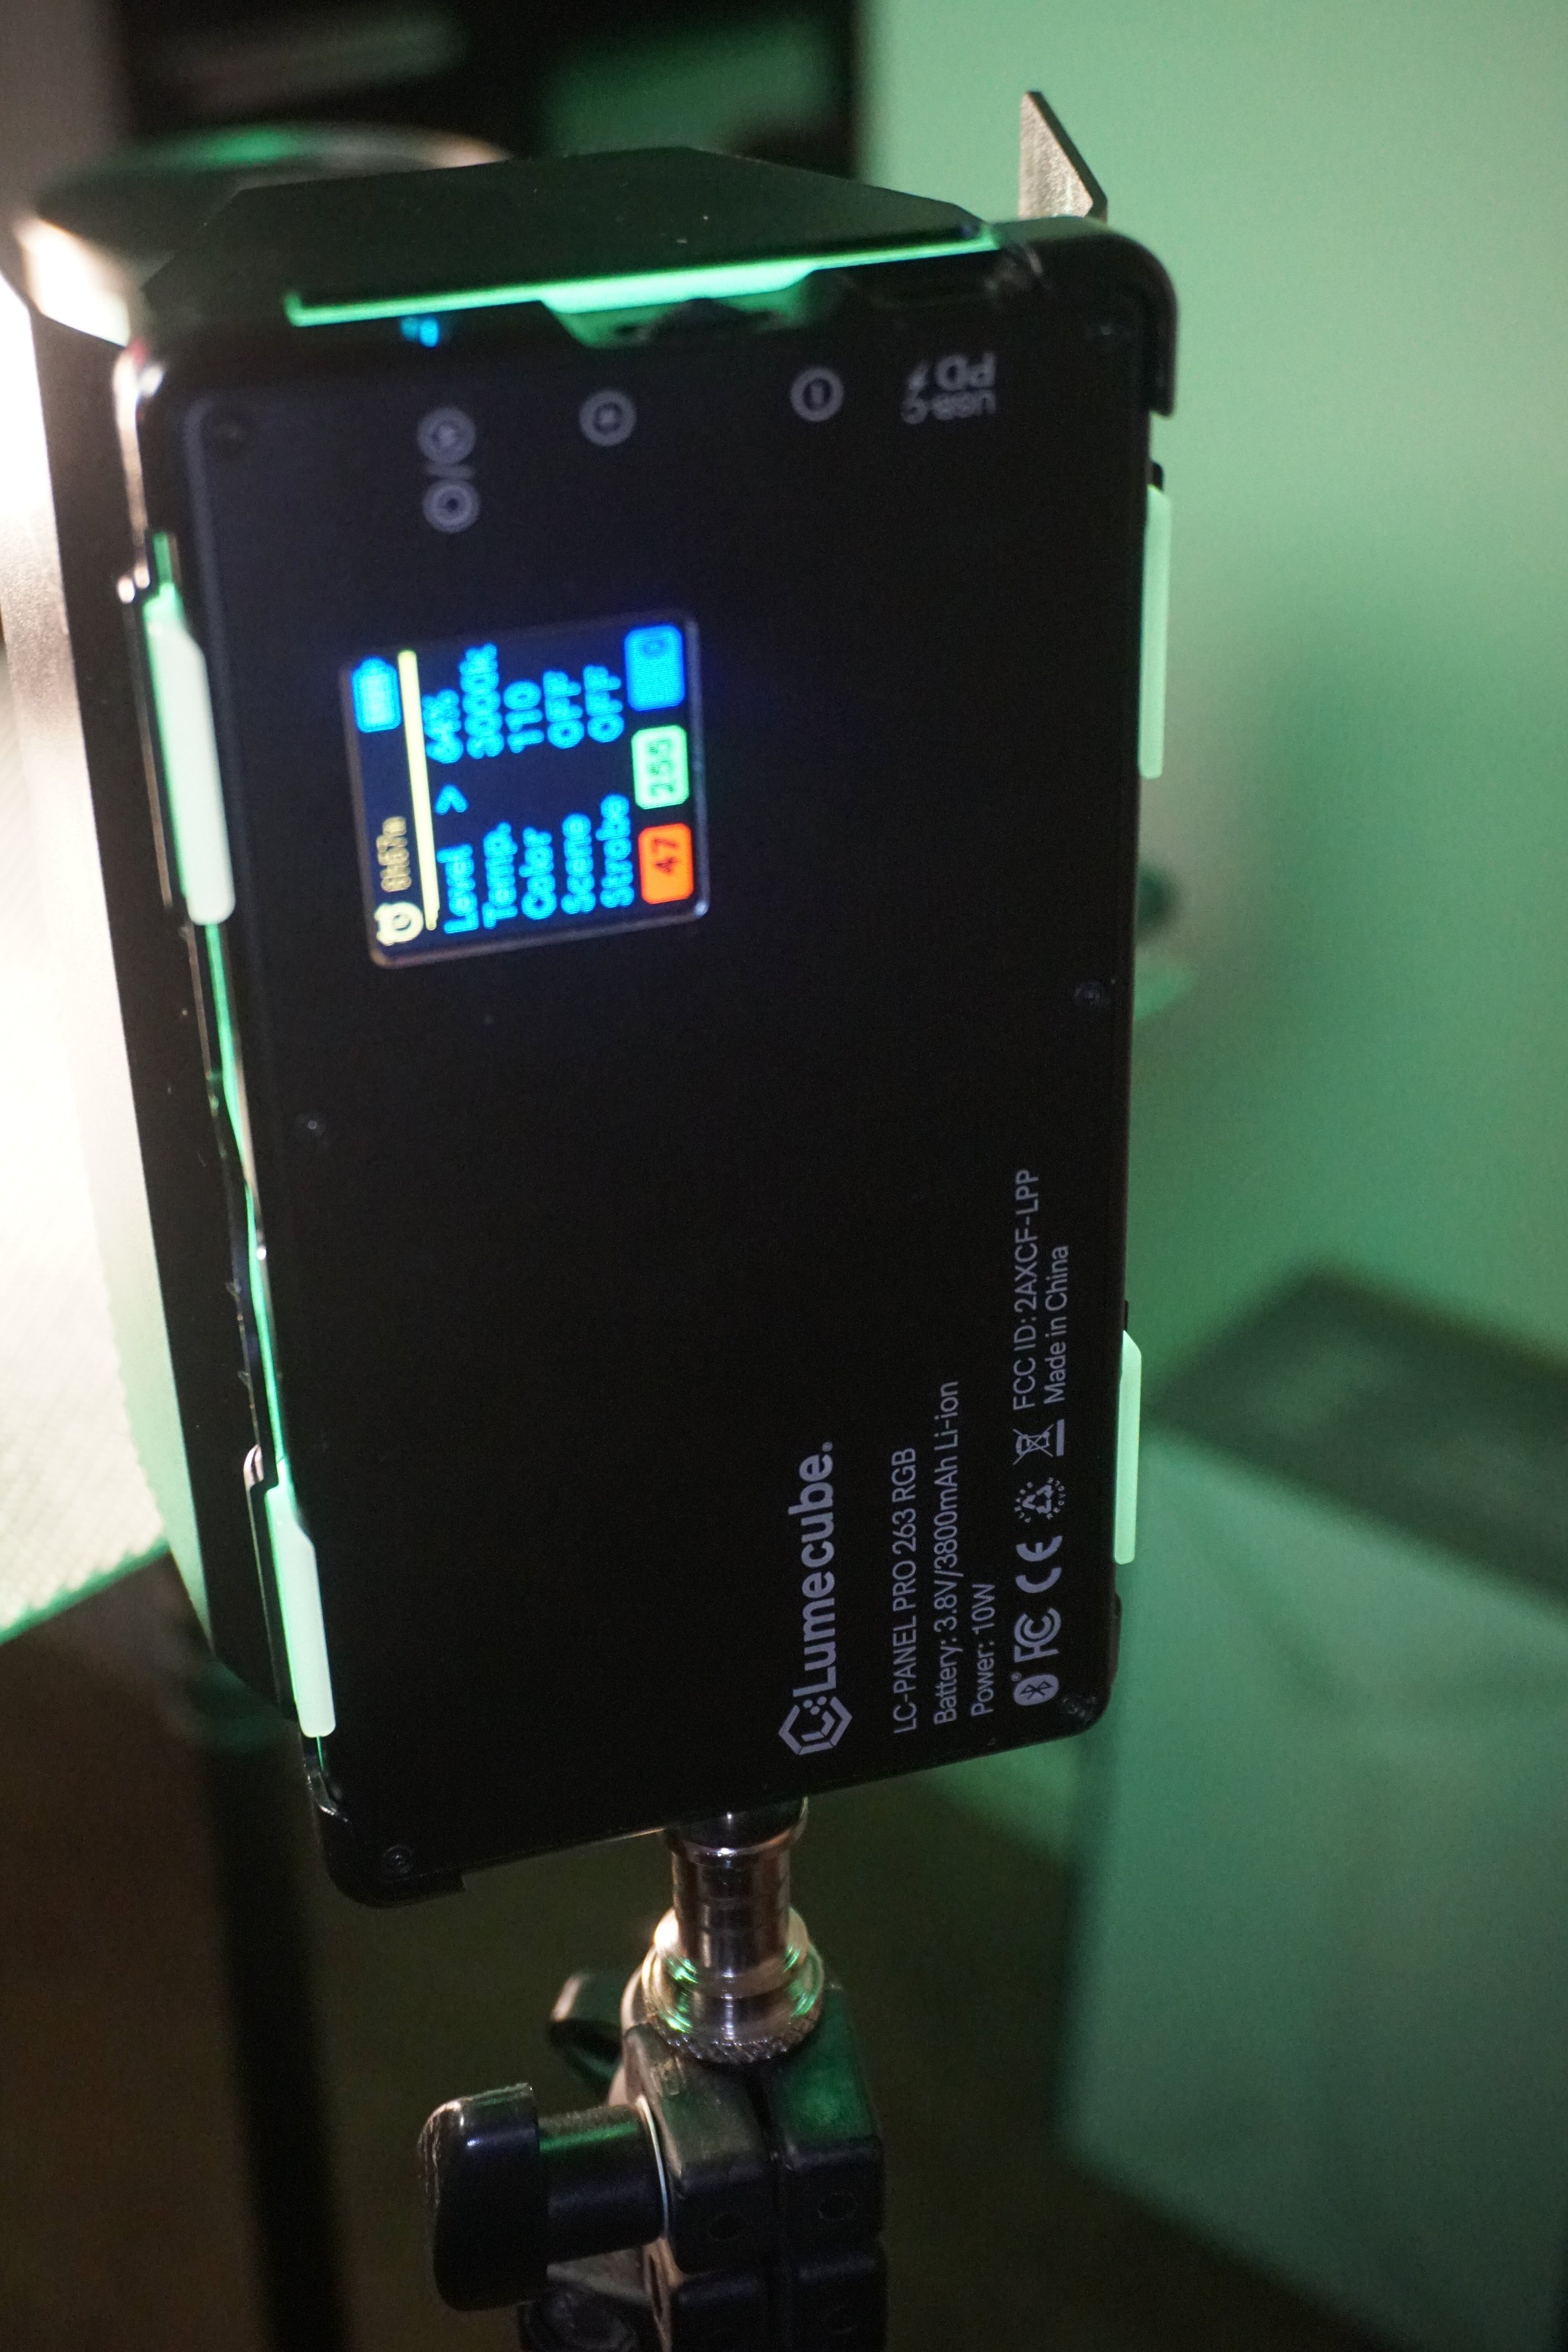
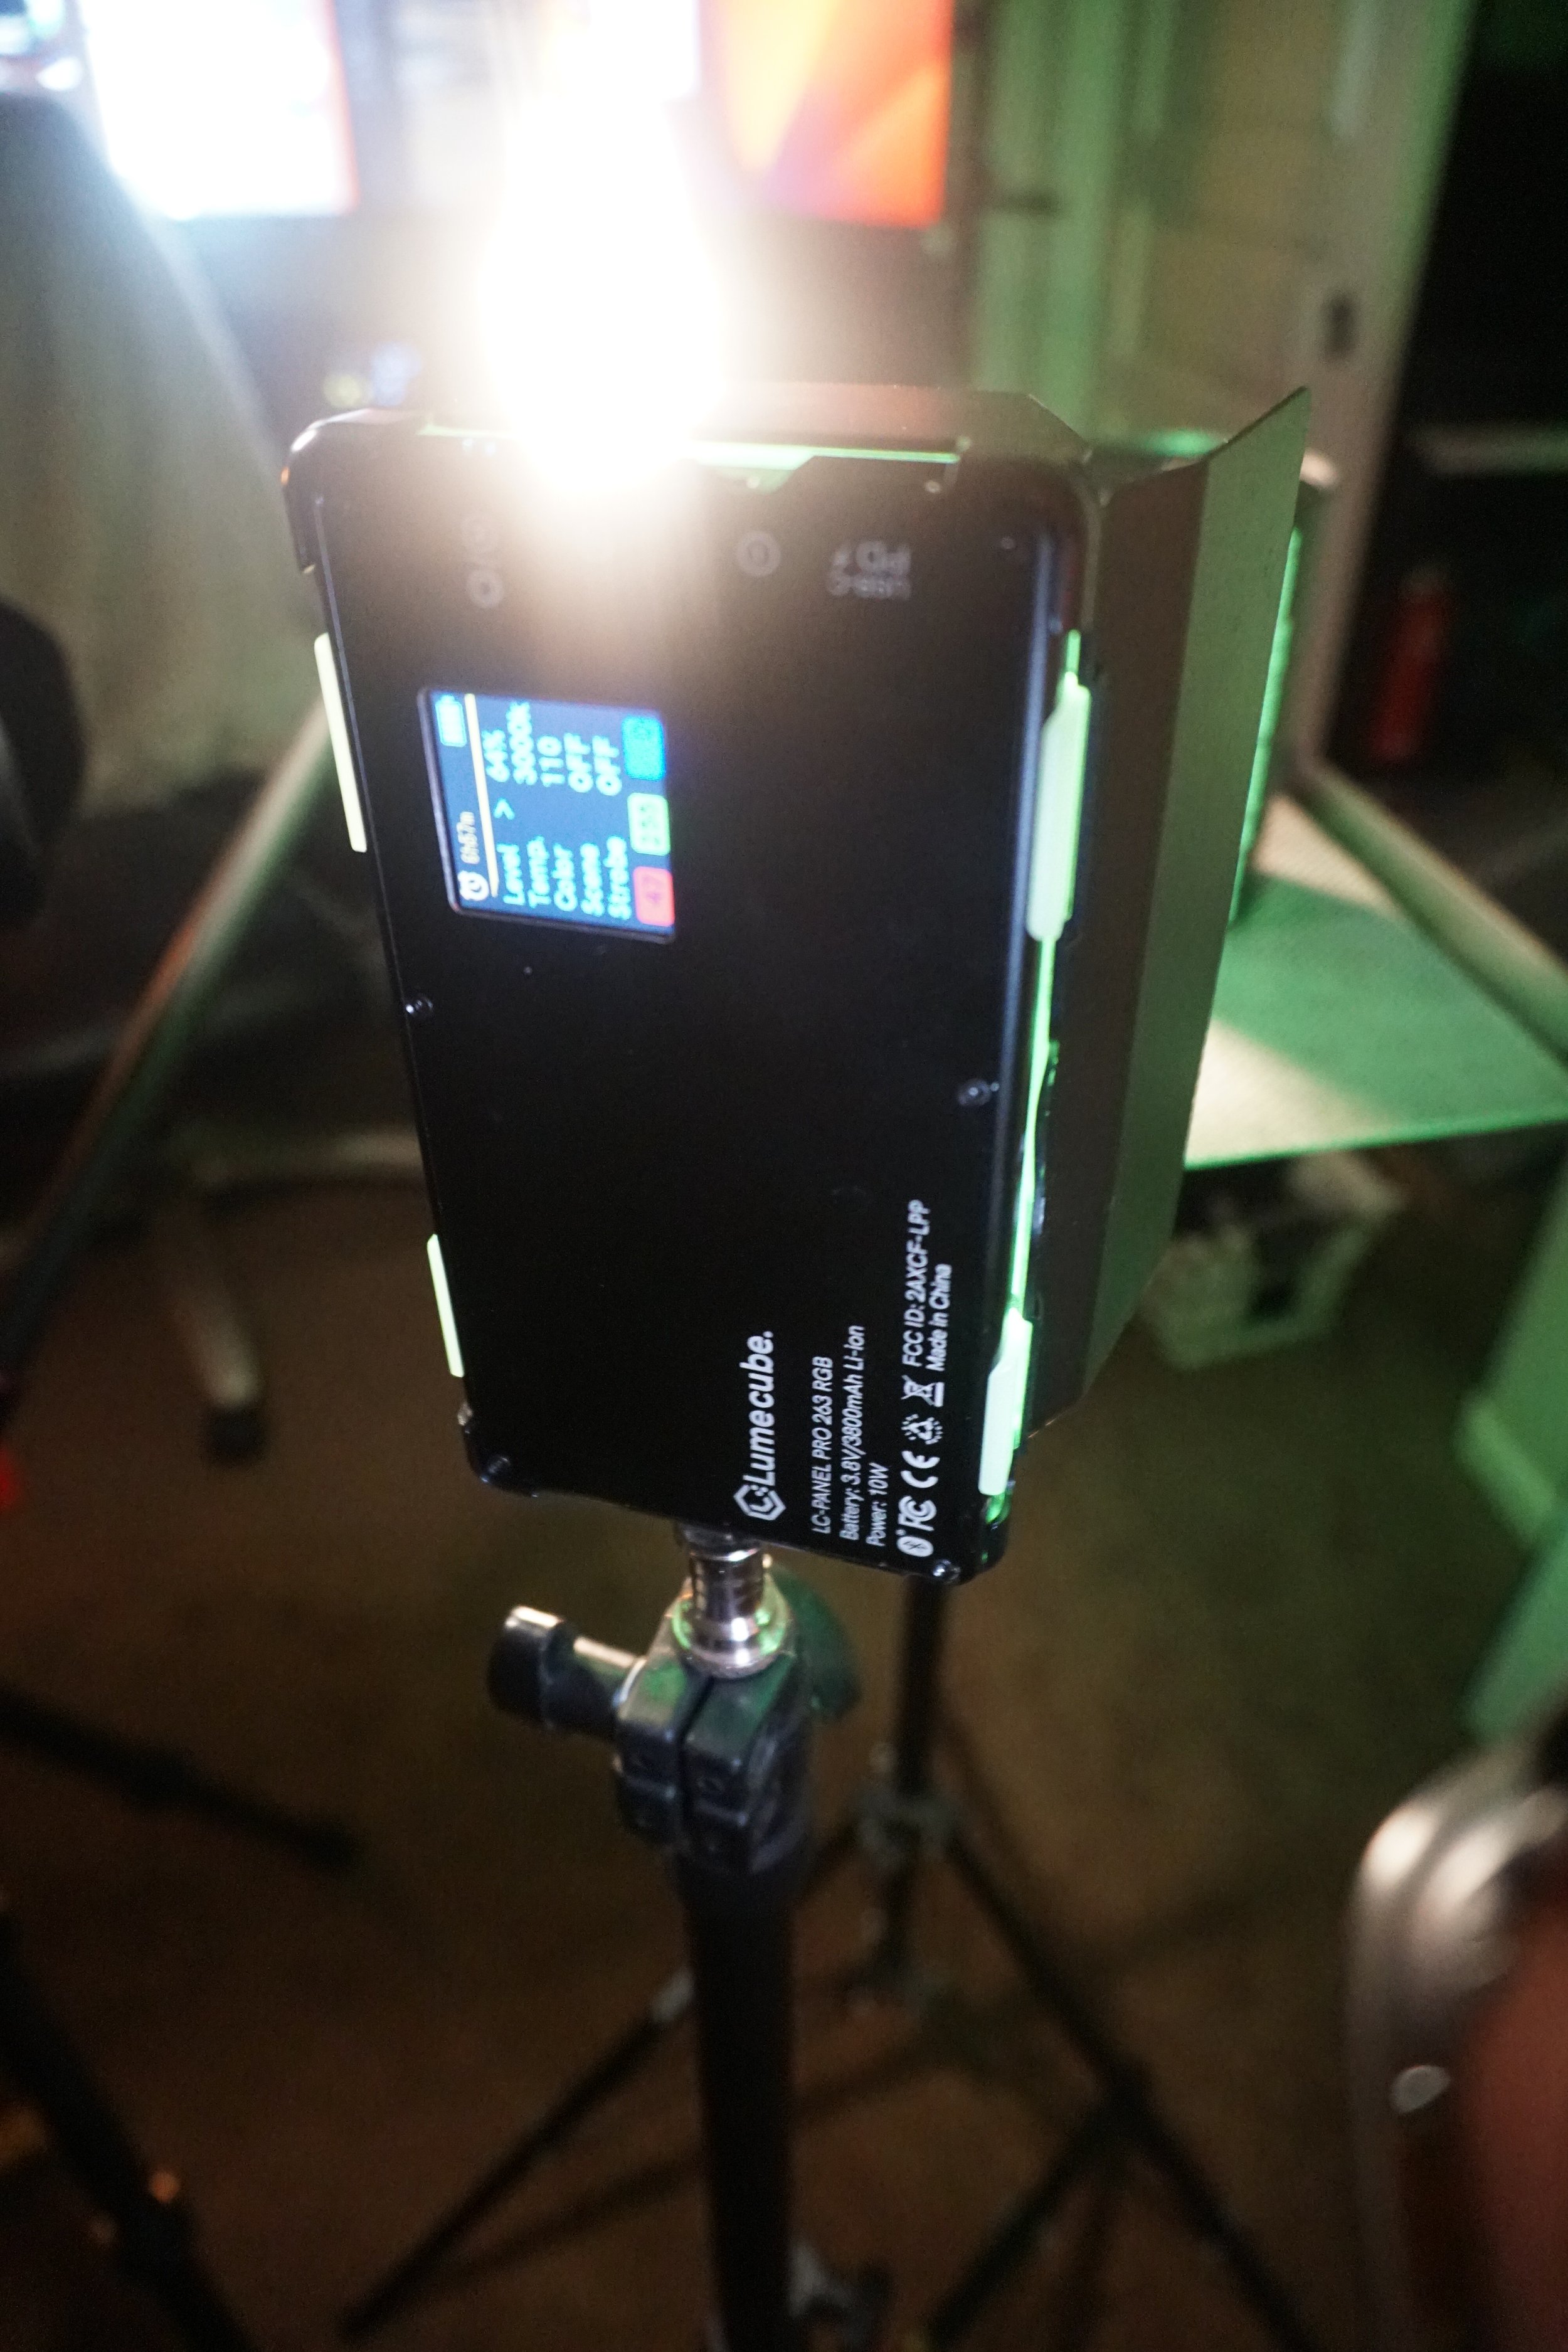
Simple and easy setup using 3 different Lume Cube Panels.
One of the key benefits of using panel lights is that they are highly portable and easy to set up, making them ideal for on-location shoots or for photographers who need to work with limited space. And because they produce a soft, diffused light that is easy on the eyes, they are perfect for capturing the subtle details and textures of your vodka bottle.
But don't let their simplicity fool you – these lights can also be used to create some truly stunning visual effects. For example, adding a touch of smoke or haze to your shots can help to give your images a sense of depth and drama. And because panel lights are so versatile, you can easily adjust the intensity and direction of the light to suit your creative vision.
Overall, if you're looking to create beautiful product photos that stand out from the competition, using panel lights like Lume Cubes is a simple and effective way to achieve professional-quality results without breaking the bank. Whether you're a seasoned photographer or just starting out, these lights are a great tool to have in your arsenal.
Make it stand out
One of the standout features of Lume Cubes portable panel lights is their programmable color choice and different light diffusers. This allows you to easily adjust the color and intensity of the light to suit your creative vision, whether you're looking to create a warm and inviting atmosphere or a cool and edgy vibe.
With the ability to program different colors, you can easily add some visual interest to your shots by highlighting specific areas of your vodka bottle or creating a gradient effect. And by using different light diffusers, you can control the spread and direction of the light to create a range of different looks and moods.
Whether you're shooting in a studio or on location, these programmable features make it easy to get the exact lighting you need to bring your product photos to life. So if you're looking to take your product photography to the next level, be sure to check out Lume Cubes portable panel lights – they're a versatile and cost-effective way to achieve professional-quality results.
If you would like to give Lume Cube a try head over to https://lumecube.com
and use my Promo Code HIGHSIERRAVISUALS
5 Reasons you should own Lume Cubes
One of the standout features of Lume cubes is their portability and ease of setup. These lights are designed to be lightweight and compact, making them perfect for photographers who need to work on the go. Whether you're shooting in a studio or on location, you'll appreciate the convenience of being able to quickly and easily set up your lighting setup.
Another key benefit of using Lume cubes is the quality of light they produce. These lights are designed to produce a soft, diffused light that is easy on the eyes and perfect for capturing the subtle details and textures of your subject. Whether you're shooting stills or video, you'll appreciate the way these lights help to bring out the best in your shots.
As a photographer, having the ability to adjust the color and intensity of your light is essential for creating the look and mood you want. With Lume cubes, you have the ability to program different colors and use different light diffusers, giving you complete control over the direction and spread of the light. Whether you're looking to create a warm and inviting atmosphere or a cool and edgy vibe, these lights have you covered.
Another great feature of Lume cubes is their durability. These lights are built to withstand the rigors of professional use, so you can count on them to perform reliably shot after shot. And because they are so easy to set up and use, you'll be able to focus on creating beautiful images rather than worrying about technical issues.
Whether you're a professional photographer or just starting out, Lume cubes are a must-have for your toolkit. These lights are incredibly versatile and can be used for a wide range of applications, from product photography to portraiture and more. Whether you're looking to create beautiful stills or dynamic video footage, these lights are a simple and effective way to achieve professional-quality results.
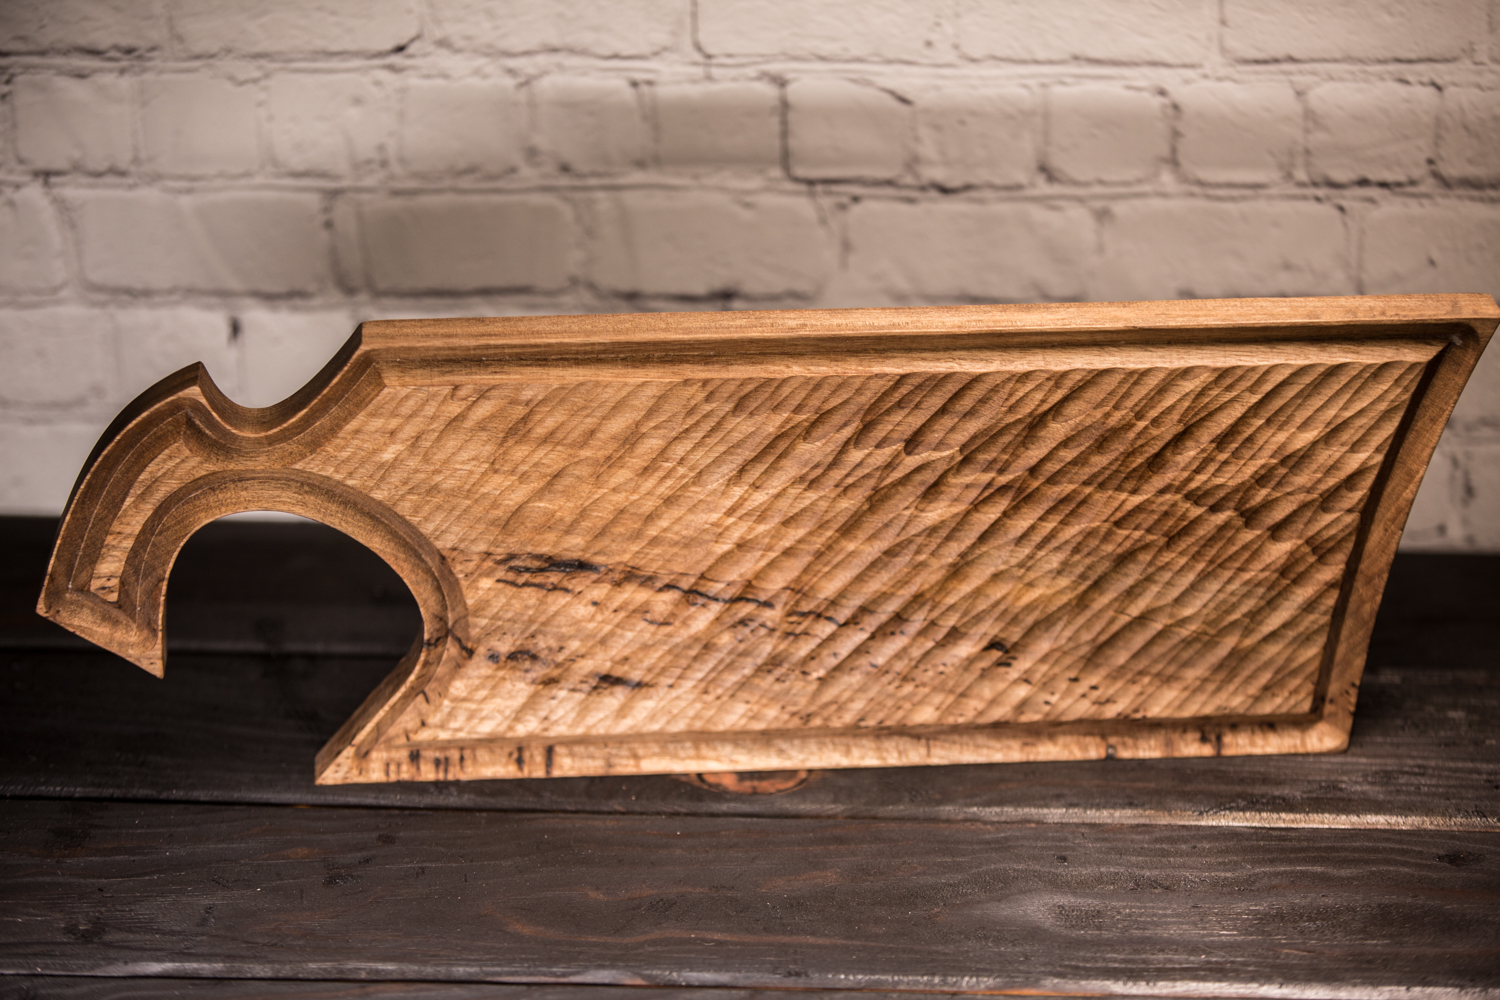
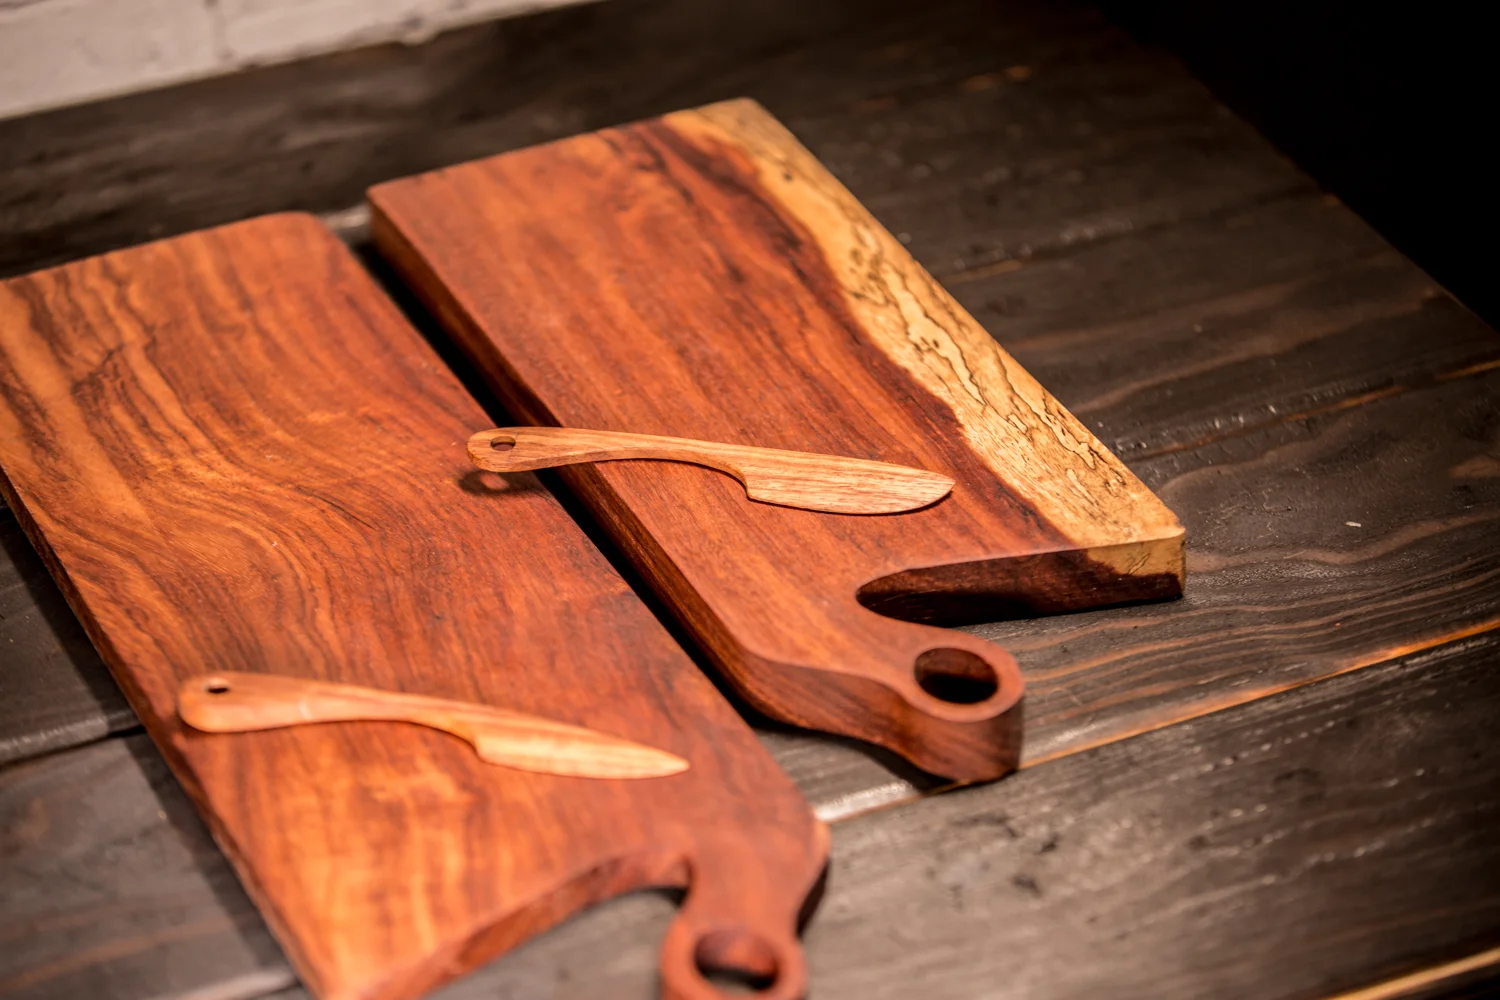
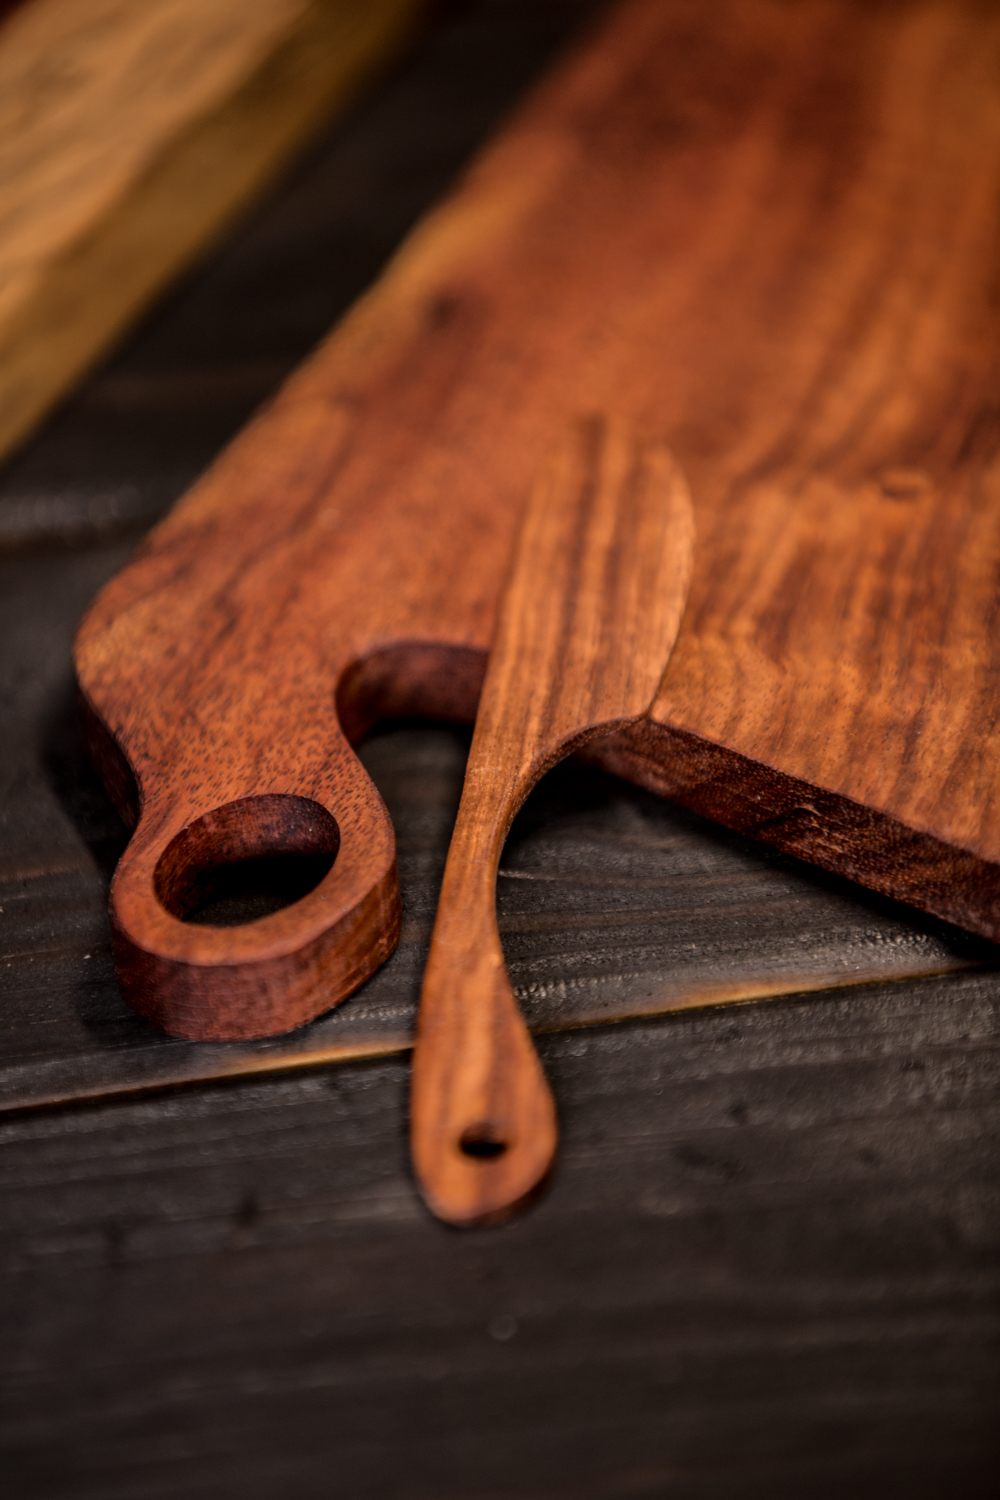
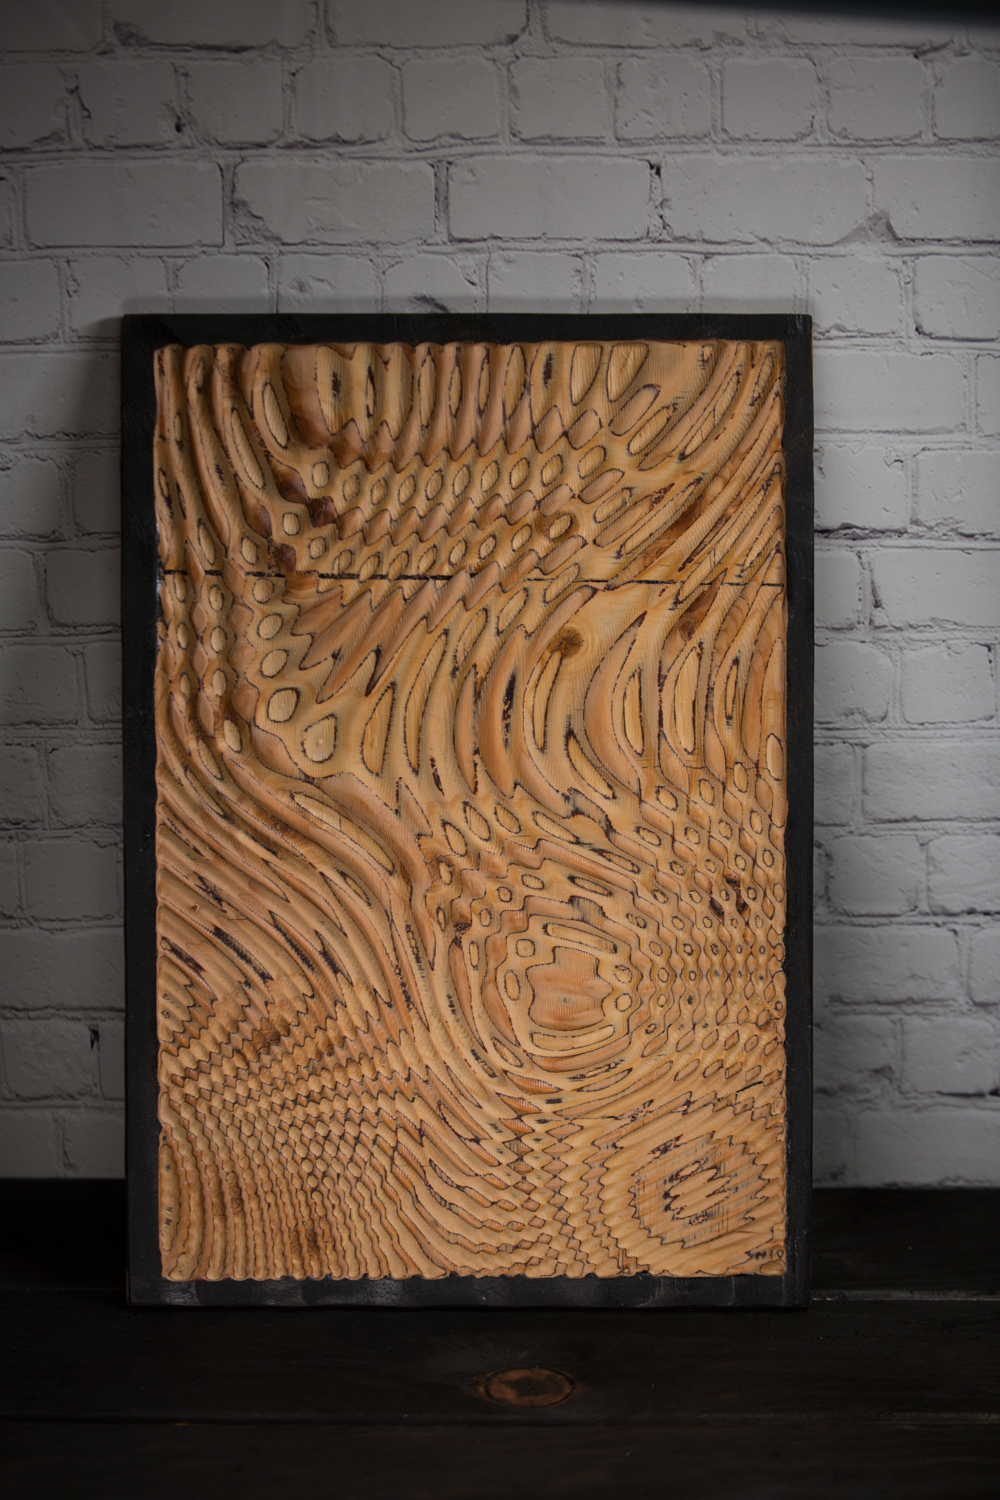
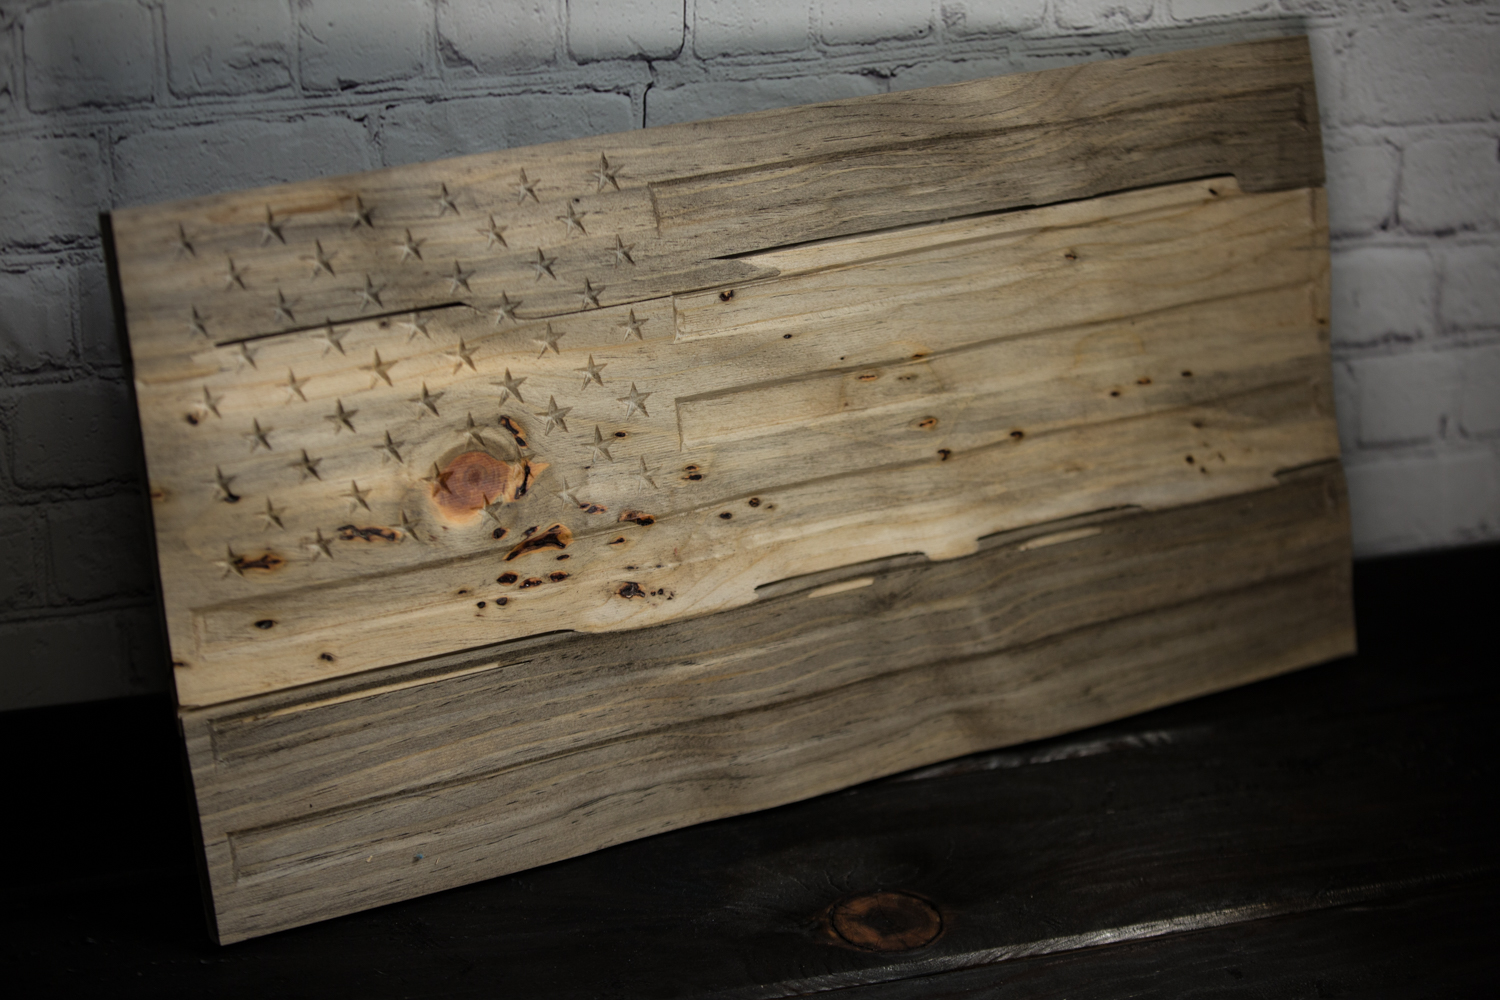
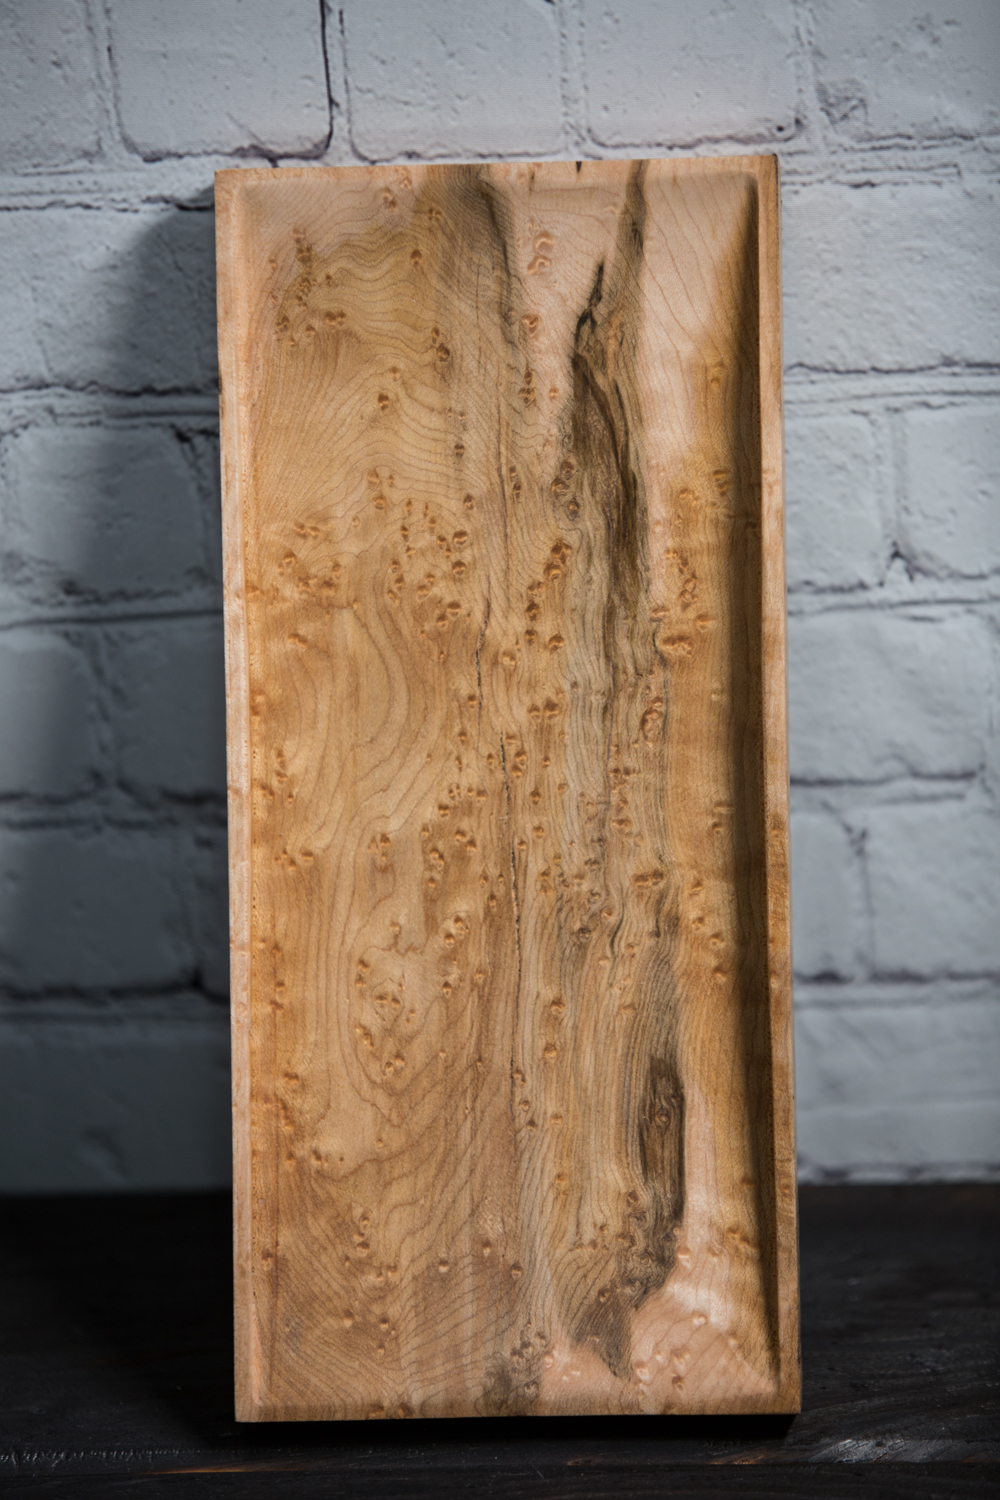
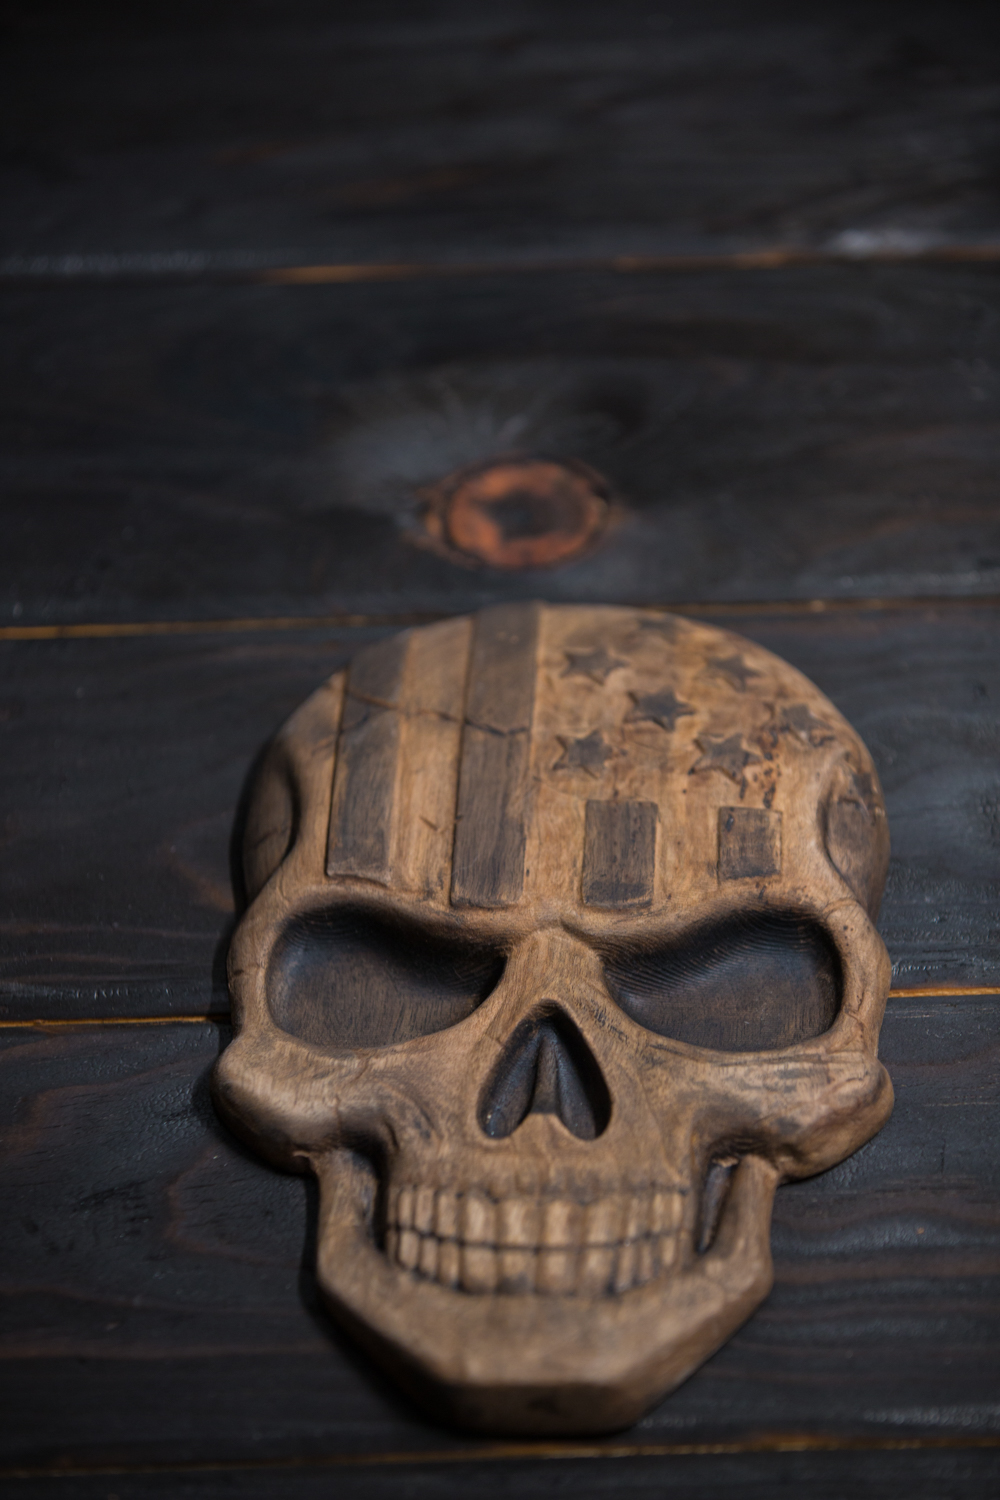
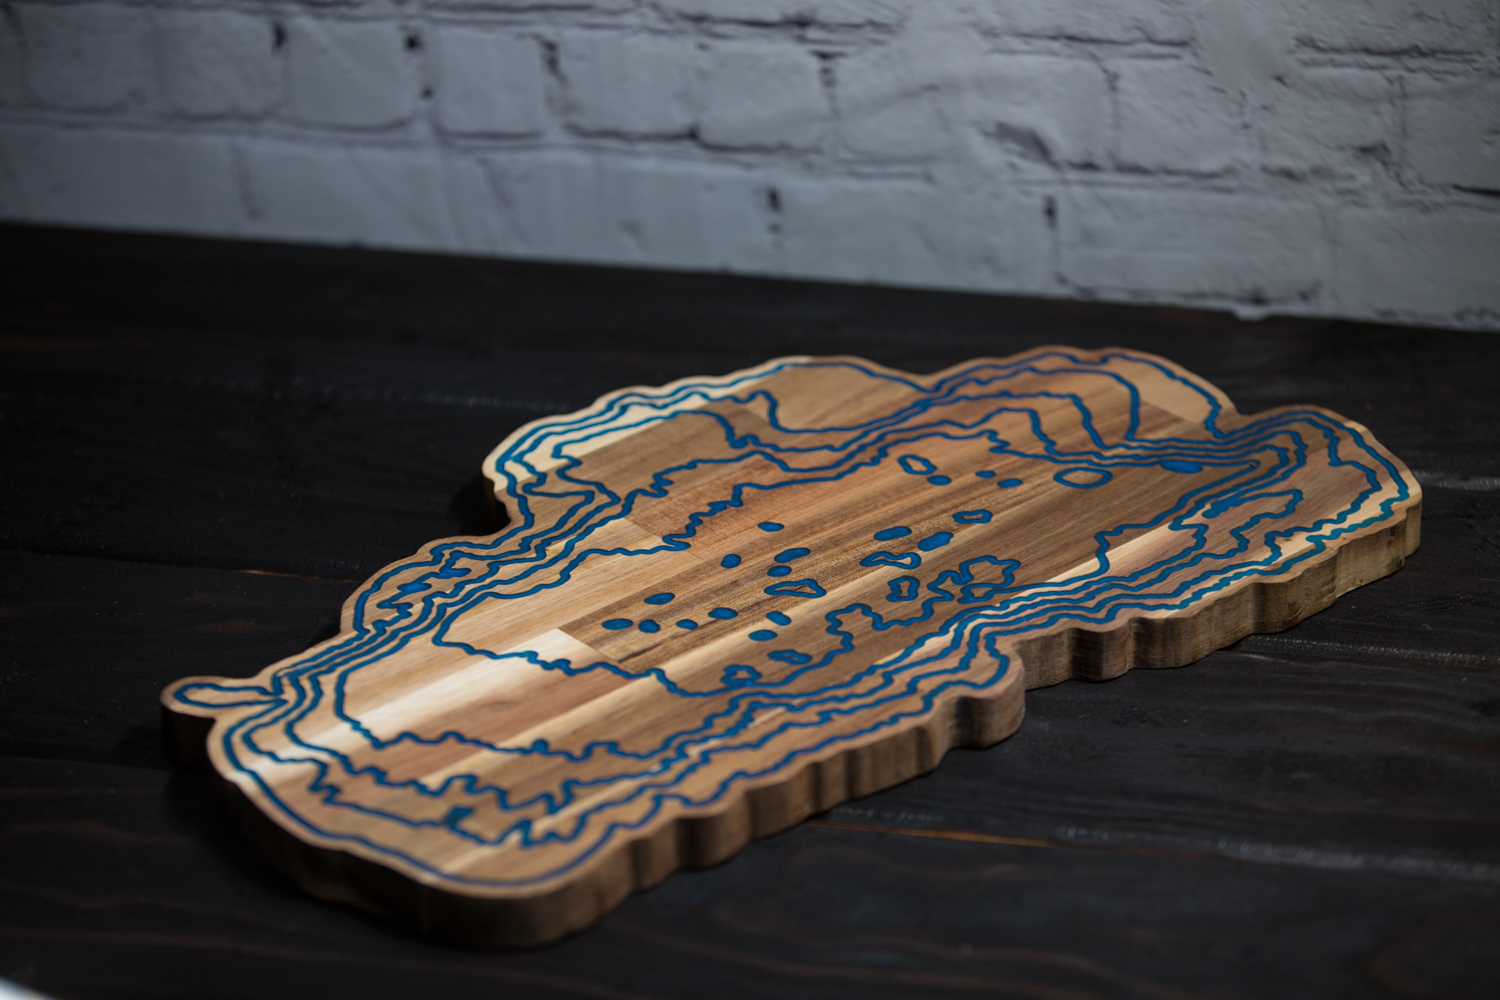
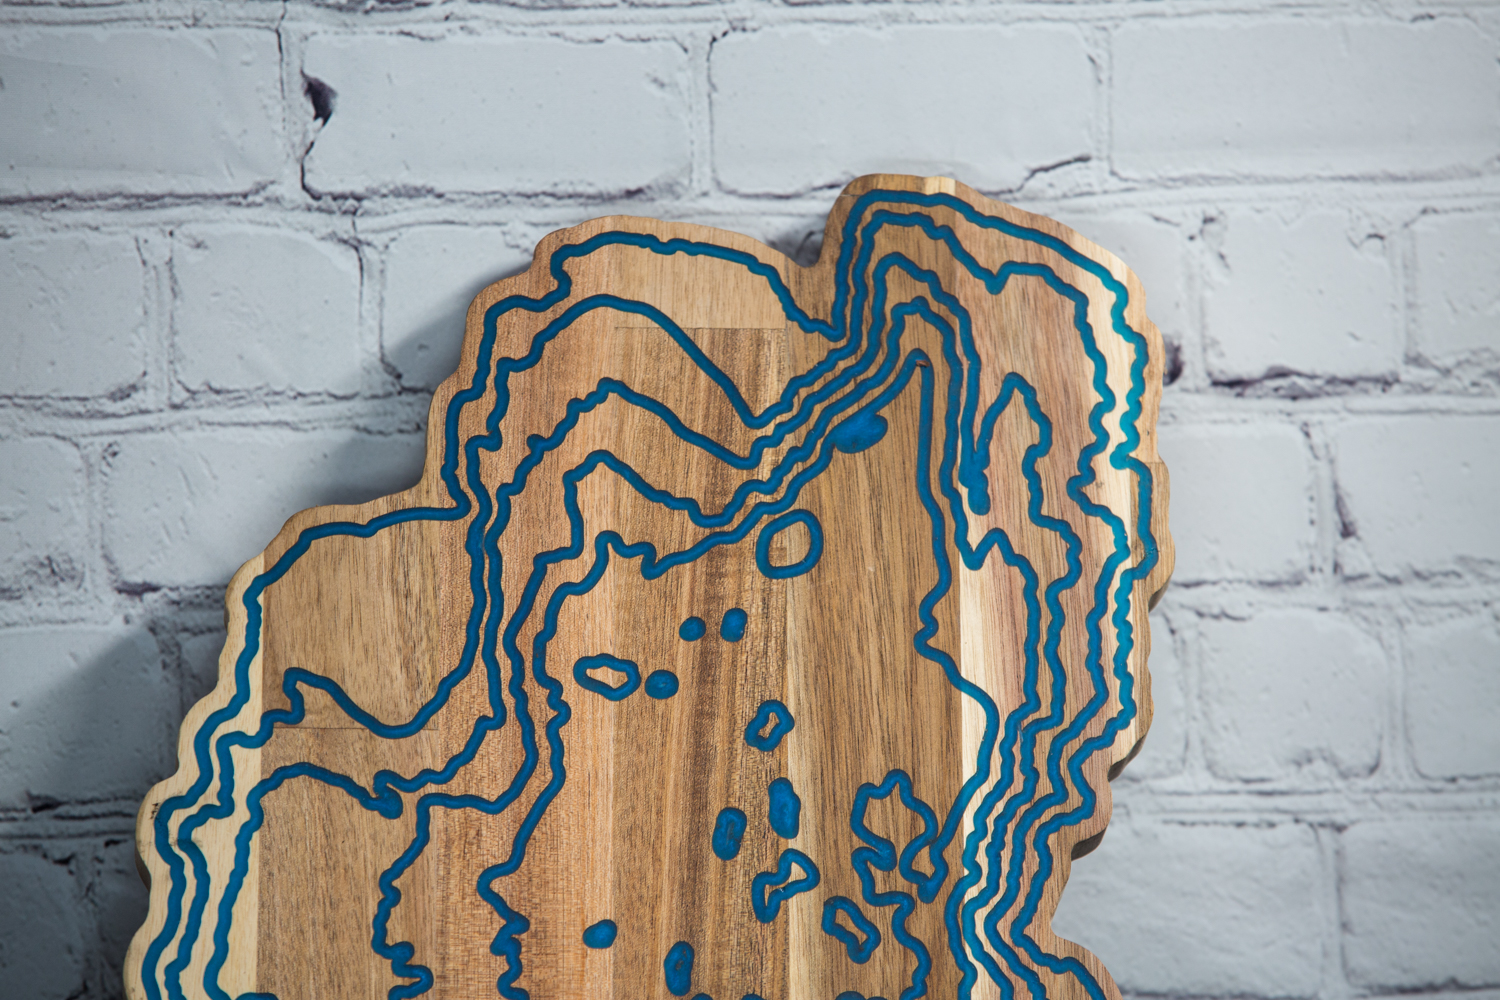
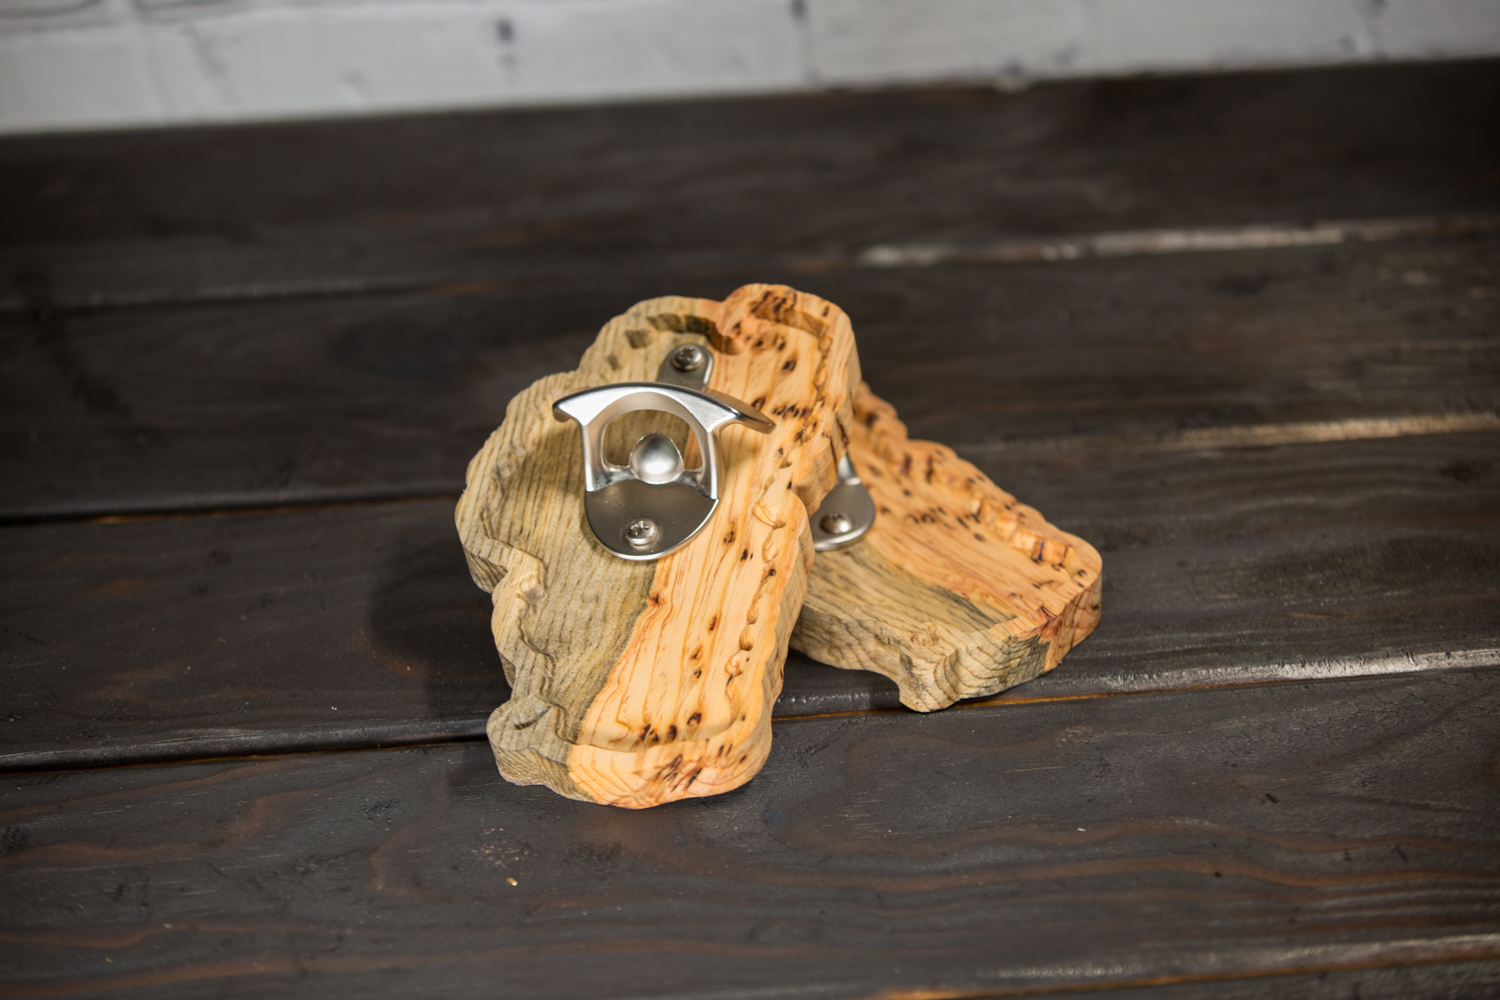
New Temporary Photos of the most recent projects
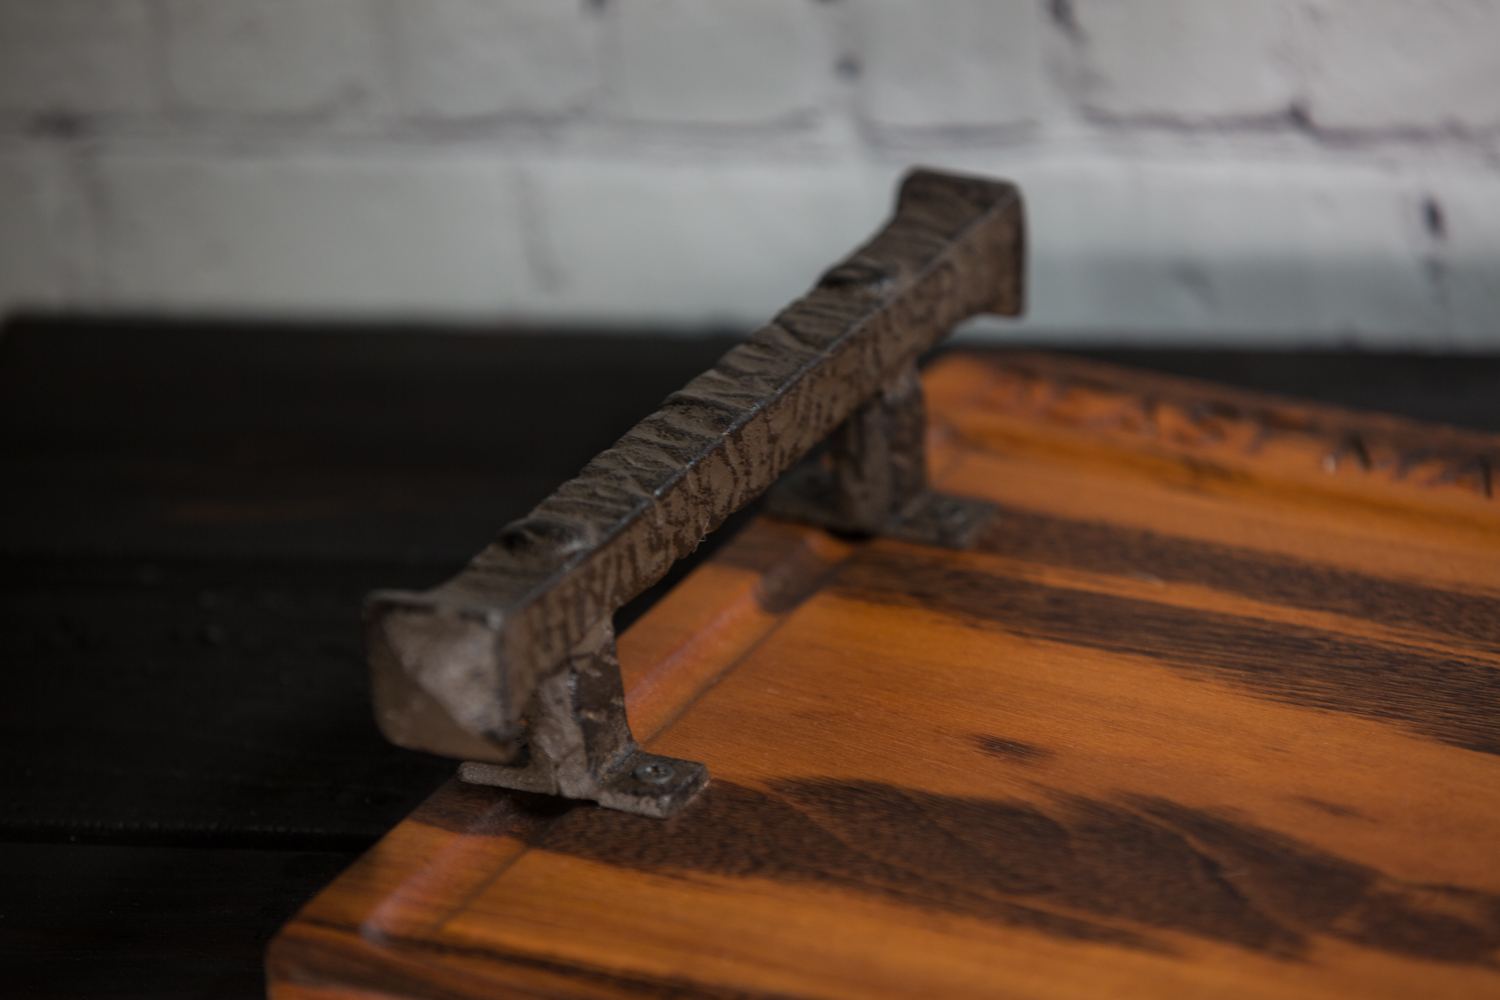
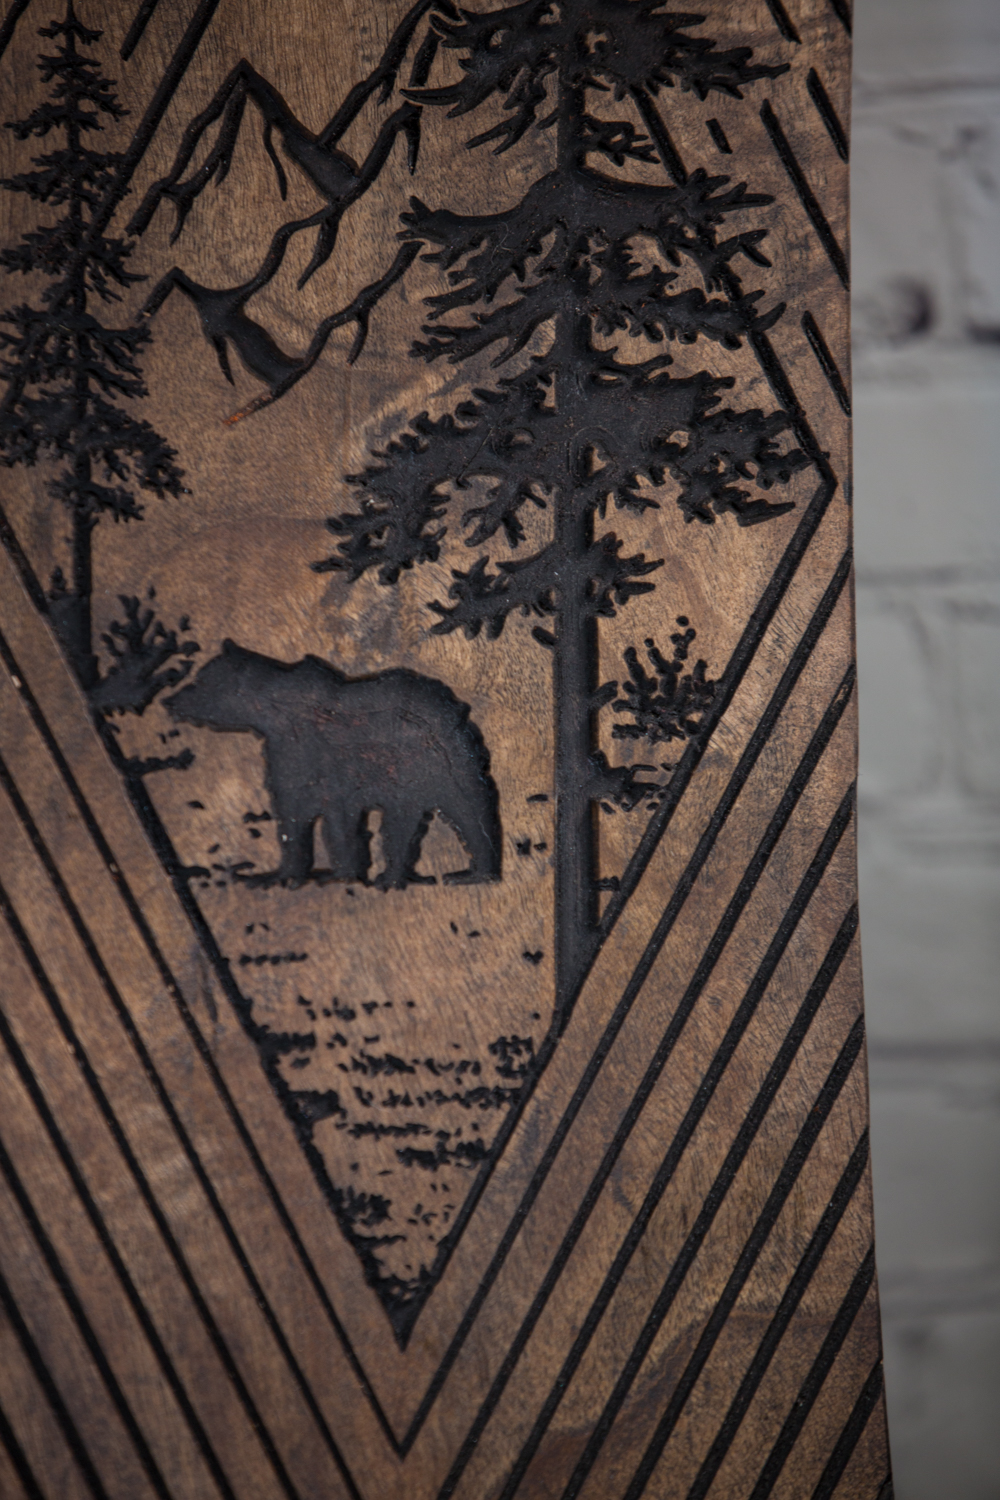
Took some quick pics of the stuff I had on hand. Still working on making a proper photo booth for the items but for now here is some of my latest work. Message me if you would like to buy any of the pieces.
Click each photo for a larger view
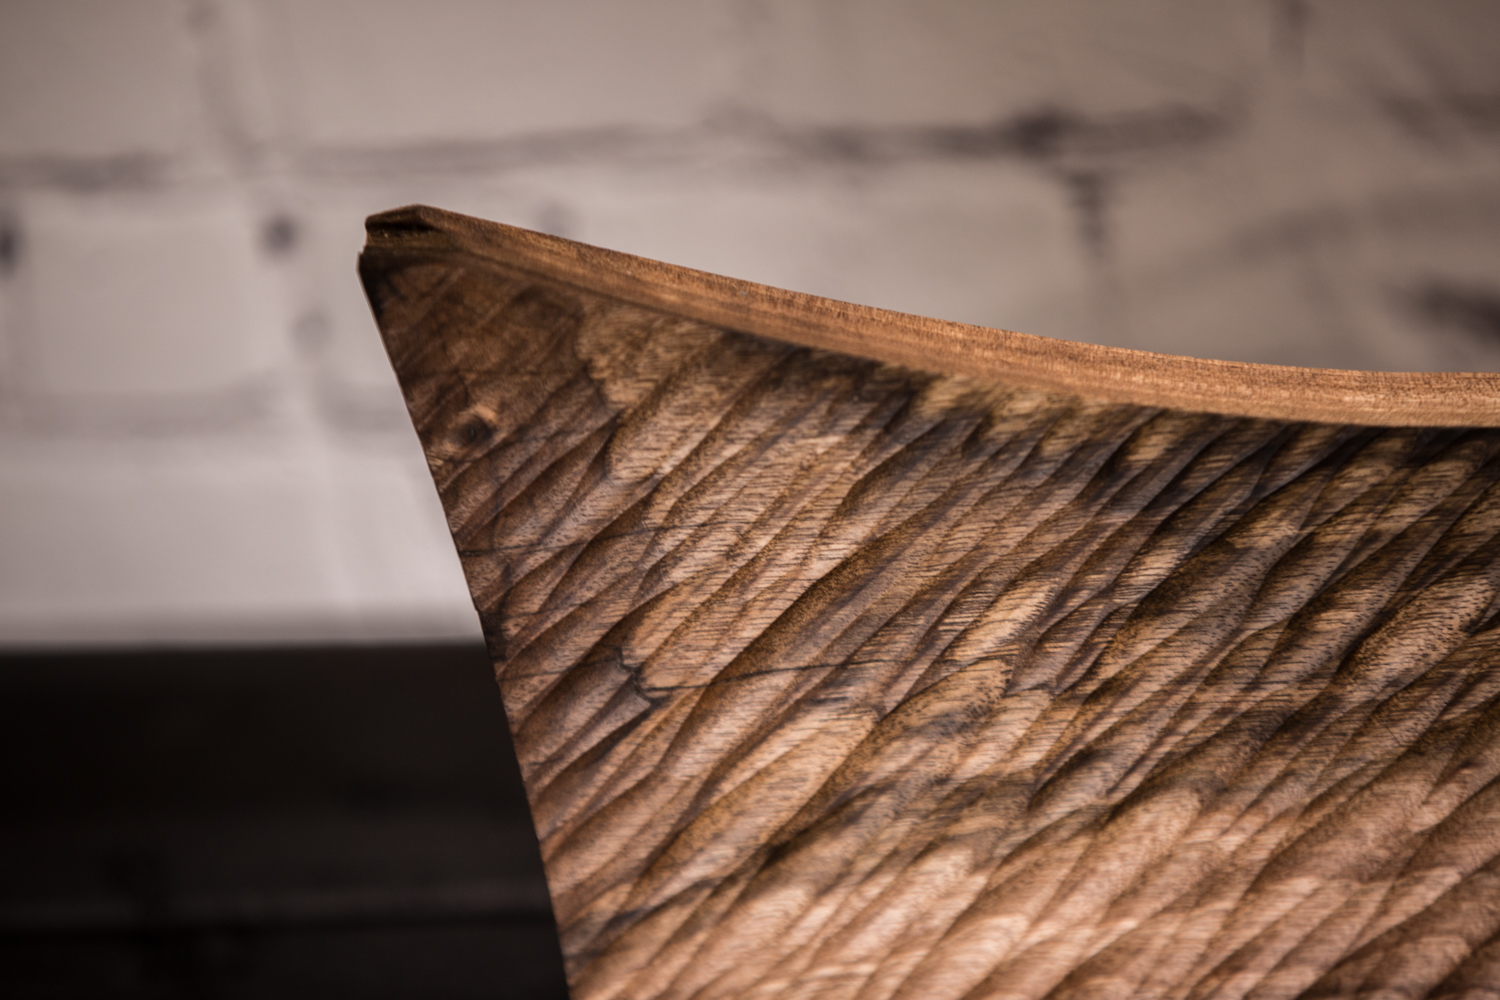
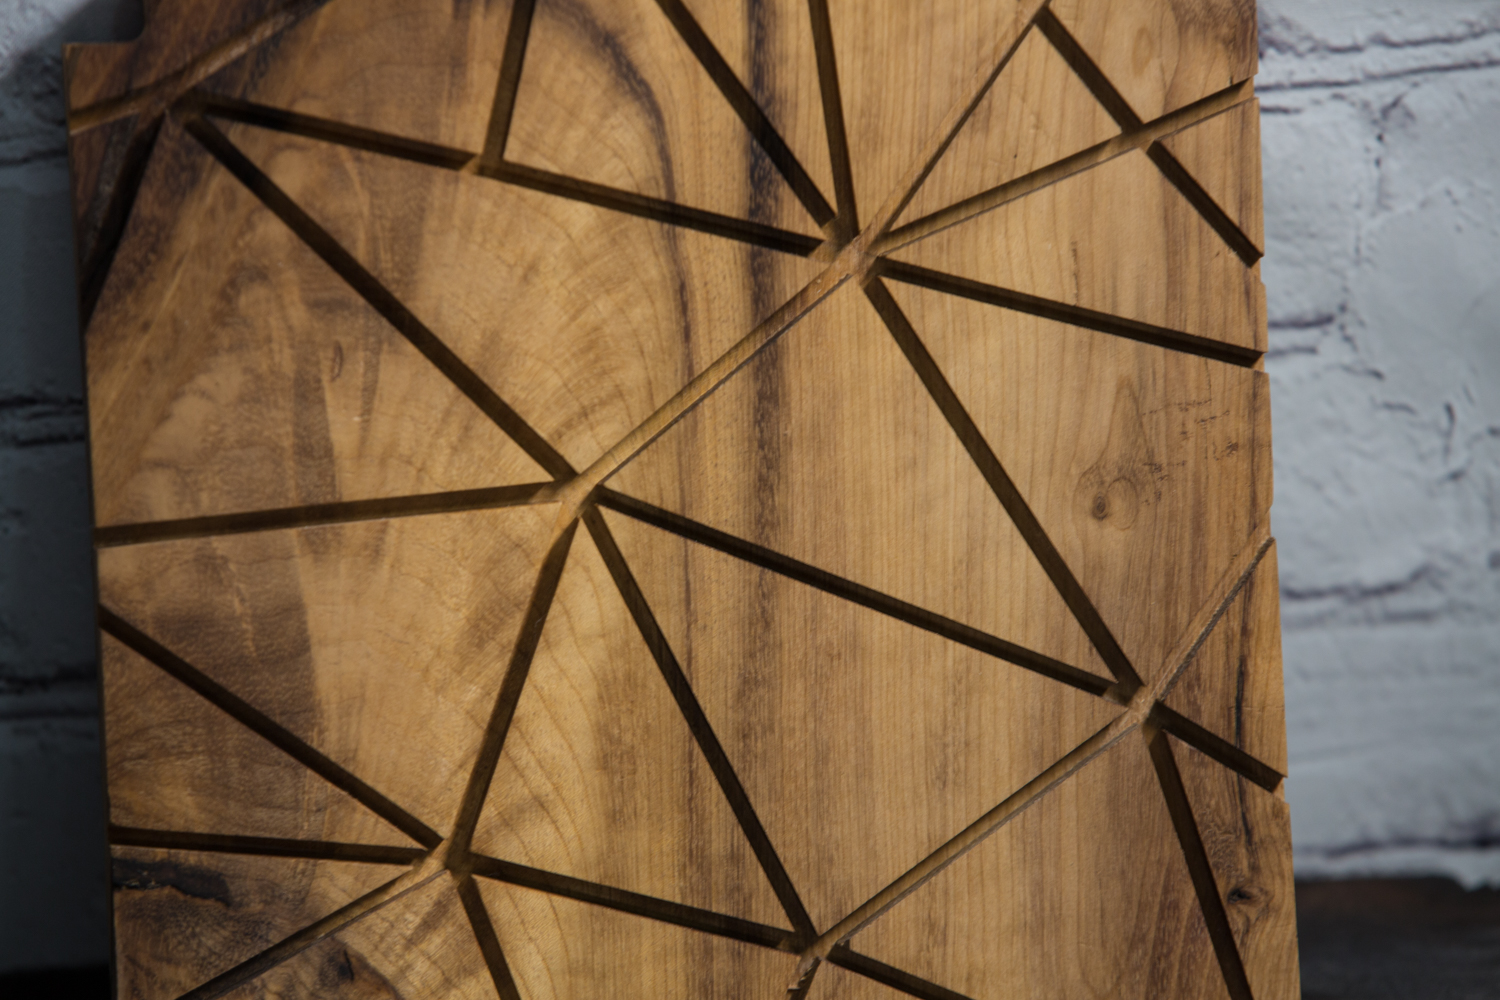
Myrtle Wood Trivet.
Made a stop to the exotic wood dealer in town and bought a couple pieces I could actually afford lol.
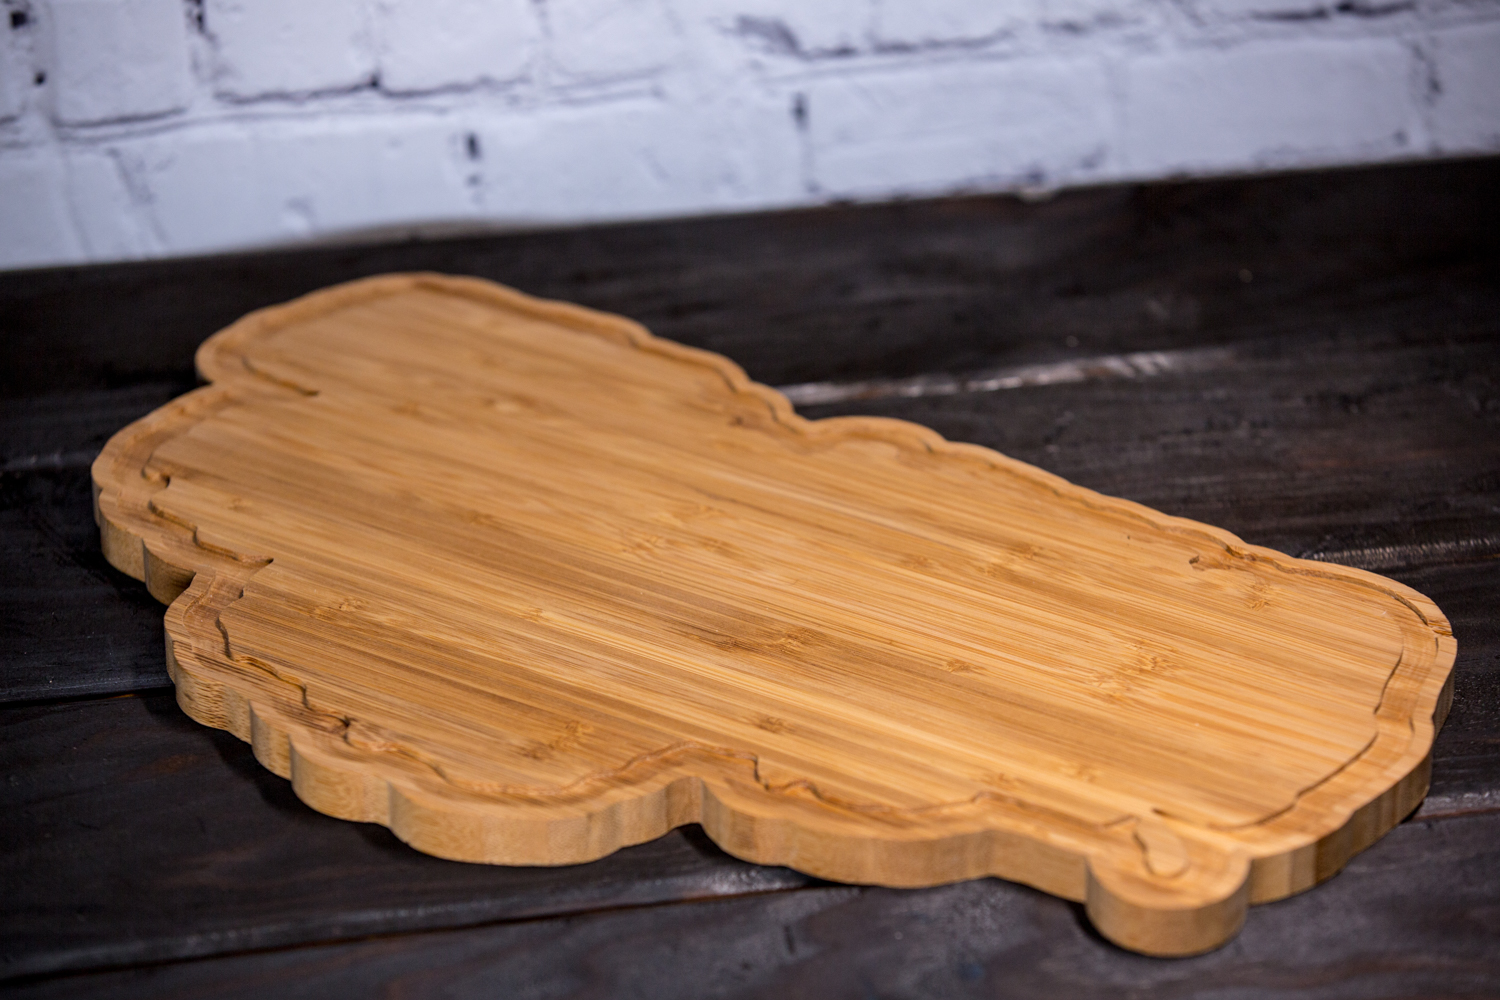
Drew up this mosaic trivet and took it over to the cad/cam software to export out to the shapeoko3 xxl. With some mineral oil and sanding it came out looking sharp! Officially addicted to using exotic woods, to bad the average price is $30-150 a board foot. Lol.


Got a new Cnc!
Bought myself a Carbide3d Shapeoko3 XXL for Black Friday. Finally got it in the mail and have been experimenting and learning it this past week. Here is a few things I’ve made with it so far.


Building a New Desk (in Progress)
Out with the old, in with the new.
So i decided to build a custom new desk/work station in my office.
This project is still in progress so for now i will share a few pics. I will have a full write up after i finish it off.
Found these raw cut pecky cedar pieces for sale in Sacramento, so I drove down to check them out and see if it would work.
After talking out a price they were mine.
After sorting through the pieces I decided these two would make up the main desk section.
Next was to cut and trim the sections together.


I decided to have them reflect each other the the holes.
After some glue and light sanding I had a desk base.
Next came the fun part of taping off and back filling the holes in preparation for the resin filling.


Next was the resin. I decided to fill using a black pigment. Didn’t want to go the common blue pigment.
i used hot glue to make the dams so the resin wouldn’t flow over the wood so much.


Next came the not so fun part...... sanding.


But it started to come to life. Next stage was sanding and polishing it with higher grit papers.


After that came the best part, putting on the odies oil wood treatment.


MORE PICS COMING SOON
for now here is a couple pics of the bench and another coffee table I just finished too.


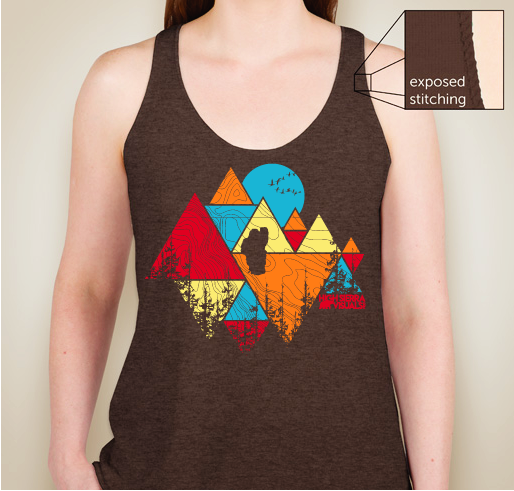
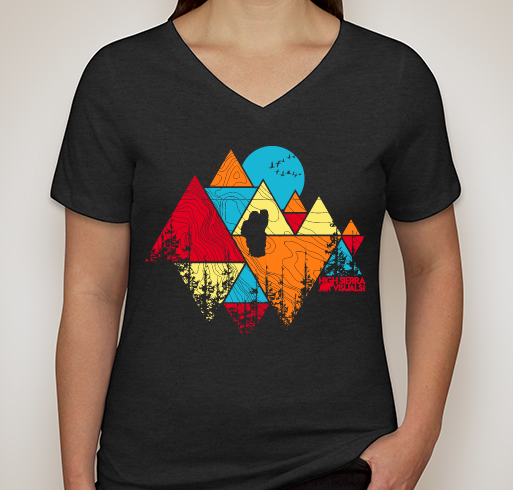
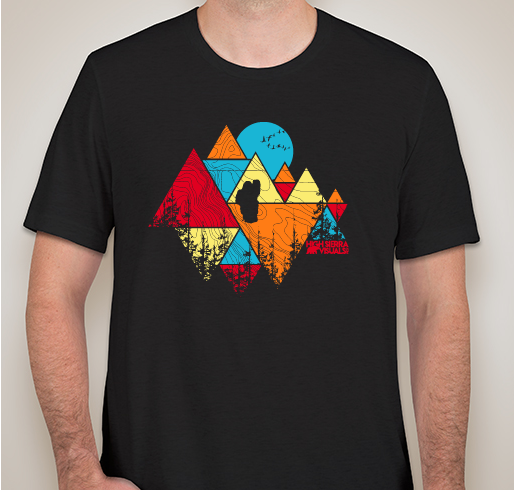
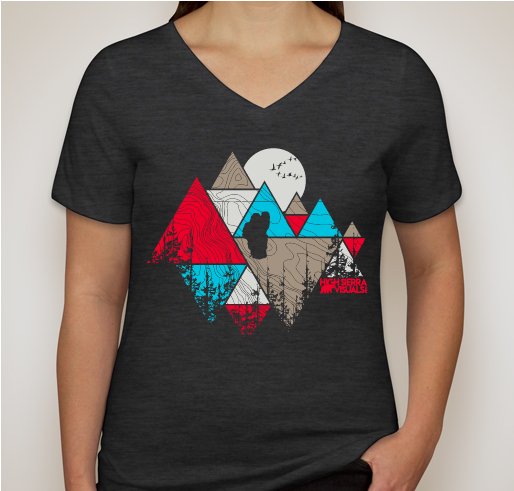
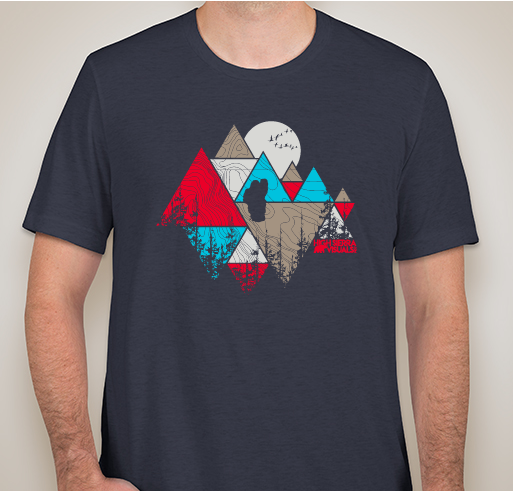
New Shirt Swag!!!
Hi everyone.
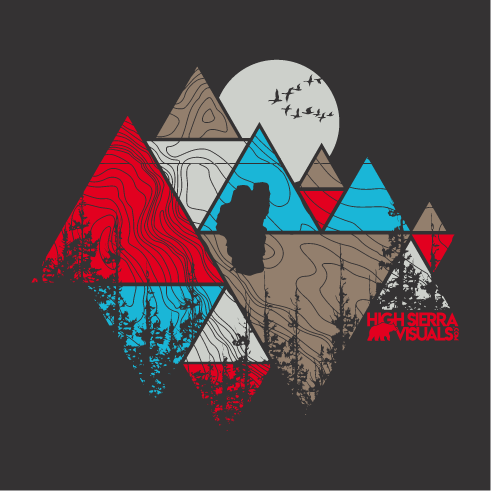
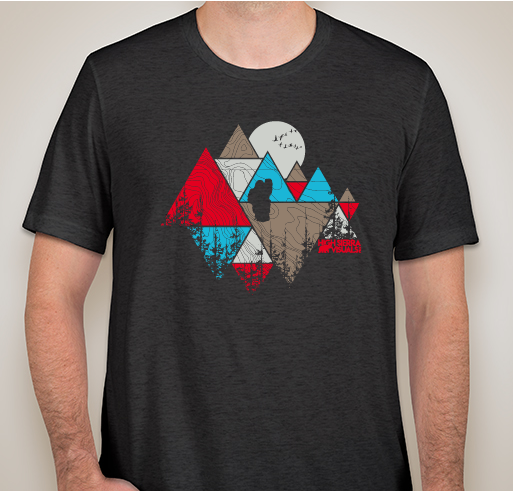
New shirt swag! Rock a new shirt and help out.
Garb one now. Limited time.
Please visit, like, share, and support if you can!
https://www.customink.com/fundraising/lake-tahoe-reboo
only going for a limited time


